Adobe Photoshop Tutorials & Projects:
Who Are you desktop project:

You will create an aerial Desktop view (11" x 8.5") of what your desk would like if you had everything out that represents who you are. Your desk must contain at a Minimum of 20 different images. All images added to your 'desk" must have the backgrounds removed cleanly using a layer mask. All elements must be proportioned correctly, think about the scale of items (a iphone shouldn't be larger than a keyboard for example). I am looking for an image that not only tells me about you, but is also layed out and designed well. Be creative about what you are adding to your 'desk."
When selecting images, only use High Resolution, RGB images.
As you work, save your project often and as a .PSD and name it first initial + last name + desktop. When you are finished, save it as both a PSD and a JPEG with the same name (ex: ngobledesktop.psd) and turn in both the PSD and JPEG to QTL Moodle under the "Submit Projects Here" tab.
|
|
| ||
Introduction to editing Photos
| photo_editing_checklist.pdf |
|
Combine Images & Watermark
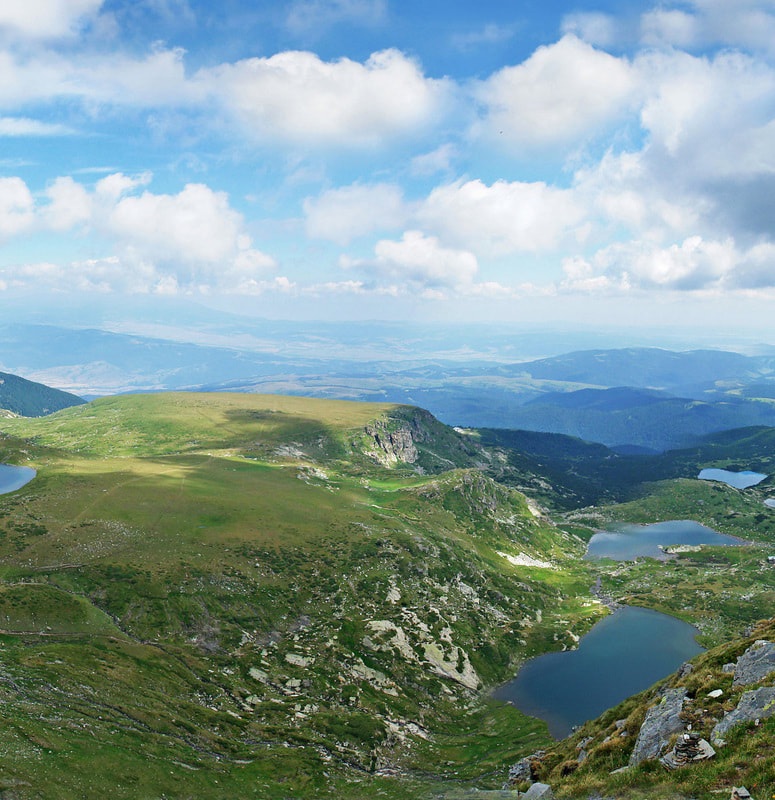
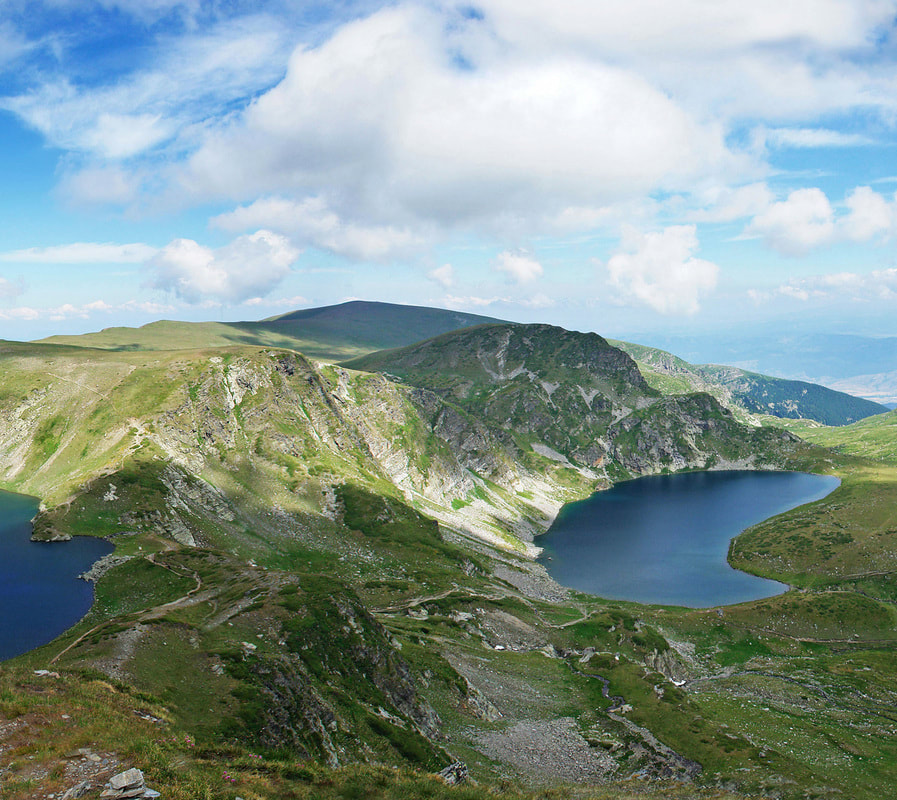
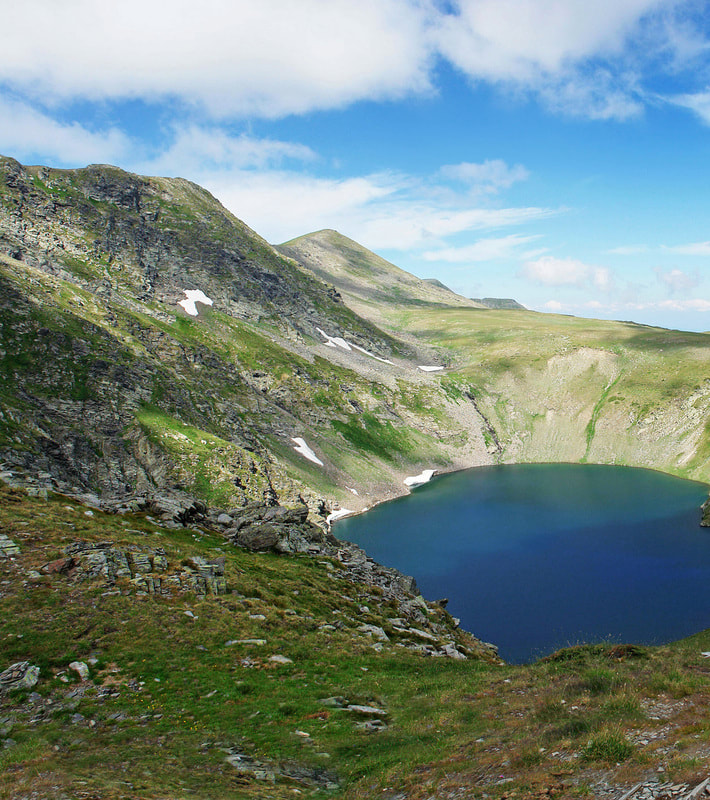
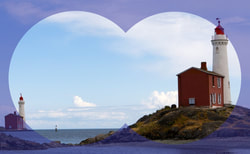
Use the guide How to Combine Images to create a panoramic image (see image to the right). You will use the images provided and follow the guide. After you have completed this, read the How to Add a Watermark and add your own watermark to your Panoramic. Name this file LastnameFirstnamePanaromic.jpeg and turn this in to your class folder. Then read the Bitmap Vector Images file. We will be using the following:
Directions to Combine Images and add a Watermark:
|
The Panoramic
| ||||||||||||

|
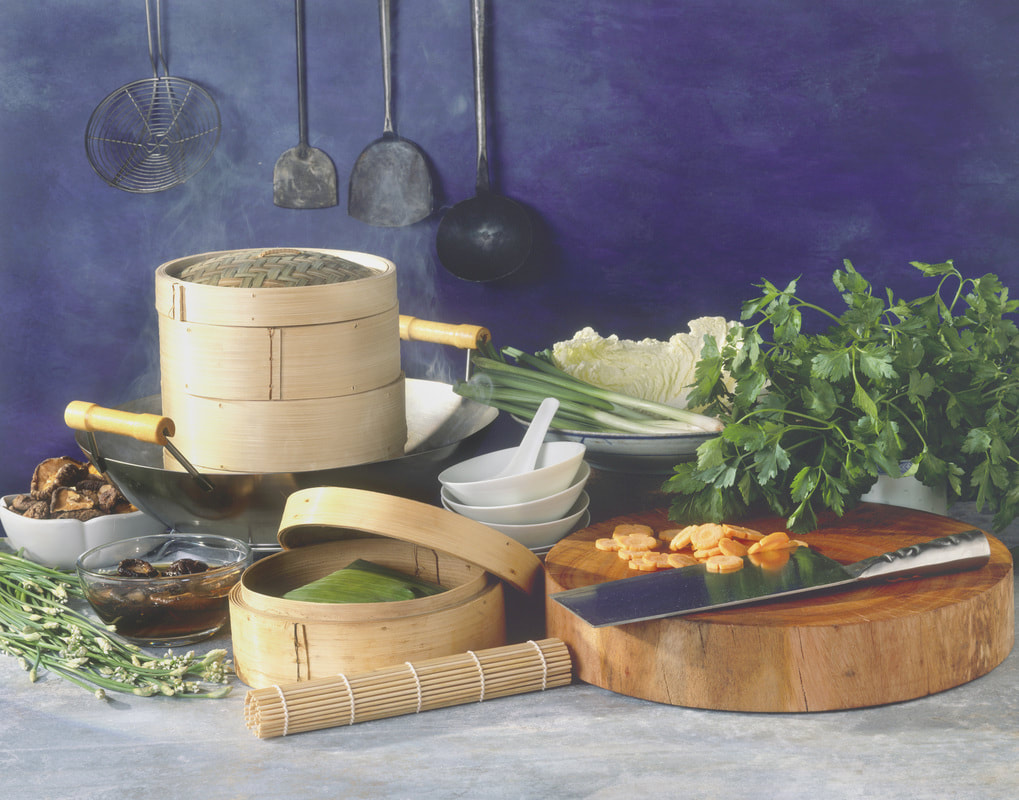
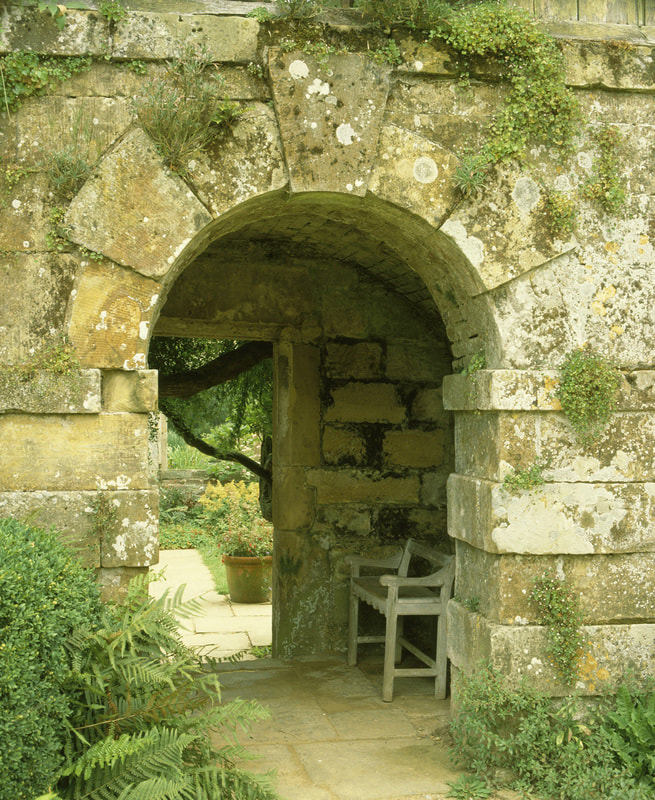
Color Correct & Fixing:
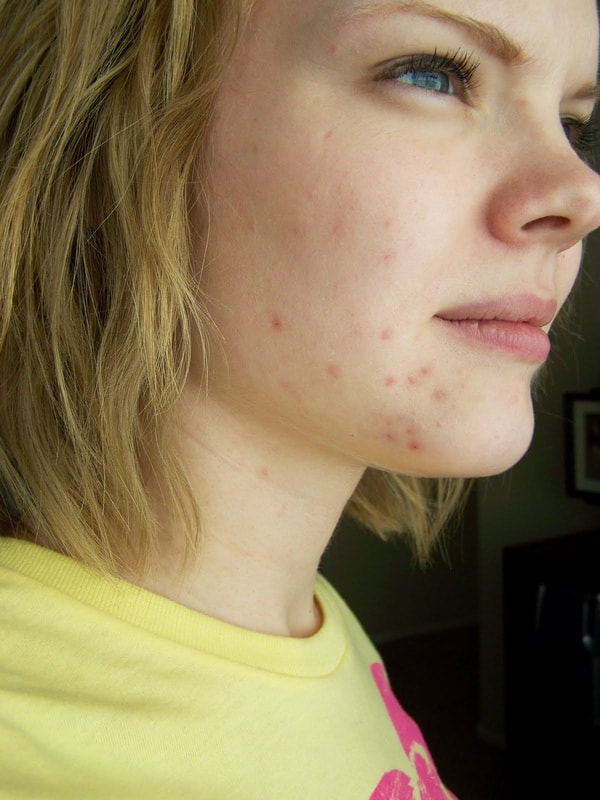
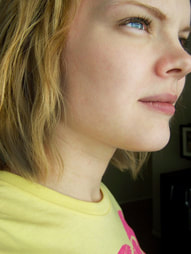
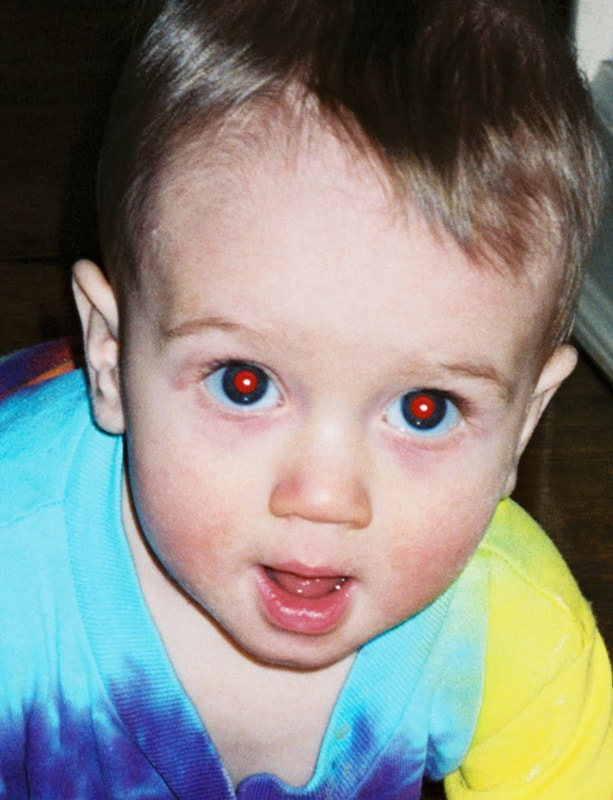
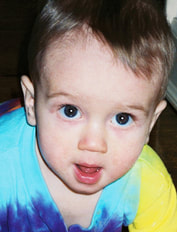
Start by working on how to adjust an image to improve the persons looks. Start with the Girl and use the tutorial video below or the How to Fix Images file to help you. Next, the baby has red eye that you will need to fix. Next, look at the How to Correct Color to help you adjust the Kitchen and Doorway images found below. The colors are quite like they should be, and you need to fix them. You may also use the videos below to help you. In the How to Correct Color, it will show you how to use the Adjustment Panel to create color and black and white versions of an image. You will need to go online and find a high resolution image to covert to black and white. All these images need to be saved into your Photo editing Folder to be turned in at the end of the unit. |
Directions to Color Correct and Fix Images:
| ||||||
The Girl
|
|
We will be using the following tools:
|
The Baby
|
|
We will be using the following tools:
|
The Kitchen
|
|
We will be using the following:
|
The Archway
|
|
We will be using the following tools:
|
Move, Eraser, & Select:
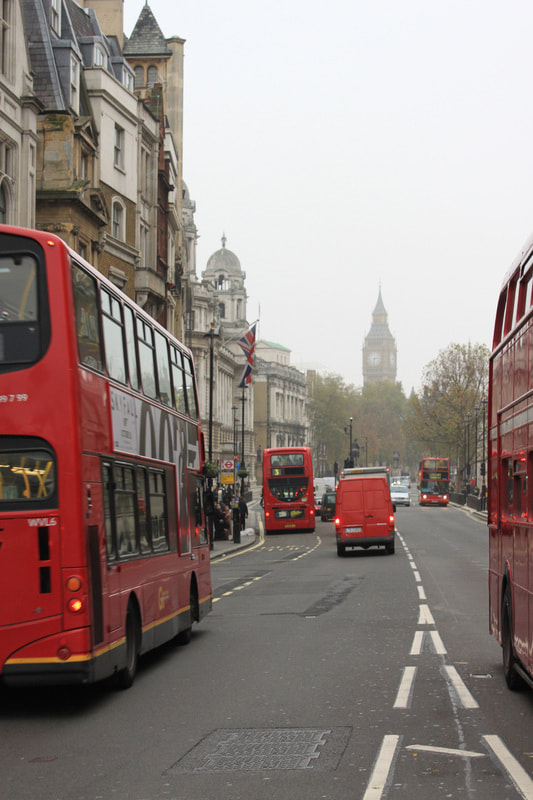
Now we need to download the image of London and fix the road so it doesn't have any pot holes or grates and then move Big Ben over to the left like they did in the tutorial. Then you will need to create a color pop version of the image with only the RED left in the image. Use the tutorial video below to help you edit this image.
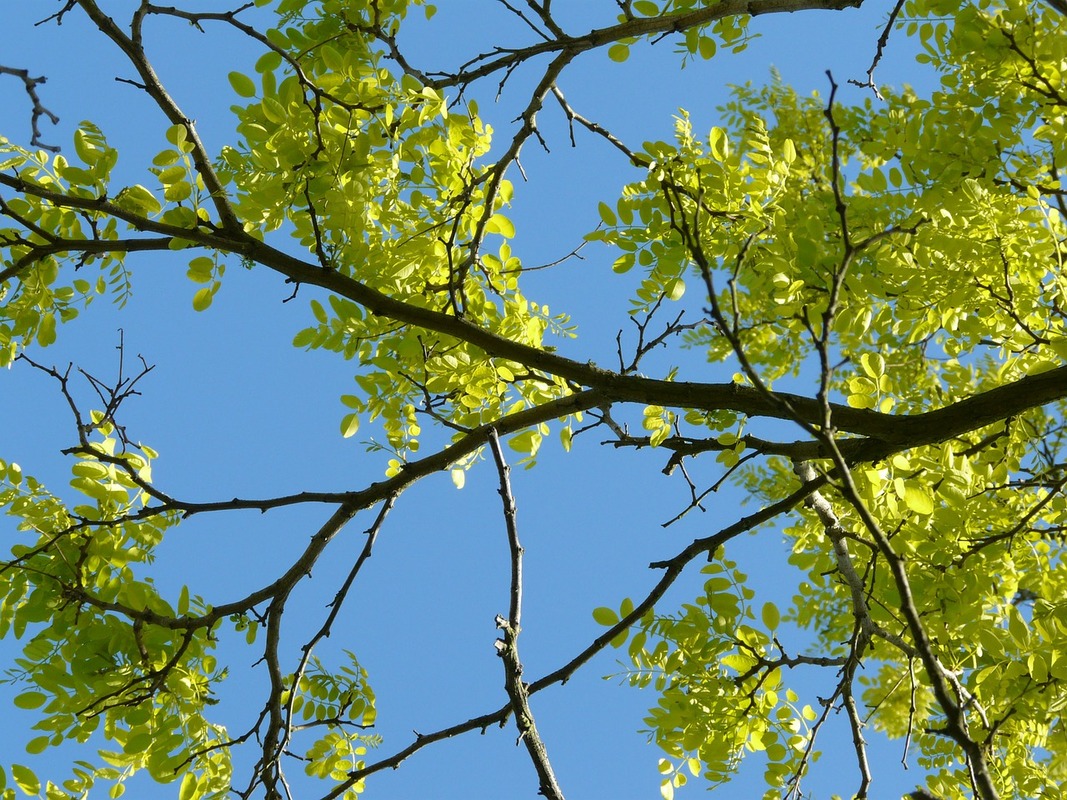
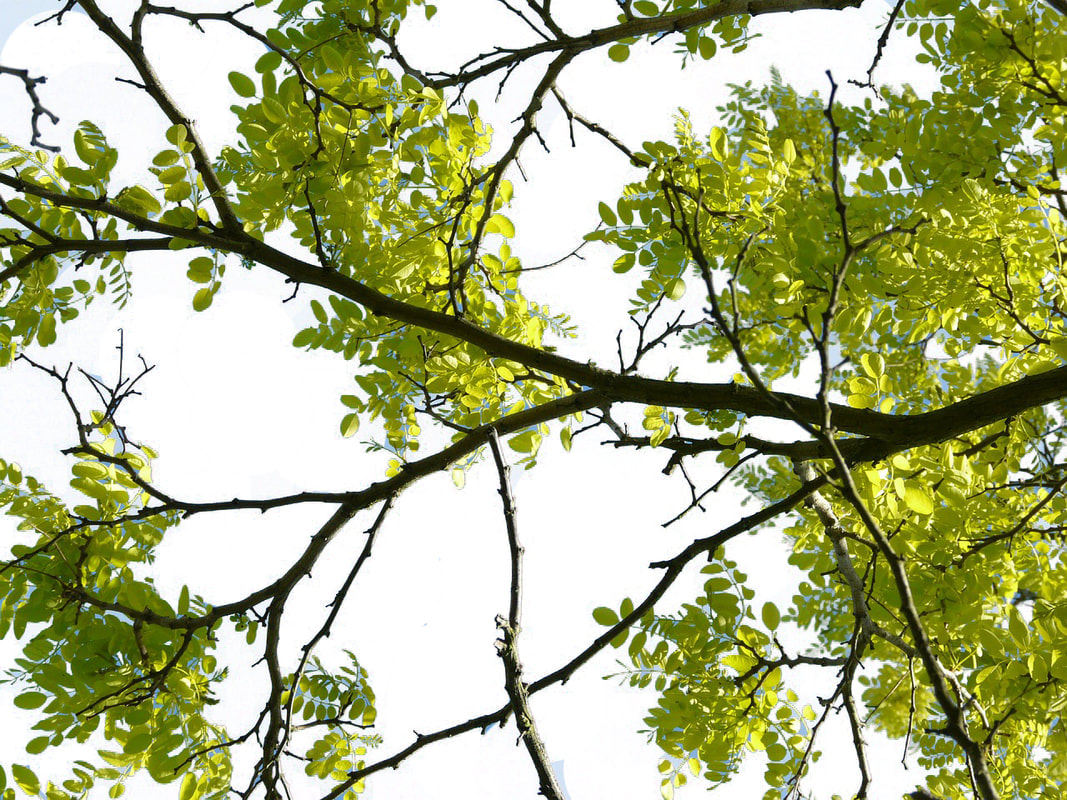
Next you will work with editing using the erasers. Start with the stripes to get practice on using the background eraser tool. Then you will move on the the Tree branches completely removing the sky from the image.
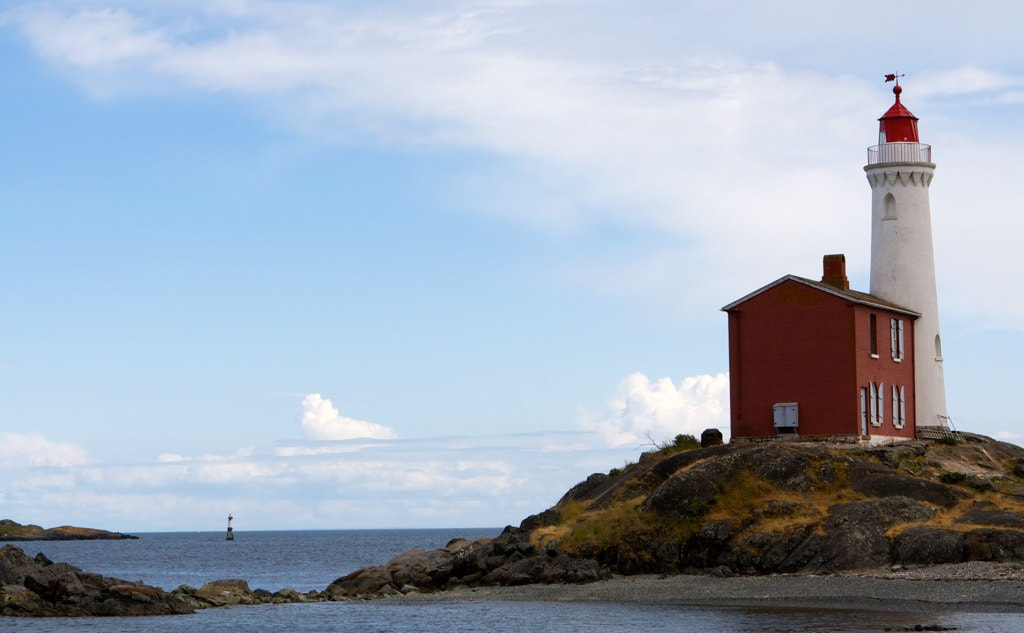
Last you will be adjusting the Butterfly and the Lighthouse images found below. For this editing activity, you will use the How to Use Selection Tools guide found the right and/or the video below to help guide you. Save the Butterfly with background removed. Then after you work on the LIghthouse, save the lighthouse file as the 3 different versions that you will create based on the guide.
All these images need to be saved into your Photo editing Folder to be turned in at the end of the unit.
Now we need to download the image of London and fix the road so it doesn't have any pot holes or grates and then move Big Ben over to the left like they did in the tutorial. Then you will need to create a color pop version of the image with only the RED left in the image. Use the tutorial video below to help you edit this image.
Next you will work with editing using the erasers. Start with the stripes to get practice on using the background eraser tool. Then you will move on the the Tree branches completely removing the sky from the image.
Last you will be adjusting the Butterfly and the Lighthouse images found below. For this editing activity, you will use the How to Use Selection Tools guide found the right and/or the video below to help guide you. Save the Butterfly with background removed. Then after you work on the LIghthouse, save the lighthouse file as the 3 different versions that you will create based on the guide.
All these images need to be saved into your Photo editing Folder to be turned in at the end of the unit.
London
|
|
We will be using the following:
|
Tree Branches
|
|
We will be using the following:
|
The Lighthouse
|
**In the video the button says Refine Edge....in the new version of Photoshop, it is now called Select and Mask
|
We will be using the following tools:
| ||||
Cropping/Resizing & Selection
|
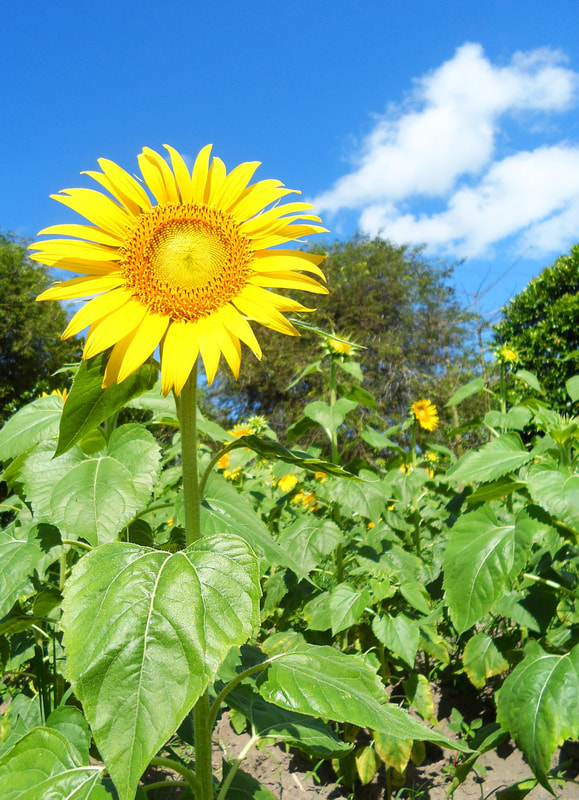
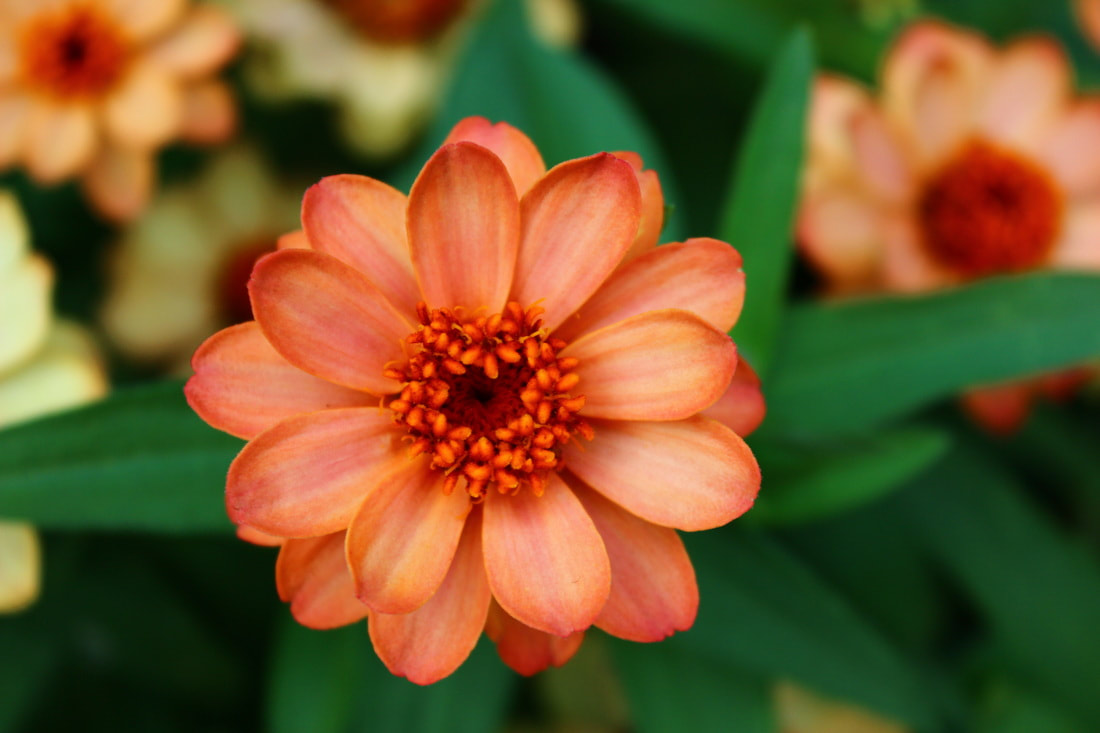
Use the How to Resize Crop to adjust the 3 flower images found here.
Directions to Resize and Crop:
|
|
| ||
Filters
|
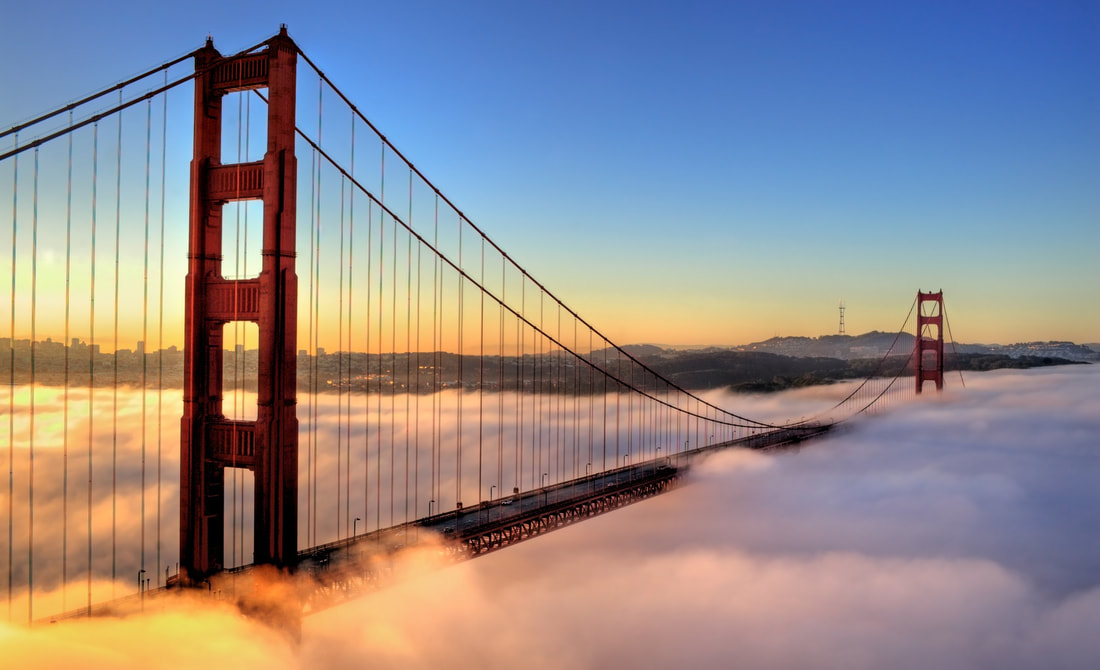
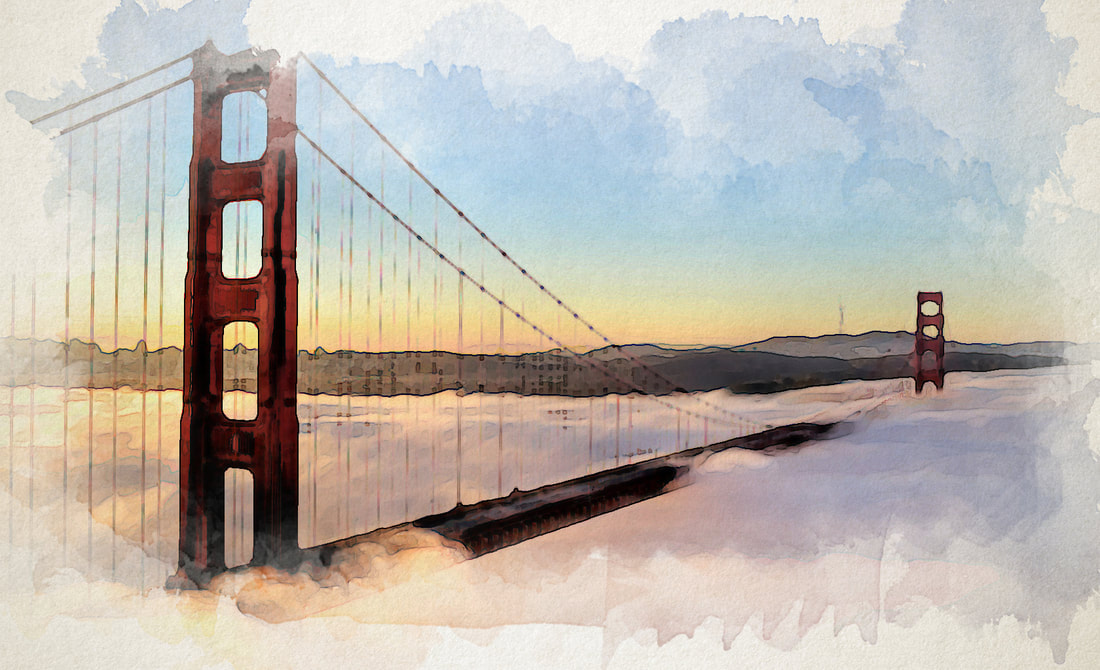
Last we will be working with how to add and layer filters to an image to create a piece of art. Using the Video Tutorial and Directions below or the Tutorial Link to the right to help you. You will edit the Golden Gate Bridge image and the paper texture image to create a watercolor piece of art. Once you have finished, you will then find your own high resolution image to use the same technique on.
All these images need to be saved into your Photo editing Folder to be turned in at the end of the unit. Now that your folder is complete, turn this in. |
| ||
|
Watercolor Golden Gate Bridge
|
We will be using the following tools:
Directions:
|
Extra Credit Photo Editing Assignment:
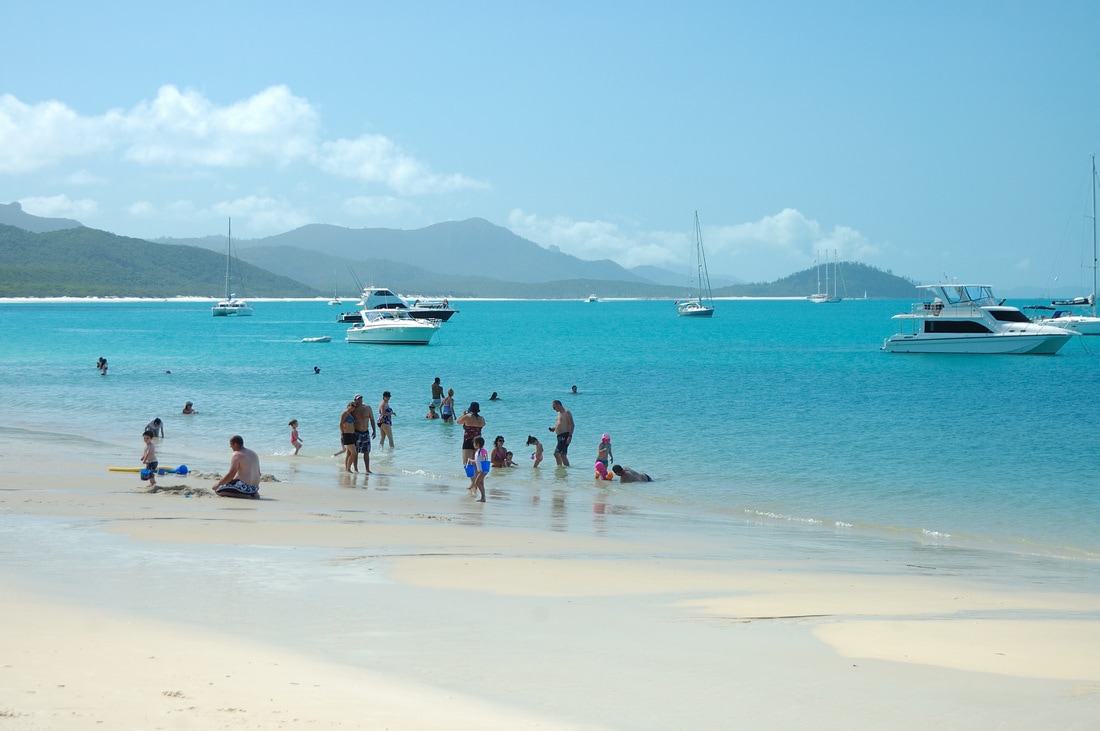
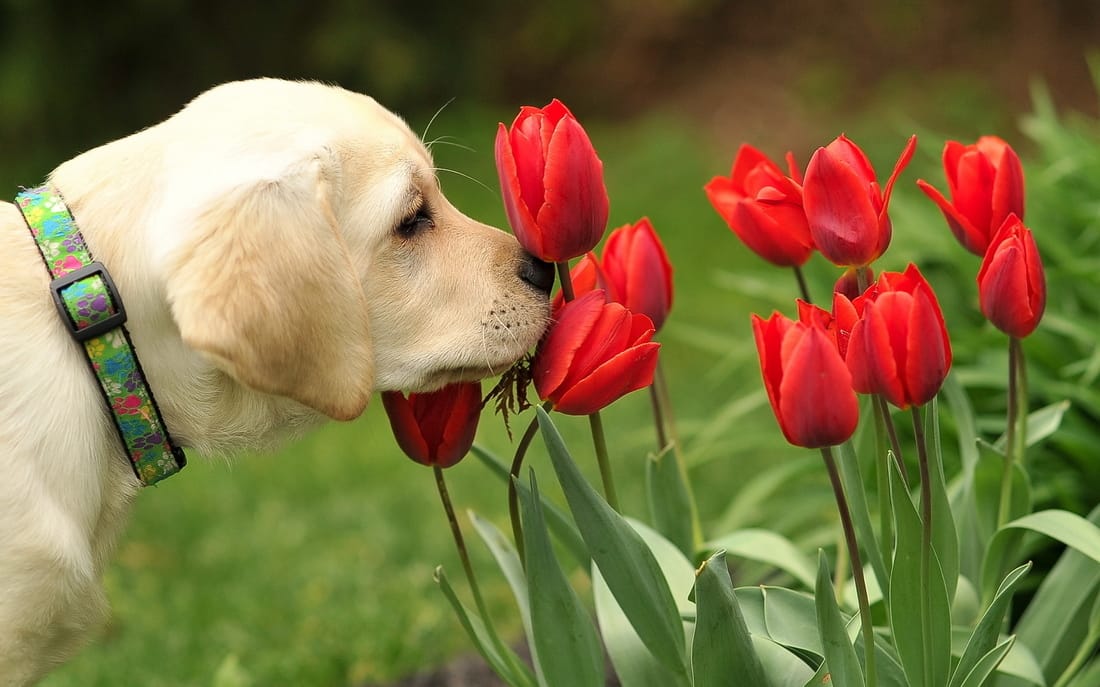
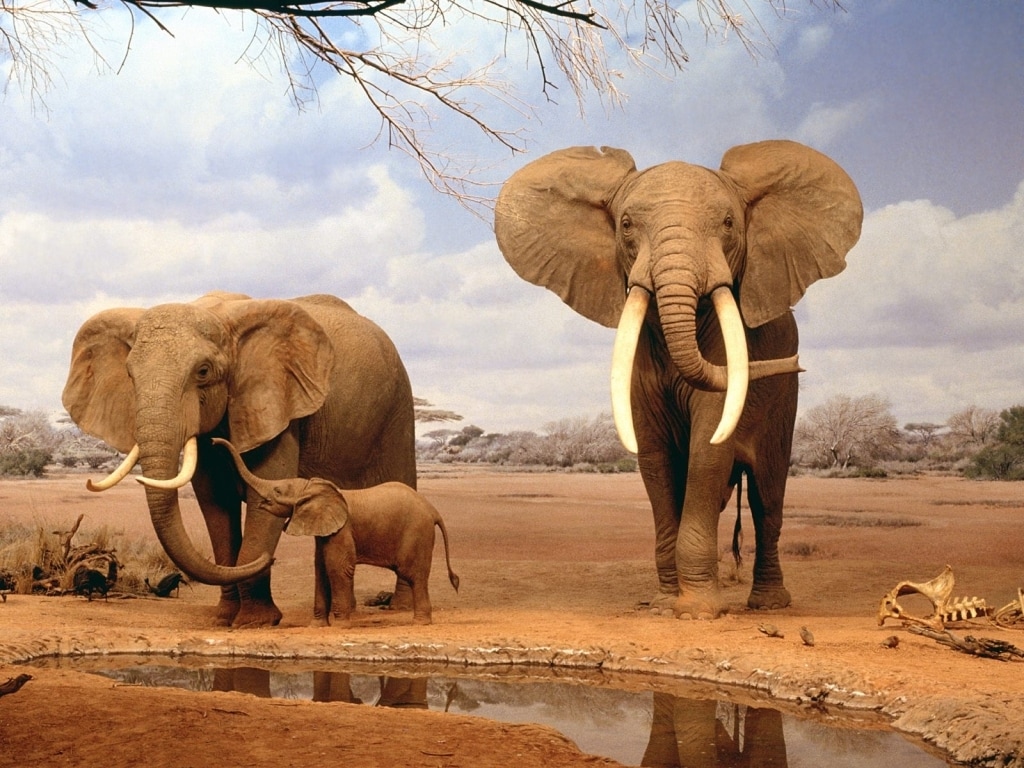
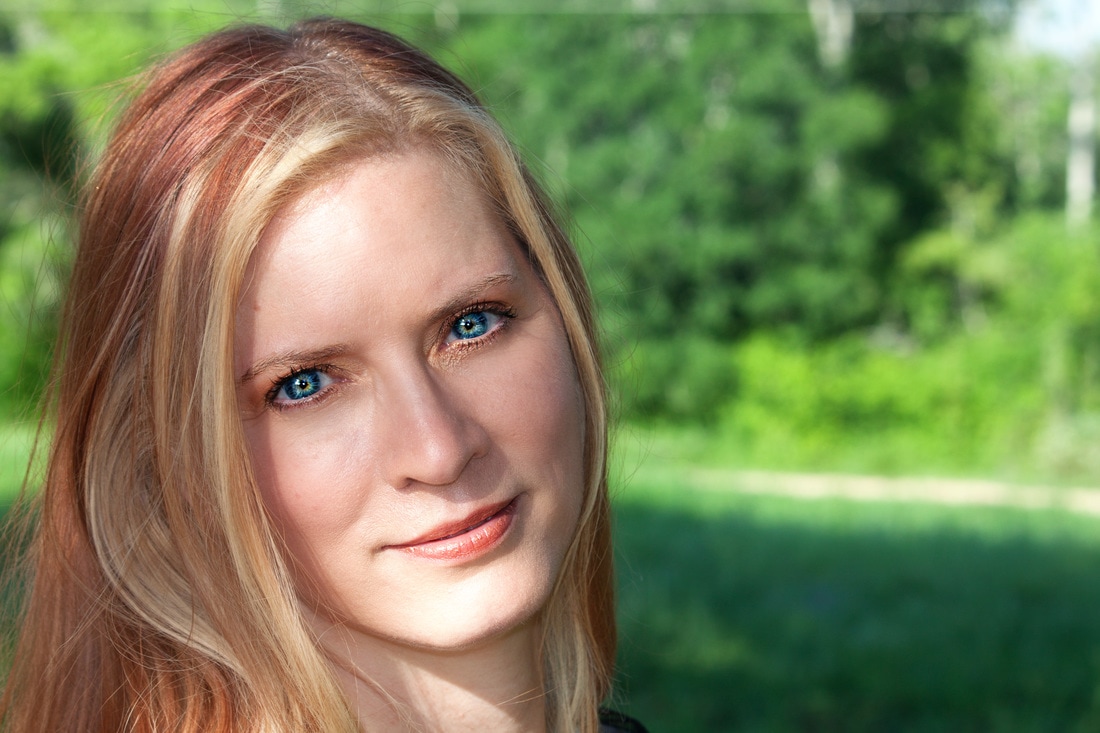
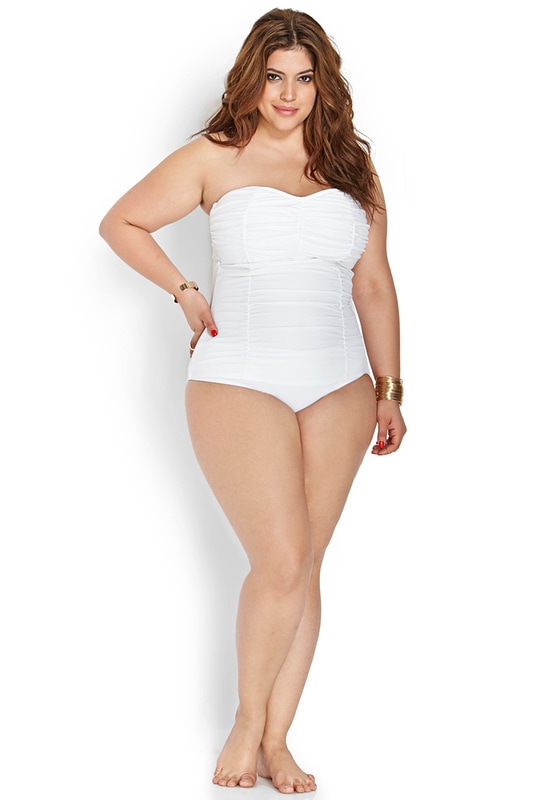
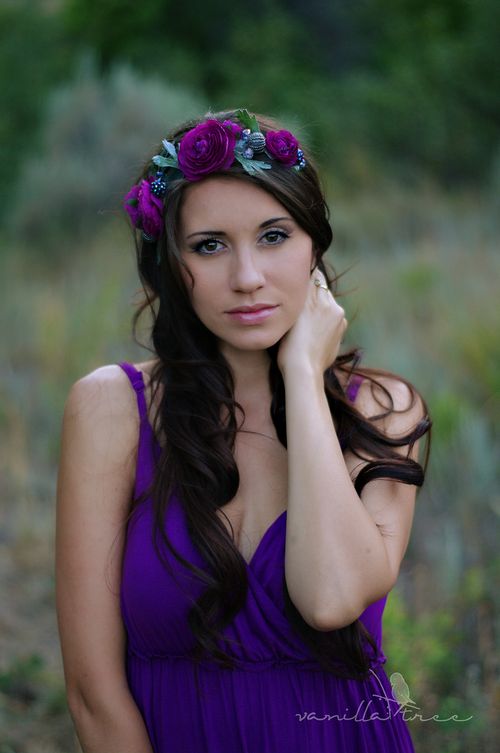
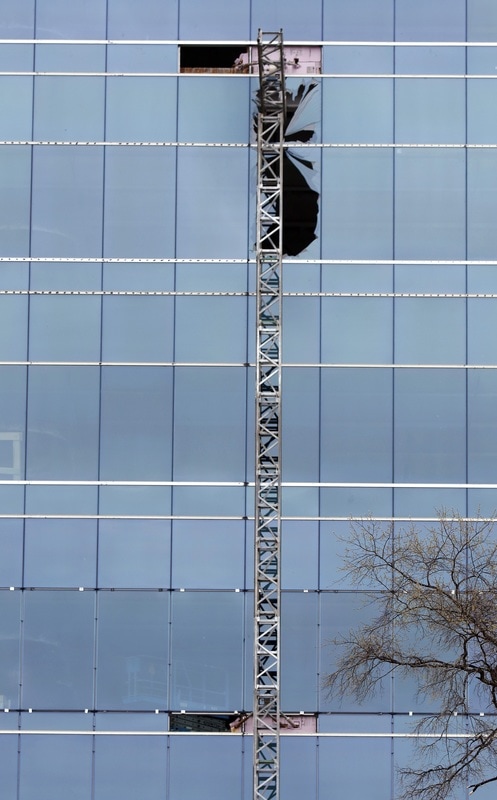
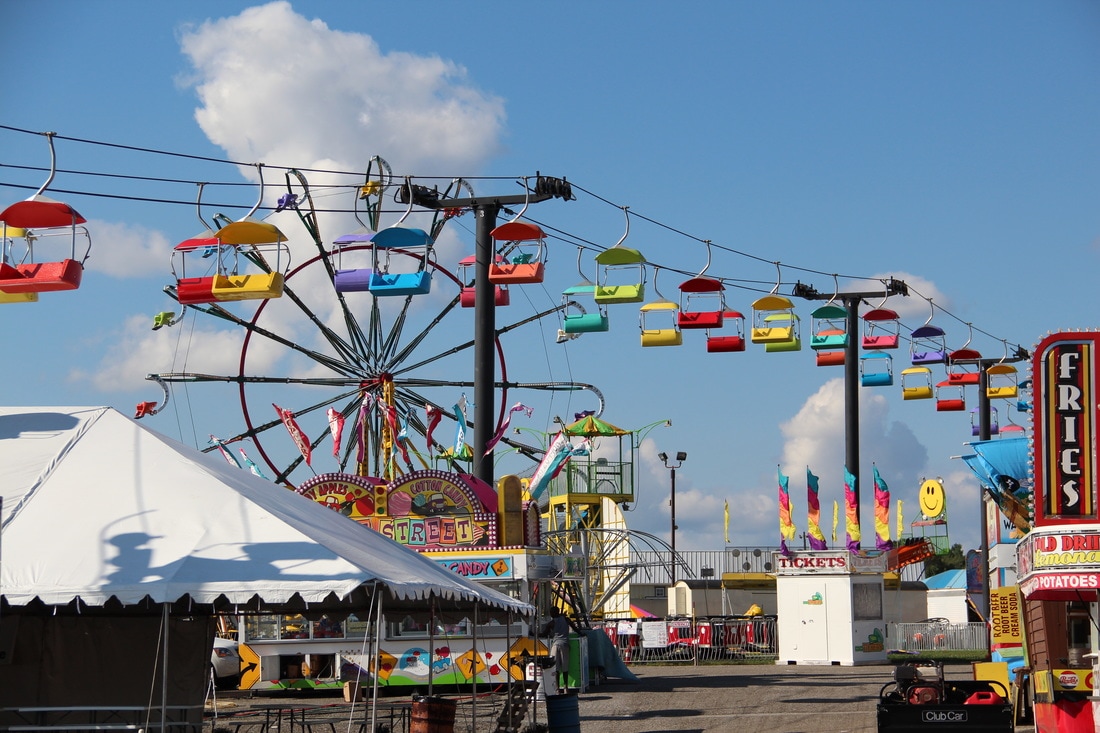
Use the photos to the right to edit as the following:
- Make the model thinner (liquify filter).
- Make the model larger (liquify filter).
- Take the scaffolding out of the building
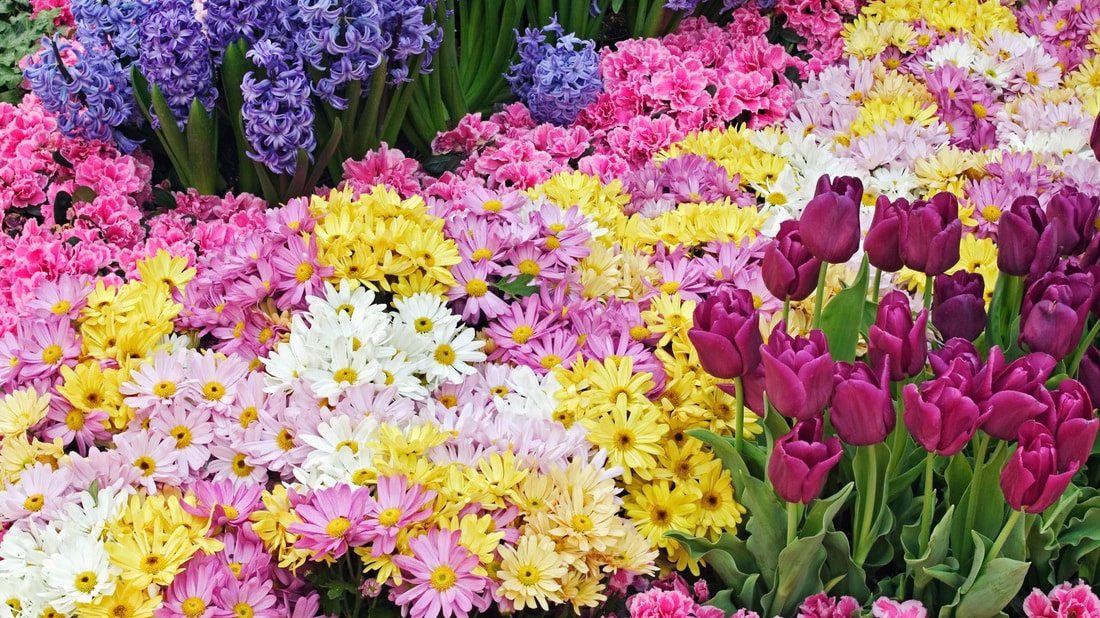
- Add a filter and a blur to the Tulips picture to enhance the scene.
- Edit girl in purple to be more dynamic.
- Remove all the people from the beach.
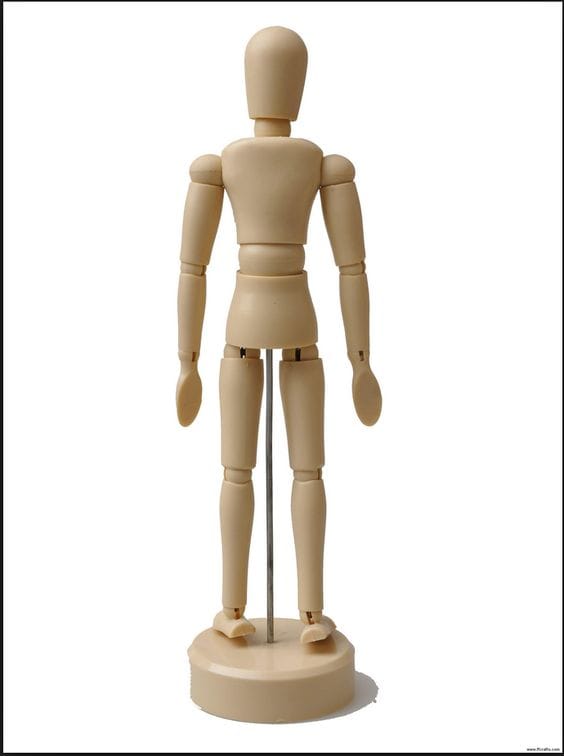
- Warp the wood figure statue into a new position.
- Make State fair pic B&W but color pop the ride cars.
- Clean up the the blond's hair and face so the light is even on her face.
- Remove the elephants using the blending method and place them on a new background.
iDevice silhouette Ad Series Project:
Essential Standard - 203.01 & 203.02
Essential Question: How do you create an advertisement series (Multiple Advertisements for the same/similar products)?
Objective: Create a Set of 4 iDevice Silhouette Advertisements of yourself, friends, celebrities, etc. using Photoshop.
You have been hired as a graphic designer by Apple/Google. They want you to create a series of 4 iPhone, iPod/iTouch, Pixel, Macbook, Apple Watch, Galaxy, etc Ads using the silhouette technique. You are to follow the directions given by the project manager for the target audience to complete the project. Once complete then you should review the checklist for grading criteria before turning in your work.
Follow the tutorial below on how to create the silhouette effect. You will perform this process on 4 different pictures of yourself, a friend, celebrity, etc. First take 4 different poses of yourself, a friend, a celebrity in front of the green screen using a digital camera that you can add an iPod/iPhone to later in Photoshop. Then take full length pictures of yourself and use a layer mask to cut out from background. Then follow the tutorial to make the silhouette effect and how to add the shadow to yourself. You will then include an iPod of your choice (shuffle, nano, video, iPhone, iTouch, etc.). You can get the iPod from the apple website, you do not have to make the iPod. Next add text using a font similar to the iPod text format for a catch phrase. Finally, you must include the Apple/Google logo somewhere on the ad. You are creating a Set of 4 Ads, so you need FOUR poses and FOUR different i-Devices (iPod, iPod Nano, iPhone, iPad, iWatch, iPod Mini, iPod Shuffle, etc.) to advertise. Size of each Advertisement should be 8.5 x 11 Inches at 300 Resolution.
Save the images as lastname+firstinitial+ipod1 (ipod2). Save as a PSD and JPEG. Submit only the JPEG version to QTL Moodle.
Grading Criteria Checklist
1 - Used digital camera to get 4 full body pictures of yourself in four poses where you can put an iPod
2 - Images of people are cut out using layer mask and made into
silhouettes
3 - iPod Ads are designed in a manner that is visually pleasing,
balanced, and creates an interest in the topic
4 - Ads sized 8.5 x 11 Inches/300 Resolution
5 - Four different ads created using different i-Devices
6 - Each ad has a font similar to that used by Apple for the iPod font
7 - Each ad has the Apple/Google logo
8 - Each ad has an original and different catch phrase/slogan
9 - Graphic file is saved as a PSD file while working and then Exported as a JPEG to Submit to QTL Moodle
10 - Final graphic file is submitted as a JPEG format with the instructed name for the project on time. (LastNameFirstNameiPod#) Remember there are a total of 4 Ads, so you will have (LastNameFirstNameiPod1, LastNameFirstNameiPod2, LastNameFirstNameiPod3, and LastNameFirstNameiPod4)
Tutorials:
http://www.photoshoplab.com/make-your-own-ipod-style-photo.html
| __ipod_reveal.pdf |
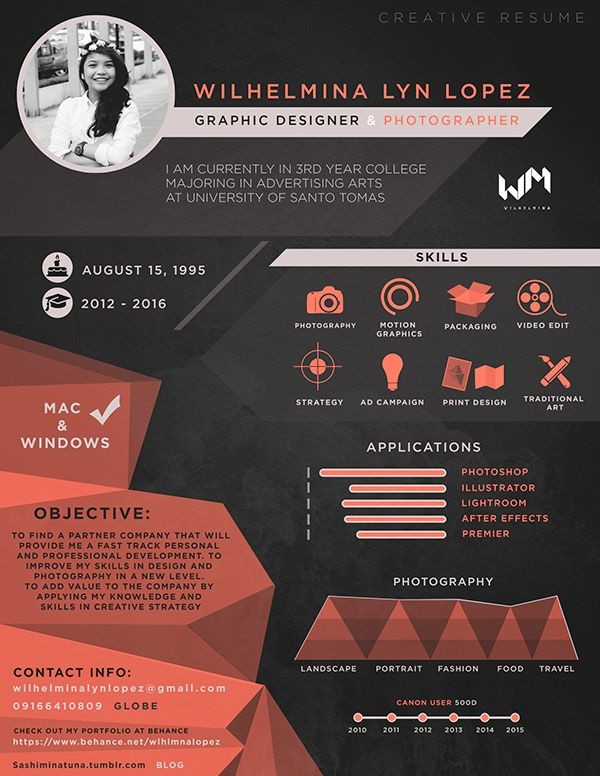
Designer Resume Project:
|
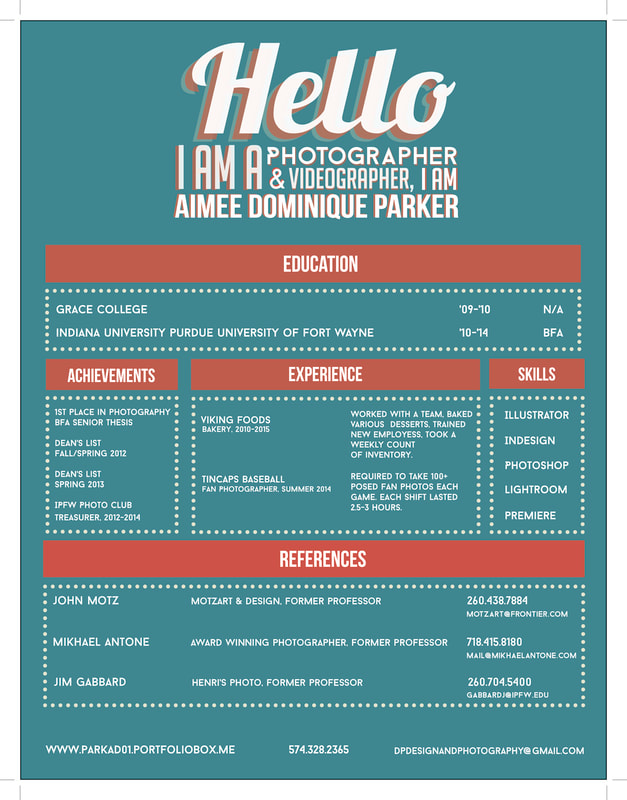
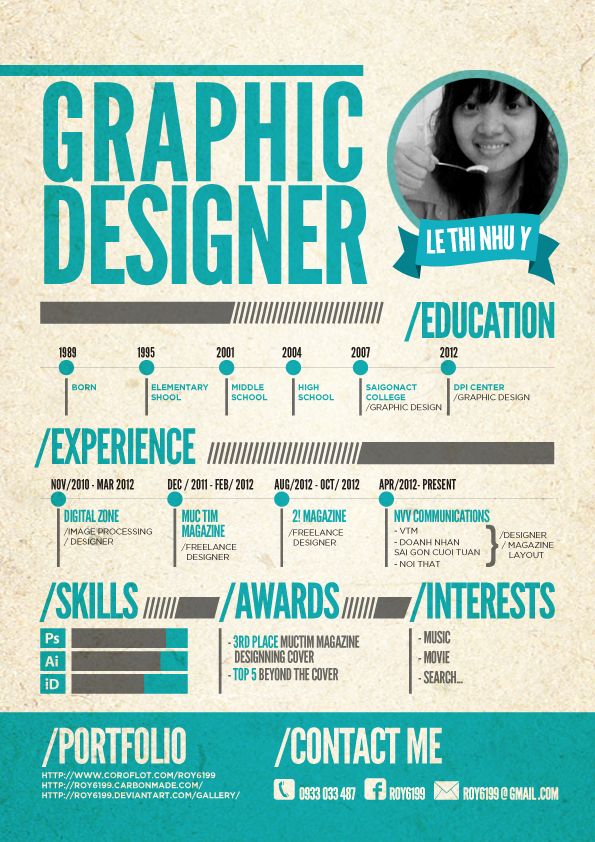
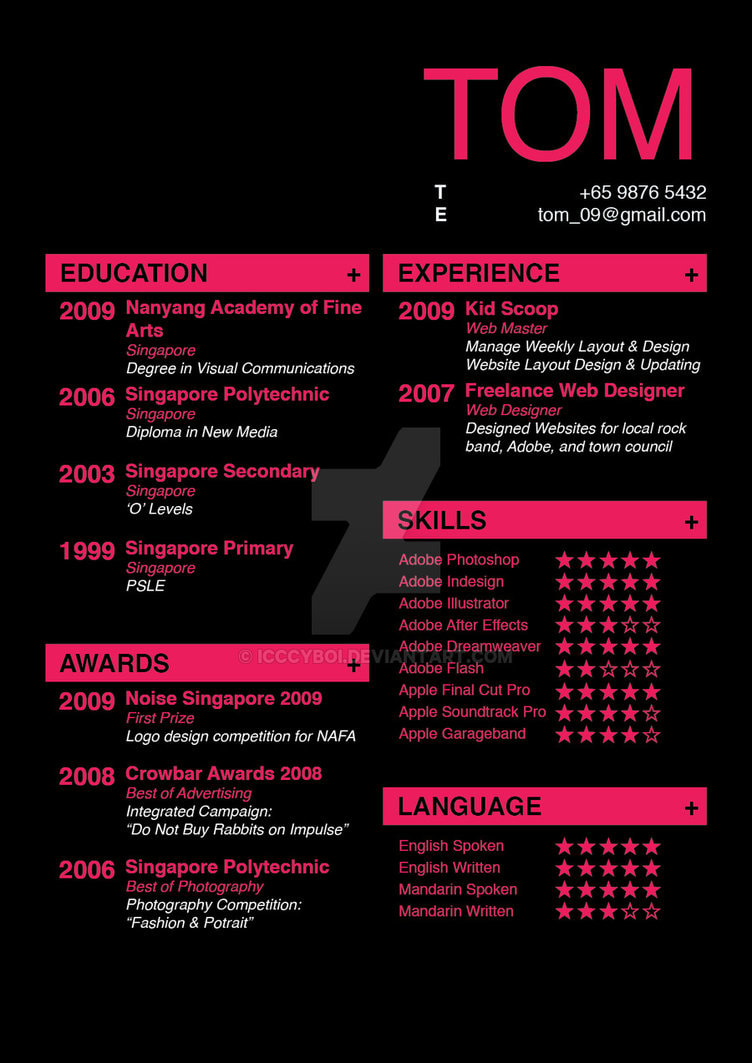
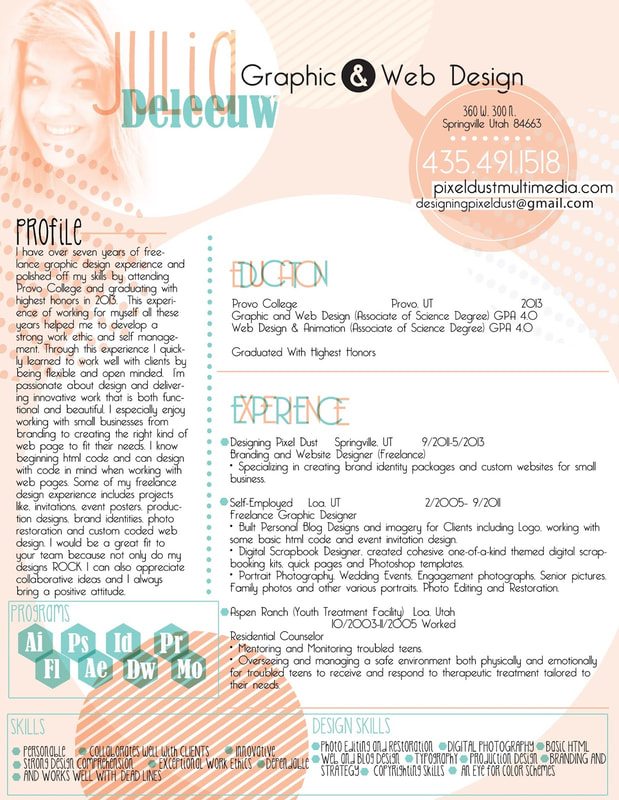
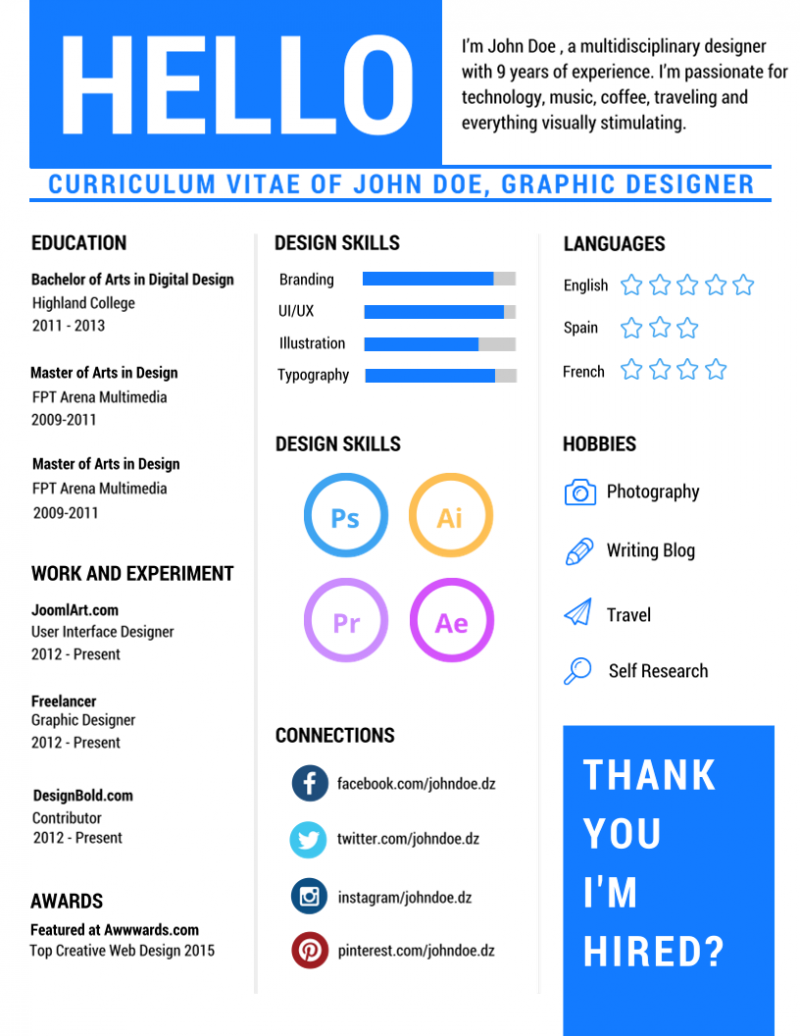
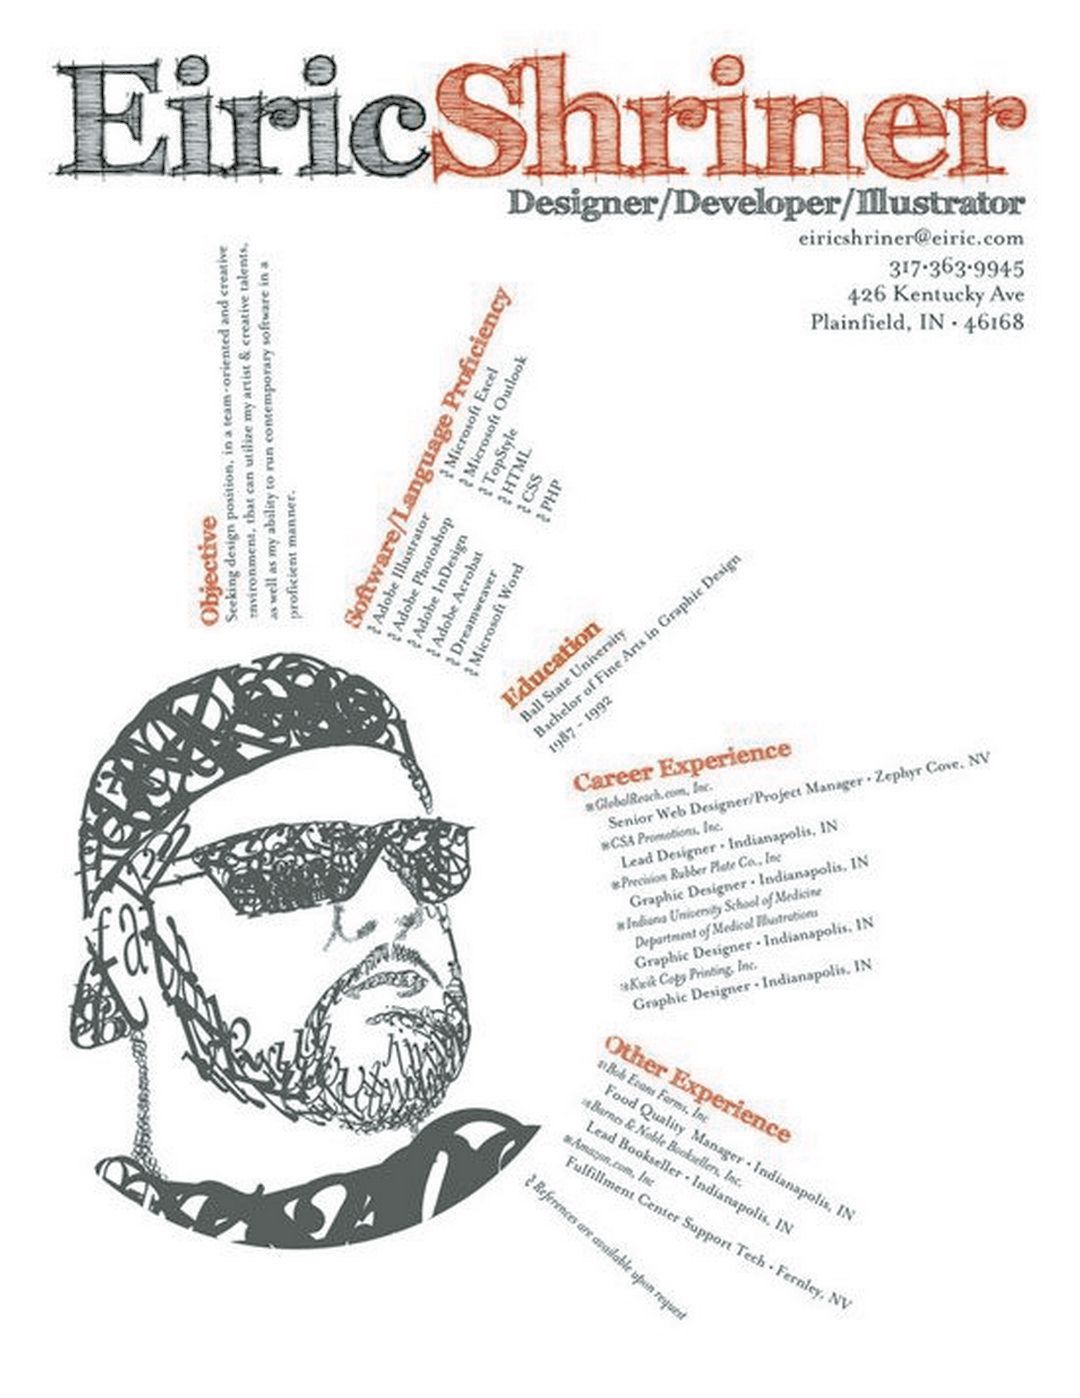
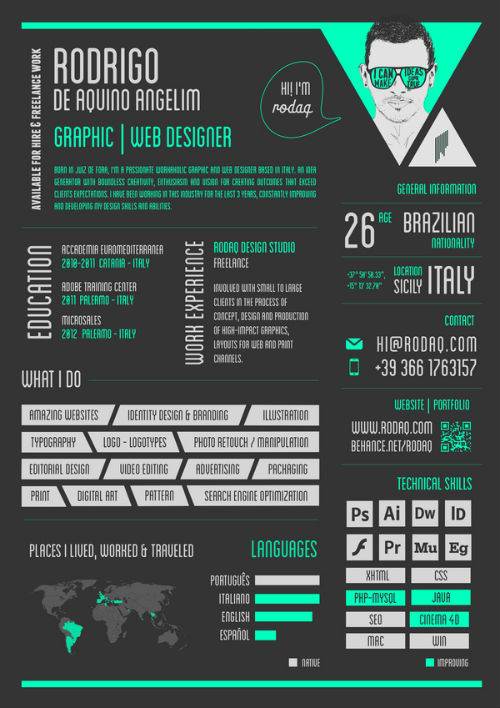
Part of creating your portfolio will be including a Resume of what your skills and work experience include. You will need to create a resume for yourself with accurate information. I do understand that some of you will not have "real" work experience yet, but you do have classes and skills that you can include. You will need to create a 1 page resume (Do not go over 1 page). You will need to create your resume to be geared towards getting a job in the career you researched earlier. BUT, this is a graphics class so it is expected that you create something visually appealing. I have put several examples to the right to give you an idea/some inspiration.
We will be using Adobe Photoshop to complete this project. Resume must Include the following:
As you work, save your project as a .PSD and name it first initial + last name + resume. When you are finished, save it as a Adobe PDF with the same name (ex: NGobleresume.pdf) and turn in to QTL Moodle. Review the rubric for this project to make sure you aren't going to lose any points! |
| ||
Bubble Tutorial:
|
Essential Standard - 203
Essential Question: How do you alter a photograph using advanced editing techniques? Objective: Utilize graphic design to transform an image. Assignment: You have been hired by Super Fun Bubble Company. They want to create an ad campaign that shows images of real life but with objects replaced with a bubble. They want you to create these real life composites which will be used as stock images for their advertisements. Image should be 1024 X 768 or larger! You can replace an image and add the bubble to that original, or you can make an entire image out of the bubbles. Use the tutorial to the right to get you started. Save this project as first initial + last name + bubble as a PSD file. Also save as a JPG with the same name.. Add the final images to your Portfolio folder as well. Grading Criteria Checklist 1 - Used Internet to find high resolution images online for the project (NO blurry, pixelated, or copyright info) 2 - Saved images into Graphics folder to use in graphic editing software 3 - Graphic designed in a manner that is visually pleasing, balanced, and creates an interest in the topic 4 - All images behind bubbles cut out cleanly in Photoshop 5 -Bubbles are warped in a manner that looks realistic 6 - Details such as shadow or light shimmer are present and realistic 7 - Background looks real behind bubble. Should not look faked. 8 - The details of the original image are present in the new bubble image 9 - Graphic file is saved as a .PSD file and exported as a .jpg format as instructed 10 - Final graphic file is submitted in a .PSD format with the instructed name for the project, on time |
| ||
Hybrid Animal Assignment:
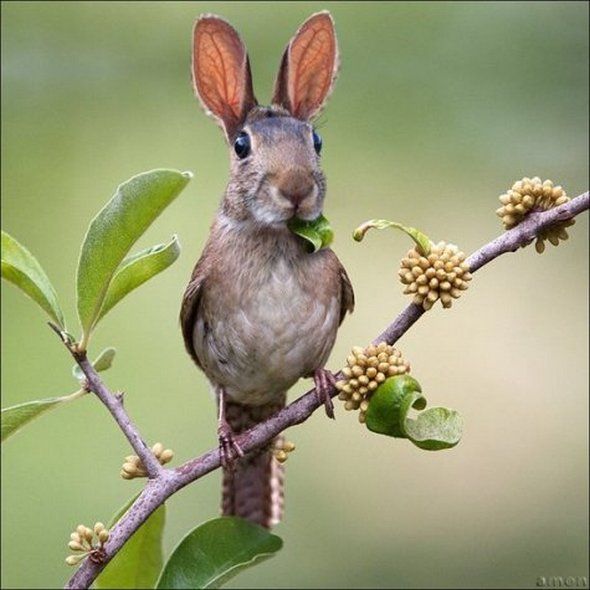
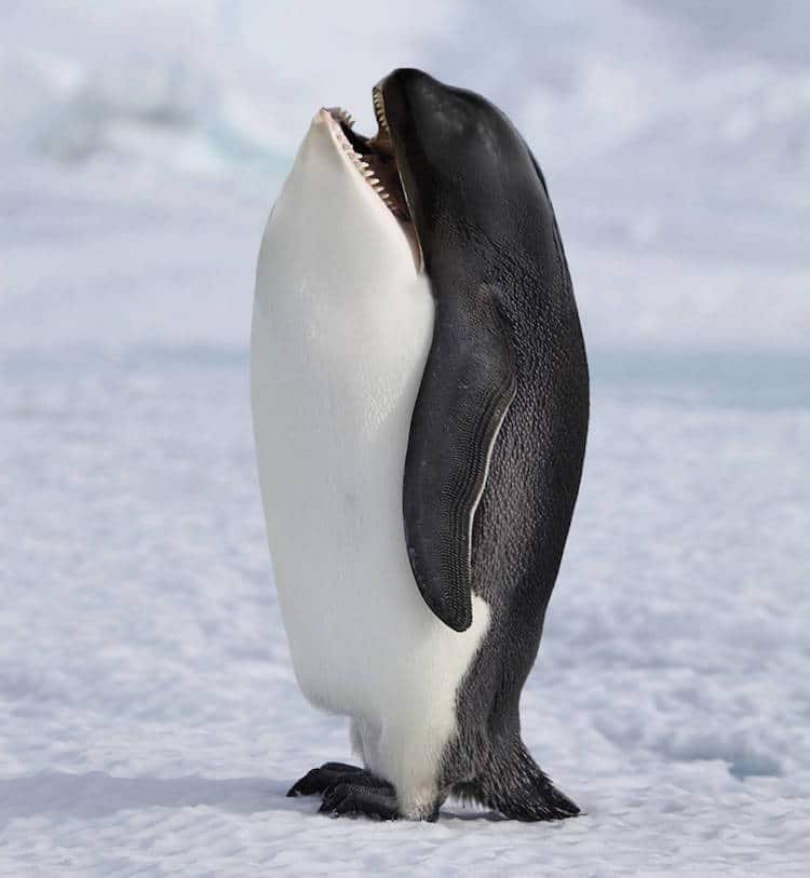
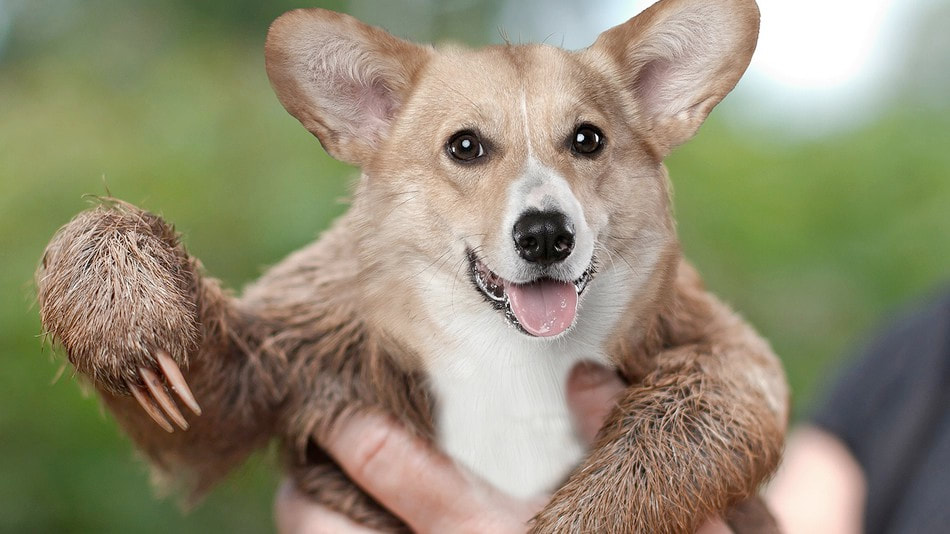
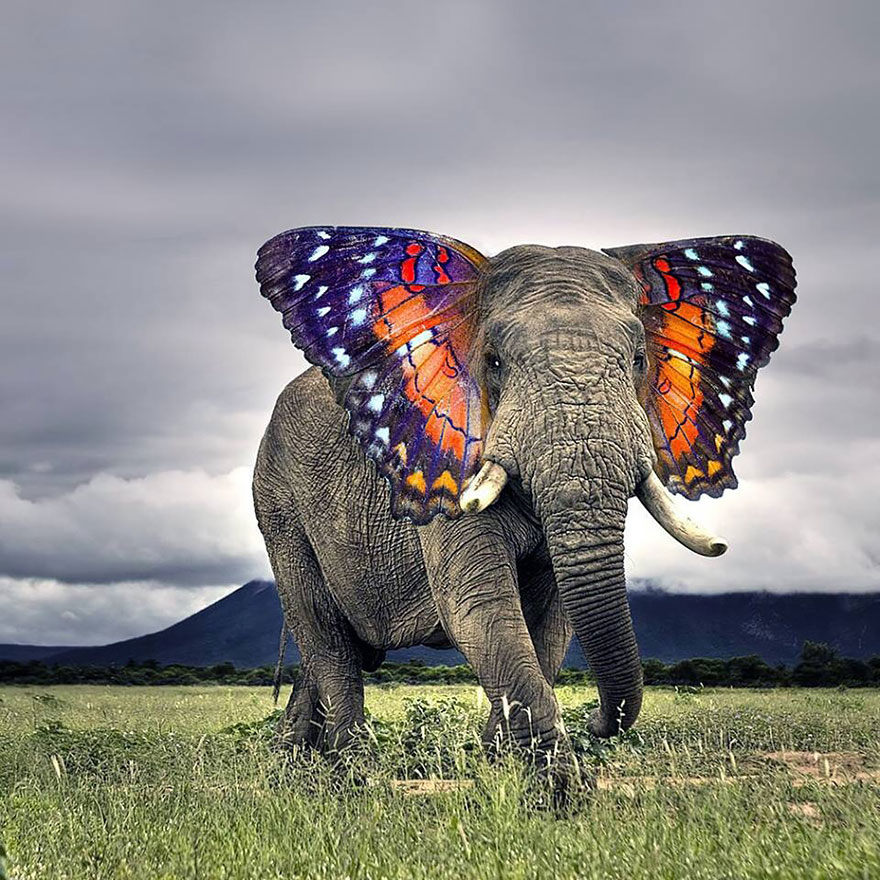
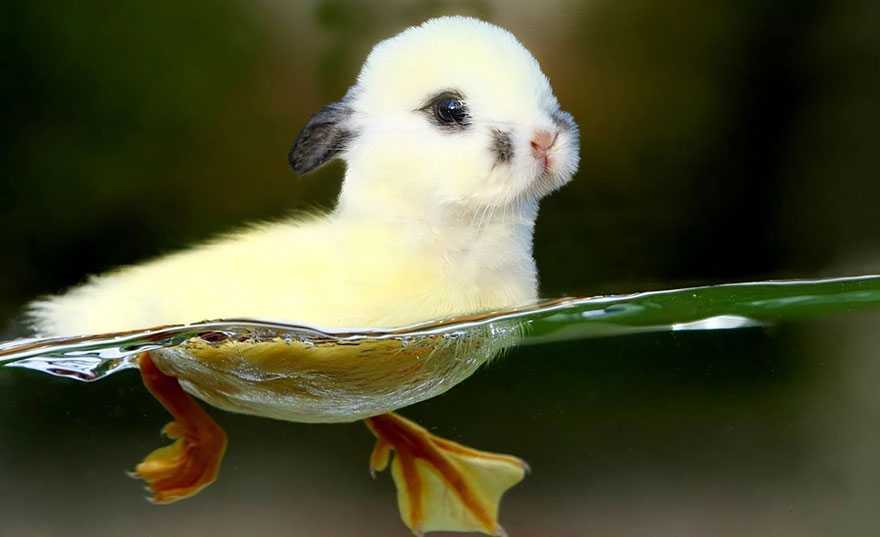
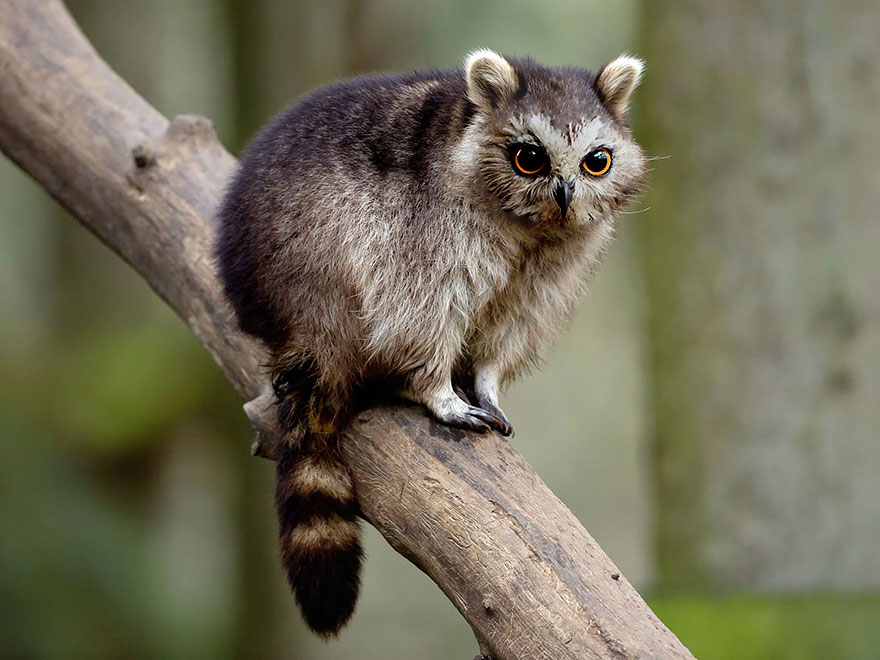
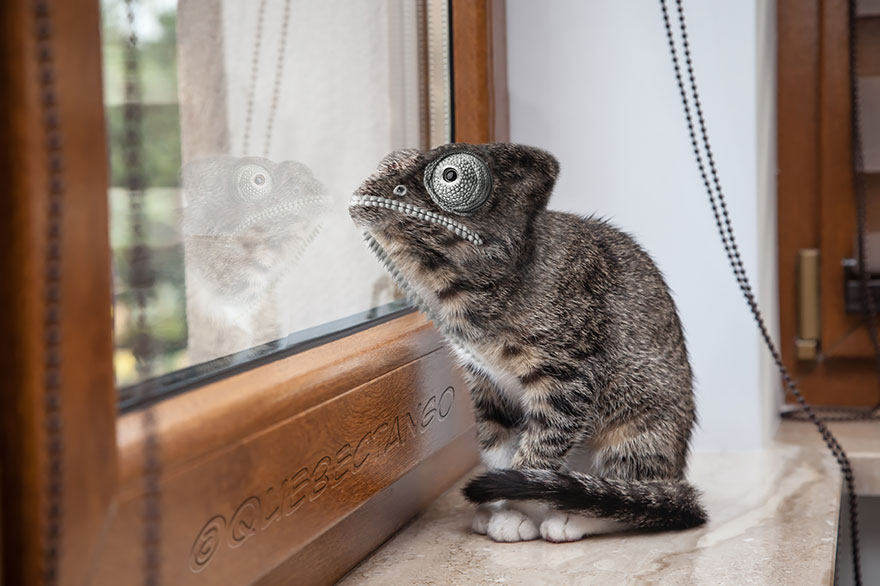
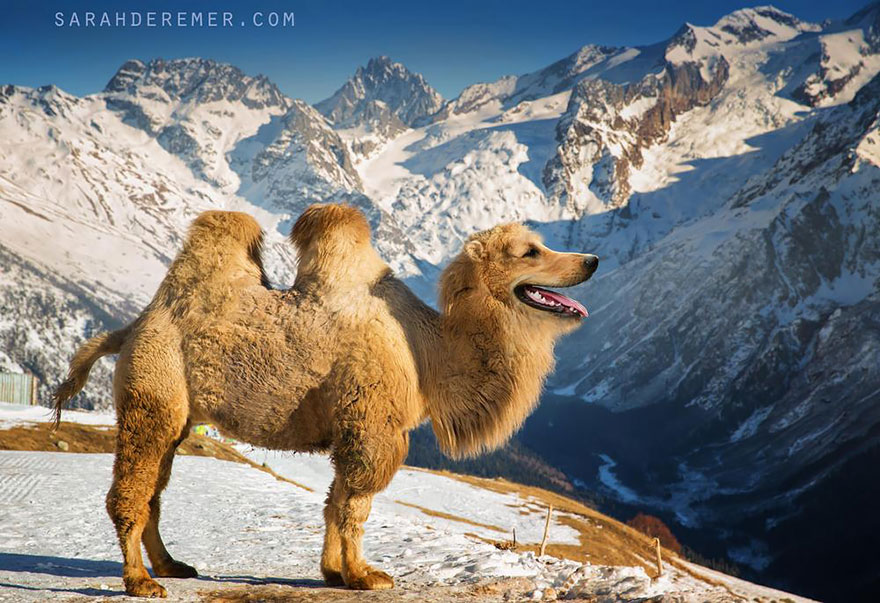
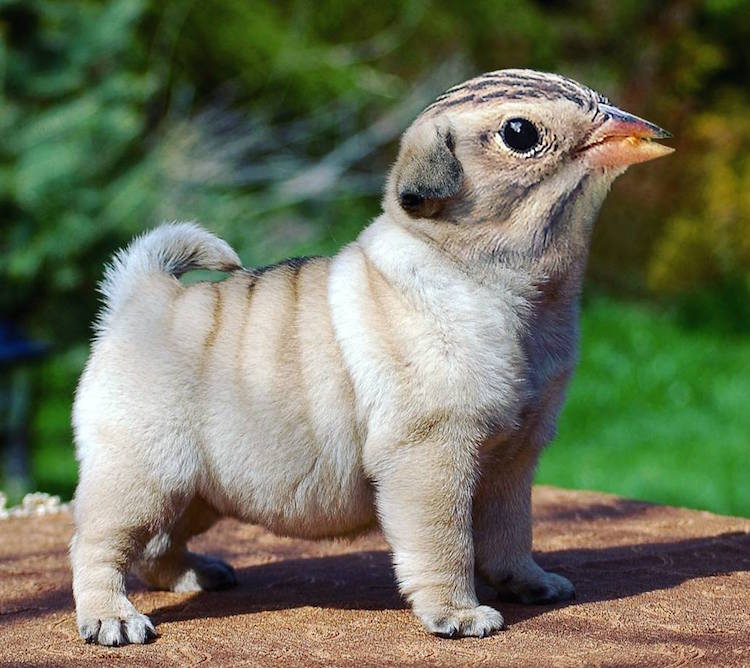
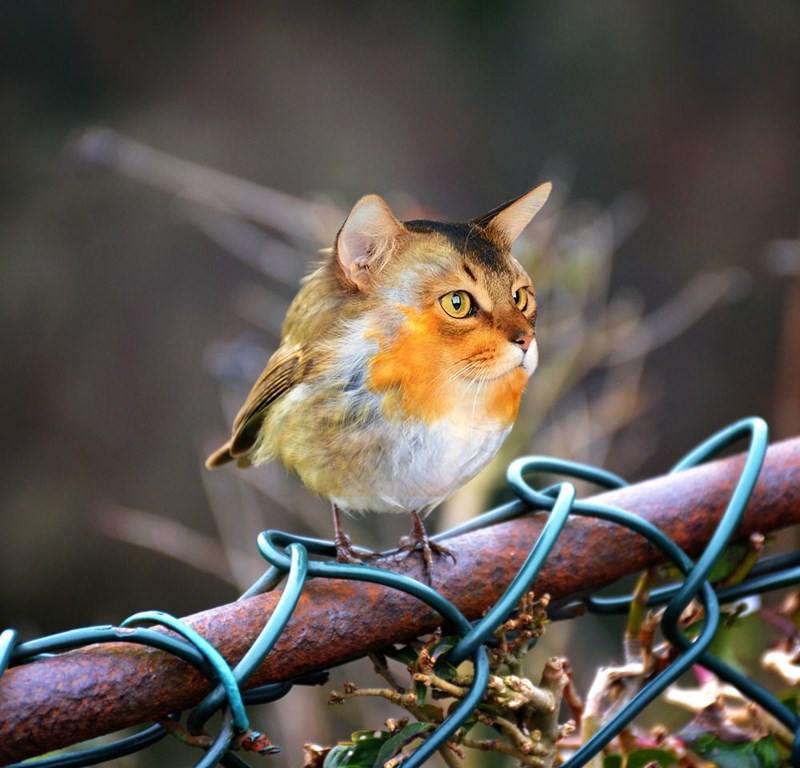

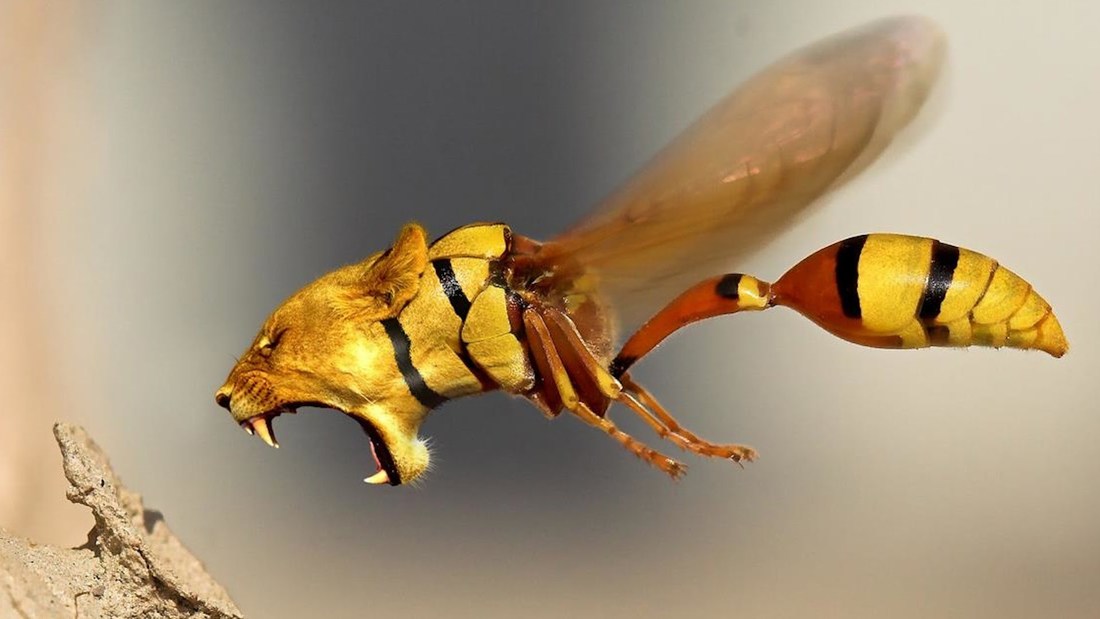
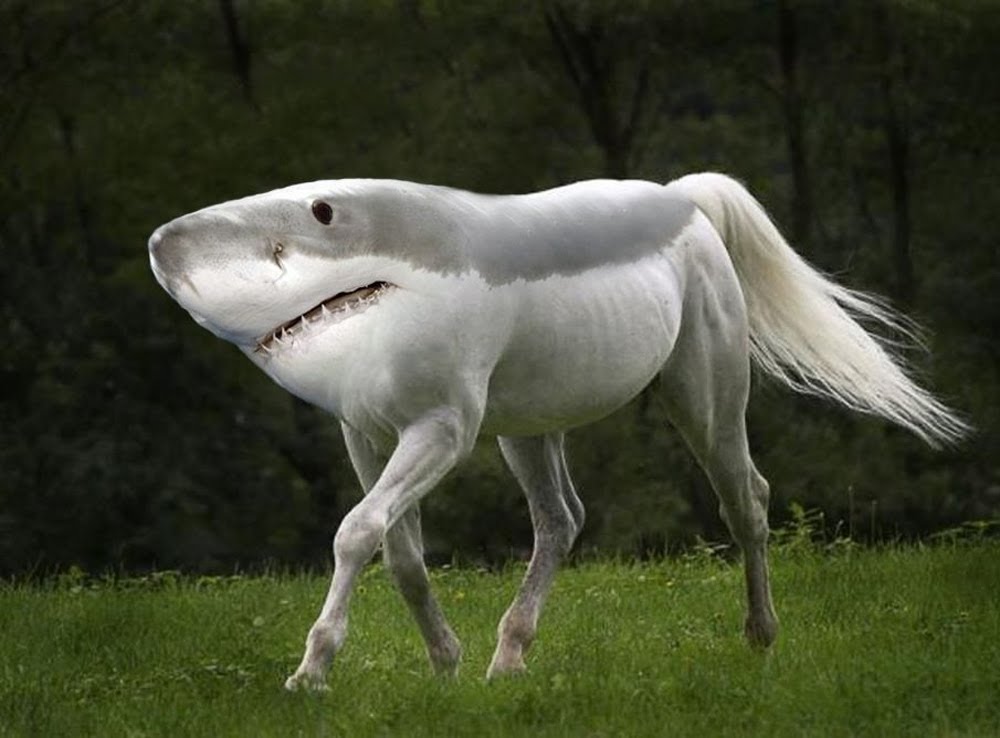
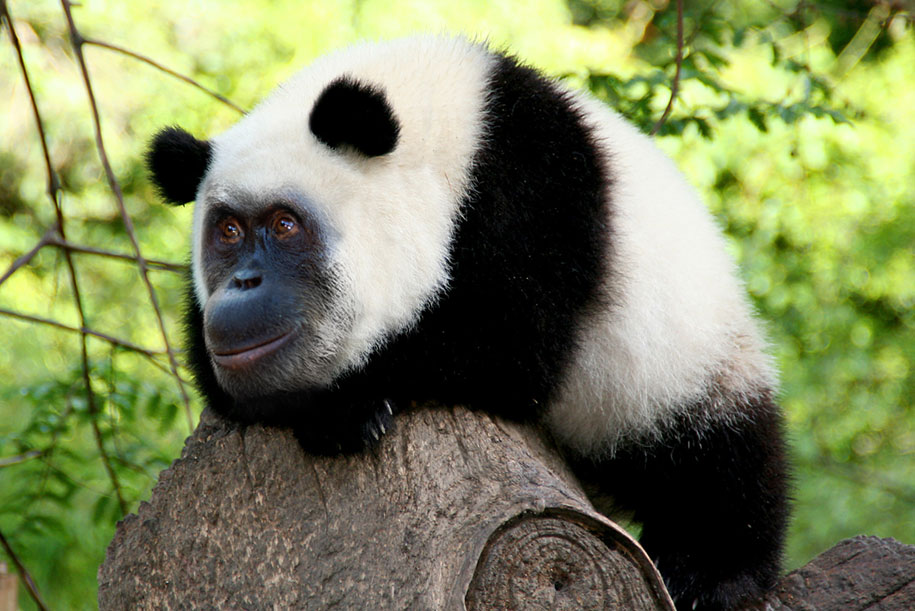
Mashup Challenge Assignment:
How do you take 2 different pictures and make them into a mash up that is completely integrated together? Select a minimum of 2 photographs that you think could be put together in a way that makes a new thing. Make sure you can't tell where the mash ups occur. BE CREATIVE!! You will need to make at least 3 Mash Ups for this assignment. Make sure you don't use any of the ideas you see here. Instead BE CREATIVE!! This is a test of both your photoshop abilities and your creative skills. When I look at this, I should not be able to tell where the images were combined. You will need to find your own high quality images (Google Search > TOOLS > LARGE).
You will need to save all 3 of your Mashups as both a .PSD and a .JPEG with the following file name: First Initial + Last Name + Mashup + # (Example: NGobleMashup1)
You will need to save all 3 of your Mashups as both a .PSD and a .JPEG with the following file name: First Initial + Last Name + Mashup + # (Example: NGobleMashup1)
Adobe Illustrator Tutorials & Projects:
Check these New Tutorials out to refresh yourself on Illustrator!
Learning The Pen Tool
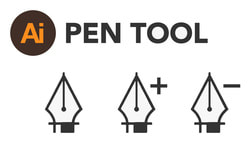
The Pen tool is the best tool in your illustrator toolbox. Once you have master this tool, it opens up so many different drawing possibilities to you. It allows you to create very simple shapes to very complex ones. You have used this tool once before in Photoshop in the Graffiti project, but now we will explore it in greater depth.
Let's start with The Bezier Game, the link is to the right. We will spend 1 hour on this game. When the hour is up, Scoggins will record your score. The game is to help start you off with the fundamentals of creating basic shapes using the pen tool. Next, download the pentool exercise .AI file to the right to start this lesson on using the Pen Tool. You simply follow the numbers and the instructions to complete the exercise. The point you need to aim at in each step is the center of each numbered colored dot. The top layer is the"working layer". This is the layer you'll be working on. Make sure your fill color is empty so you don't block the directions. There are 3 different colors: blue, red and green.
For more practice, I had added another follow the instructions worksheet called vector pen tool exercise.AI sheet and the Adobe Pen Tool Game. |
| ||||
The Pathfinder Menu
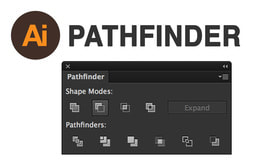
Sometimes it is easier to work with 2 shapes to than to draw the entire thing by hand. In this lesson you will be creating creating some basic shapes following the step by step directions on both worksheets. Its a simple one! Download the Pathfinder worksheet .AI file first. Using the shapes I provided, select these and follow the directions to create new shapes.
Now download the Pathfinder Advanced . AI file. Just create the shapes shown in the original. Use the pathfinder tool indicated in the directions. Your goal is to make YOURS look like MINE. Save your file as Last Name + First Name + Period + Pathfinder worksheet and put into your Intro to Illustrator Folder. |
| ||||
Gradients
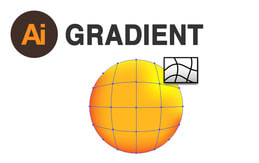
Learning to use gradients in a fundamental in creating more realistic drawings in Illustrator. Download the Gradient worksheet to the right, and follow the instructions and create the 4 gradients. The 4th question asks you to create a Gradient Mesh egg, once you draw your oval, select it and go to the Object menu > select Create Gradient mesh. You will use the Direct Select tool to isolate the anchor point whose color you wish to change. Think about the demonstration Scoggins did in class! Save your file as Last Name + First Name + Period + Gradient worksheet and and put into your Intro to Illustrator Folder.
|
| ||
Polygonal Animal (Illustrator Refresh) Assignment:
Essential Question:
How can you create a professional vector logo with shapes?
Objective:
Use Illustrator's tools, menus, and palettes to create a complex vector logo with polygonal shapes.
Assignment:
You have been hired as a graphic designer by The North Carolina Zoo. They want you to create a colorful graphic animal theme. You are to follow the directions given by the project manager for the target audience to complete the project. Once complete then you should review the checklist for grading criteria before turning in your work.
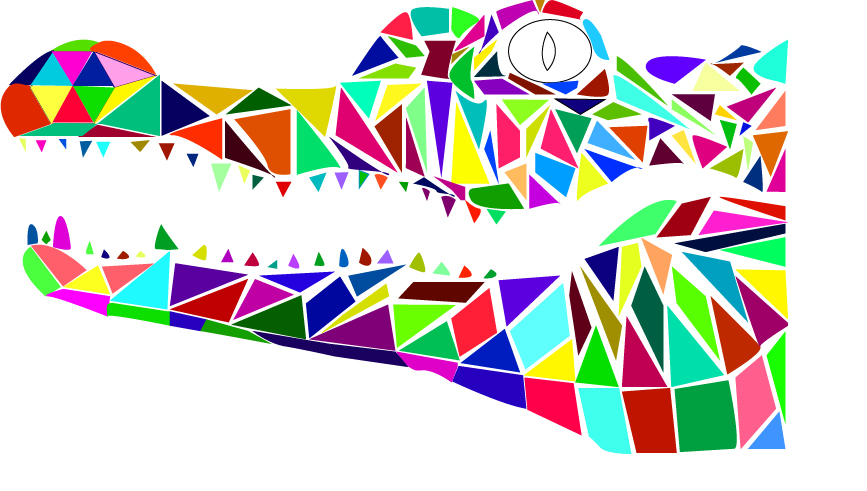
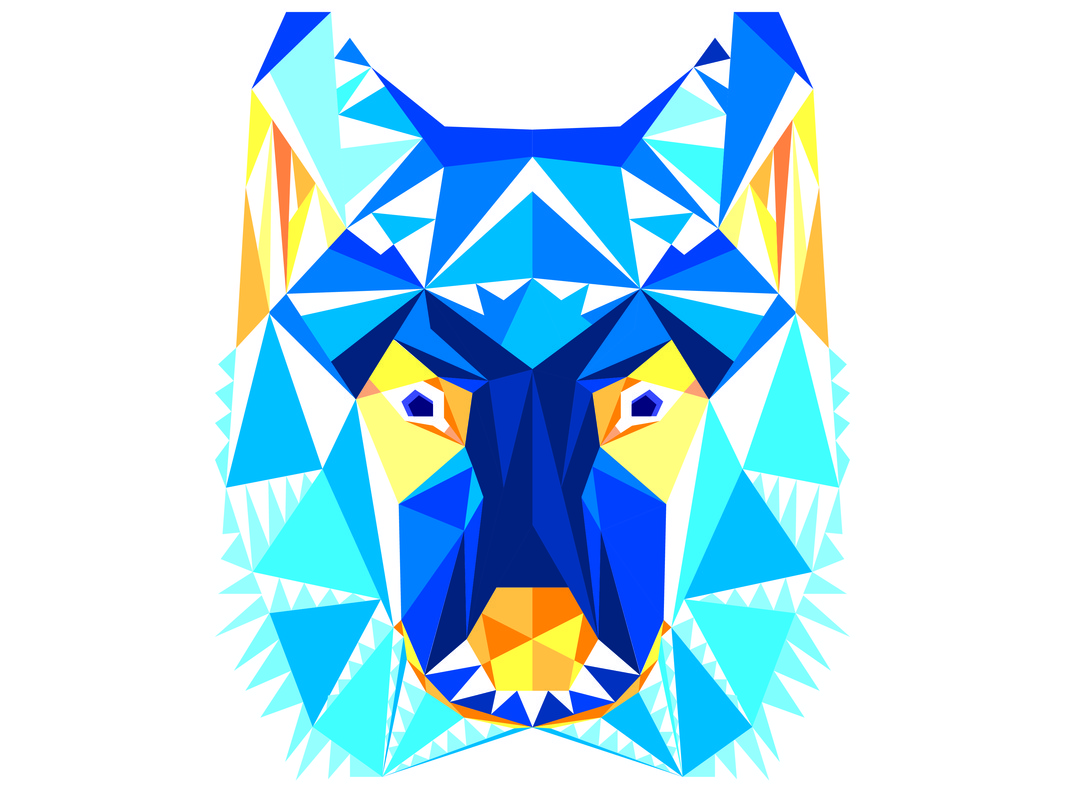
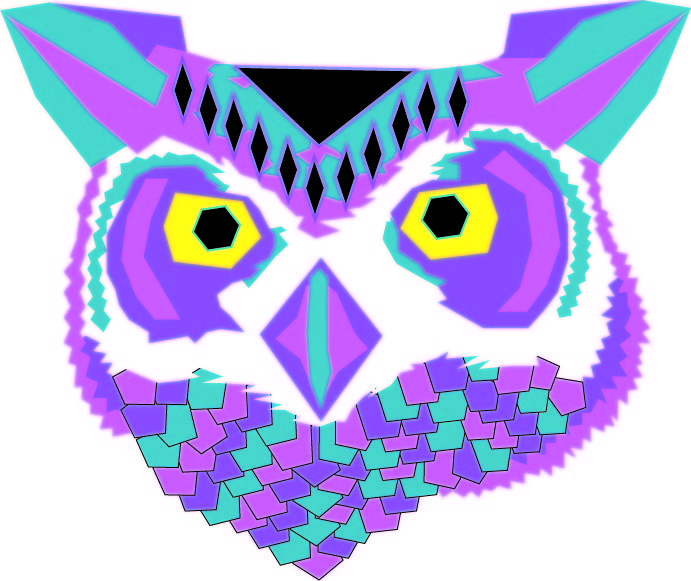
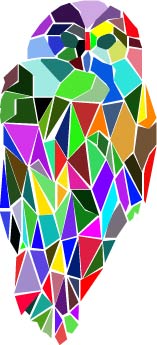
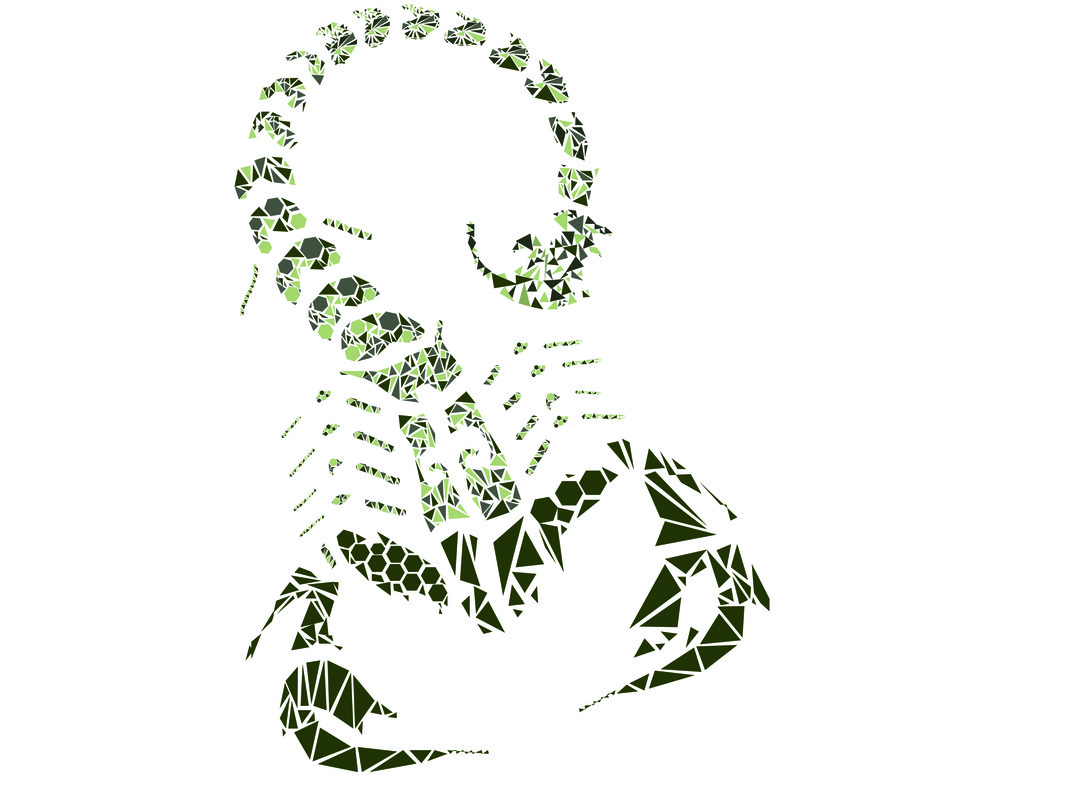
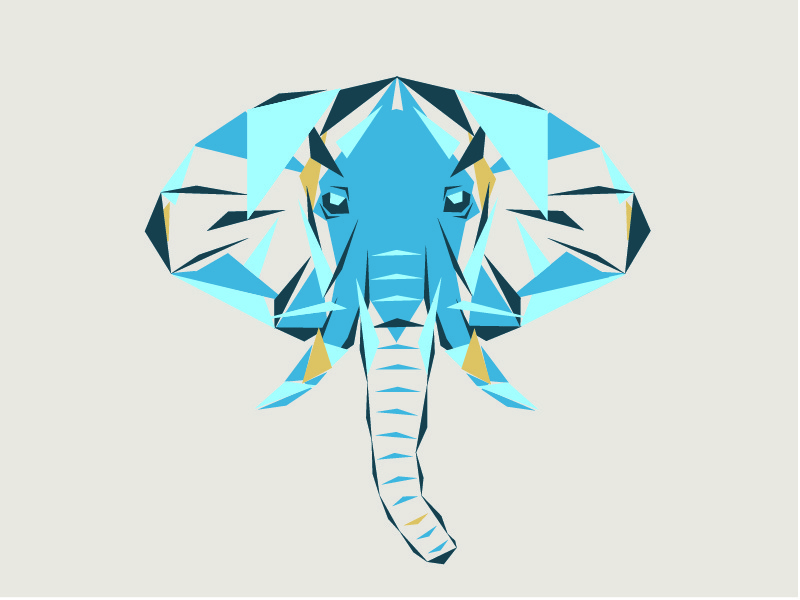
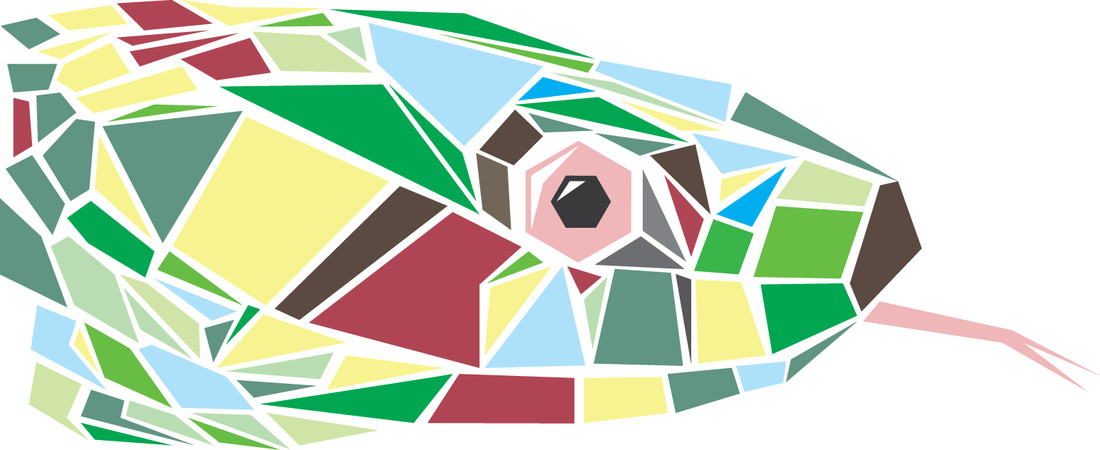
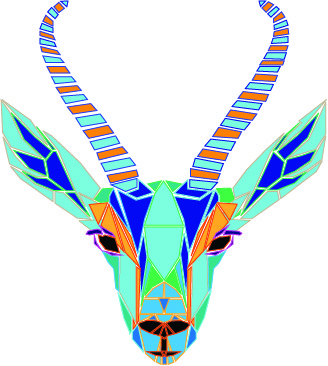
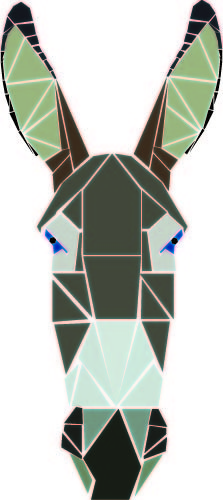
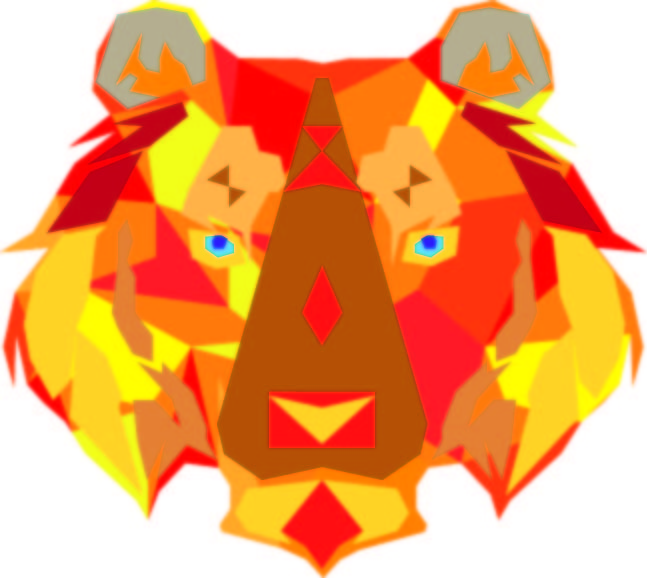
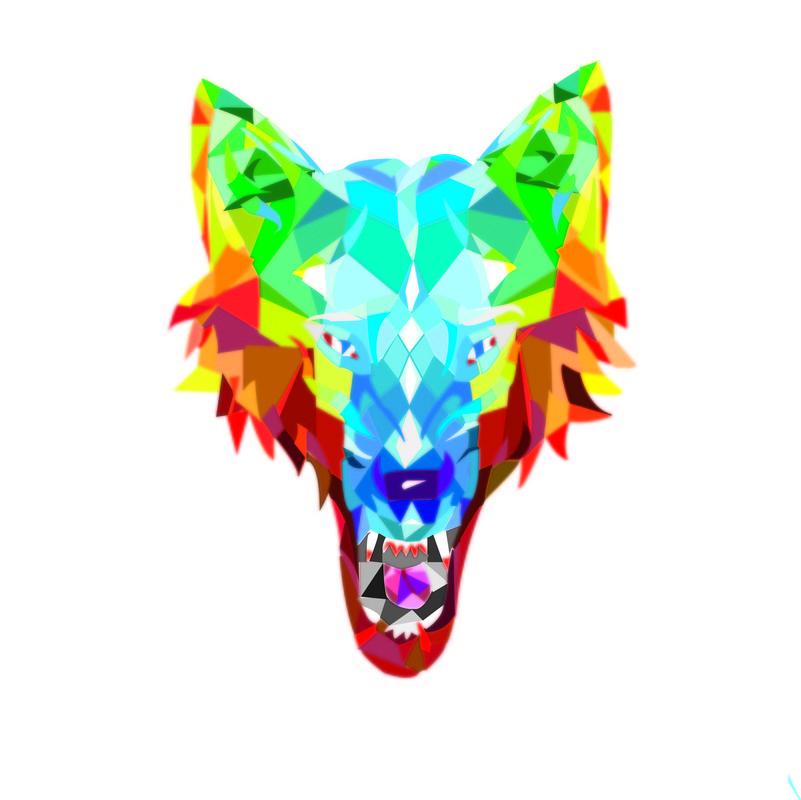
Create a Colorful Polygonal Animal by selecting an image of animal online and then using polygonal shapes and triangles to design a colorful animal shape recreation Challenge yourself to include gradients, feathering, or transparency.
You will be graded on a difficulty rating based on your illustrator technique and attention to detail as well as your creativity. See the examples for ideas. Your image size is 800 width and 600 height.
Save your completed graphic as a AI (Illustrator file). Label it as last name + first initial + poly (ex. goblenickpoly.jpg) and save in your graphics folder. Submit only the AI (Illustrator file) to the dropbox. Place your .ai file in your projects folder on your desktop.
Grading Criteria Checklist
1 - Polygonal animal designed with a creative theme
2 - Design incorporates various shapes
3 - Design incorporates gradients or transparency
4 - Design incorporates bright decorative color scheme
5 - Animal created is easy to depict
6 - Graphic designed in a manner that is visually pleasing, balanced, and creates an interest in the topic
7 - Colorful scheme utilized fits with the target audience
8 - Images size is 800 x 600 pixels
9 - Graphic file is saved as a AI file as instructed
10 - Final graphic file is submitted as an Adobe Illustrator (AI) format with the instructed name for the project
EXAMPLES:
How can you create a professional vector logo with shapes?
Objective:
Use Illustrator's tools, menus, and palettes to create a complex vector logo with polygonal shapes.
Assignment:
You have been hired as a graphic designer by The North Carolina Zoo. They want you to create a colorful graphic animal theme. You are to follow the directions given by the project manager for the target audience to complete the project. Once complete then you should review the checklist for grading criteria before turning in your work.
Create a Colorful Polygonal Animal by selecting an image of animal online and then using polygonal shapes and triangles to design a colorful animal shape recreation Challenge yourself to include gradients, feathering, or transparency.
You will be graded on a difficulty rating based on your illustrator technique and attention to detail as well as your creativity. See the examples for ideas. Your image size is 800 width and 600 height.
Save your completed graphic as a AI (Illustrator file). Label it as last name + first initial + poly (ex. goblenickpoly.jpg) and save in your graphics folder. Submit only the AI (Illustrator file) to the dropbox. Place your .ai file in your projects folder on your desktop.
Grading Criteria Checklist
1 - Polygonal animal designed with a creative theme
2 - Design incorporates various shapes
3 - Design incorporates gradients or transparency
4 - Design incorporates bright decorative color scheme
5 - Animal created is easy to depict
6 - Graphic designed in a manner that is visually pleasing, balanced, and creates an interest in the topic
7 - Colorful scheme utilized fits with the target audience
8 - Images size is 800 x 600 pixels
9 - Graphic file is saved as a AI file as instructed
10 - Final graphic file is submitted as an Adobe Illustrator (AI) format with the instructed name for the project
EXAMPLES:

dafont sketching activity:
On a blank piece of computer paper, draw out 10 equally sized boxes. In each of these boxes you are to find 10 different but appropriate fonts on DaFont.com (or another applicable Font website) that you feel represents your personality and best defines you. Take your time and sketch with getting the point across in mind, don't worry about the smallest of details but also don't just rush to get done early. The only two parameters on the activity are that you must use your name (First, Last, or Both) + the word "Design" and you can't use initials.
On the back of your sheet of sketch paper, answer the following questions:
1) What are 5 qualities that represent you?
2) What are your top 3 favorite colors?
3) What industry would you go into if you could/What does your future hold?
On the back of your sheet of sketch paper, answer the following questions:
1) What are 5 qualities that represent you?
2) What are your top 3 favorite colors?
3) What industry would you go into if you could/What does your future hold?
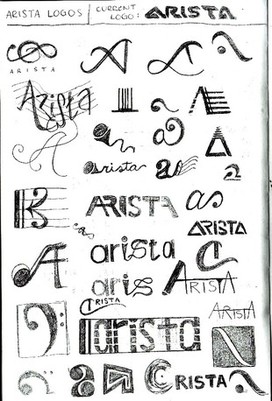
Partner Logo Design Project
|
Sketching/Mock Up Examples:
|
You will start with the Pre-Production Phase and speak with your partner to find out qualities/traits about them that they think they would like to represent them in a personal logo. You're required to have at least 6 different sketches of ideation of logos. *Use the examples in the images to the left as inspiration! Combine type/fonts with icons, try to just do type by itself in a unique way, try to an icon by itself. How and what would it represent on its own. Try to make each one different & unique so you have many different ideas to choose from. Your mock up logos that you'll do in Adobe Illustrator will all be for the same person. Remember these are just rough sketches or “doodles.” so they don't need to be a perfect but should be able to get the idea across to your "client" These sketches will be turned in as a part of your grade. Remember again that you should try to combine typography with imagery that's descriptive of them as a person/designer.
Next in the Production Phase you will choose 3 of your logo sketches/ideas and turn them into digital logos using Adobe Illustrator. You need to think about the description of their company/identity to ensure that your logo works with their personality. Make a File>New document sized at 11 x 8.5. You will create these all in 3 separate files. Be creative! Do not just do the ordinary, get outside of the box!!!
After completing your initial designs, you will be put in groups of 4 (Includes your Client) to get Feedback from your classmates. You and your group members will provide positive critiques to each other on your logos. You will be graded on your feedback by your group members. You will also receive a grade based on your ability to accept and use the feedback given to you throughout the design process by your classmates and Mr. Goble. After acquiring your Feedback, you will begin to adjust your current designs. No one is perfect, thus you will have some new ideas from your classmates in order make some changes to improve your logos. Finally you will complete your designs for the Post-Production Phase.You will turn in your final 3 logos. All files need to be saved as LastNameFirstNameLogo#. You will submit your Adobe Illustrator (.AI) files to QTL Moodle at the end of the project. | ||||||||
Google Doodle Assignment:
| google_doodle_rubric.pdf |
Each day Google has a new logo, and now we will work on making our own version. You will need to start a new Adobe Illustrator file with the following dimensions: 12 inches by 5 inches, though if you need more space this can be adjusted on your artboard. To create your google logo, use the guidelines below and see some of past student work. You may use images as references, but you must redraw and adjust so the images resembles the letters in GOOGLE.
Export as PNG:
As you work, save your project as a .Ai and name it First Initial + Last Name + google.AI. When you are finished, save it as a .AI and a .PNG with the same name and turn in BOTH to QTL Moodle. Remember to add a .PNG copy to your portfolio folder!
- NO TEXT BOXES
- You must draw all of your images
- You should have a minimum of 6 groups: 1 for each letter
- Apply an effect to something in your design (Drop Shadow/Stroke/Blur/etc.)
- You must have a THEME!
- You may use the word Google BUT it has to be with a image or a drawing on, behind or surrounding it and look NOTHING like the Google logo (AKA: You can't just type the word Google with the company's colors and call it a day)
- The logo is designed in a manner that is visually pleasing and reflects the theme
- Graphic is creative and well organized
Export as PNG:
- File > Export > Export As
- Make sure PNG is selected at the bottom
- Check the Use Artboard Box
- Click Export
- Resolution: 72
- Background Color: White (Default is set to Transparent, Change THIS!)
As you work, save your project as a .Ai and name it First Initial + Last Name + google.AI. When you are finished, save it as a .AI and a .PNG with the same name and turn in BOTH to QTL Moodle. Remember to add a .PNG copy to your portfolio folder!
Minimalist Poster Project:
|
In Adobe Illustrator you will need to choose either a Book, a Video game, a Movie, or really anything that has a "front cover" type of design. You will need to look up the original cover/poster to use as inspiration for what you'l be drawing. You will create a minimalist version with the least amount of elements possible that still communicates the book, tv series, video game, or movie clearly to your audience. Everything must be an original drawing of yours, no internet images. (You can use images to trace, but they need to be deleted afterward) Name the file first initial+last name+minimalist. Save it as an Adobe Illustrator file a submit it on QTL Moodle. Look at the examples to the right for reference and Google Search Minimalist Posters to explore more. Focus on attention to detail since everything is minimized down to a select few objects, don't rush with the Pen Tool.
Dimensions: Width: 24 Inches Height: 36 Inches
|
| ||
Vector Portrait Project:
|
Graphics - Illustrator
Essential Standard - 203 Essential Question: How do you create line art from a photograph? Objective: Use Illustrator to learn the tools of portrait design. Assignment: You have been hired as a graphic designer by Liquid Portrait. They want you to design a lifelike portrait of an individual. You are to follow the directions given by the project manager for the target audience to complete the project. Once complete then you should review the checklist for grading criteria before turning in your work. Take a photo of yourself or find a close-up shot of a famous person online. Open a new file in Illustrator. Choose Print as the new document profile, and choose the landscape (horizontal view) icon for the orientation. File>Place your photo image in Illustrator. Use the pen tool to trace the image and fill in the outline with color. Utilize multiple layers. Concentrate on shading techniques to make the image as life like as possible. Pay attention to detail on how light is cast upon skin and clothing. Save as First Name+Last Name+Portrait as an Illustrator (.ai) file and as a .jpg file. Submit the .jpg and place a copy in your portfolio folder. Grading Criteria Checklist
|
EXAMPLE PROJECTS:
|
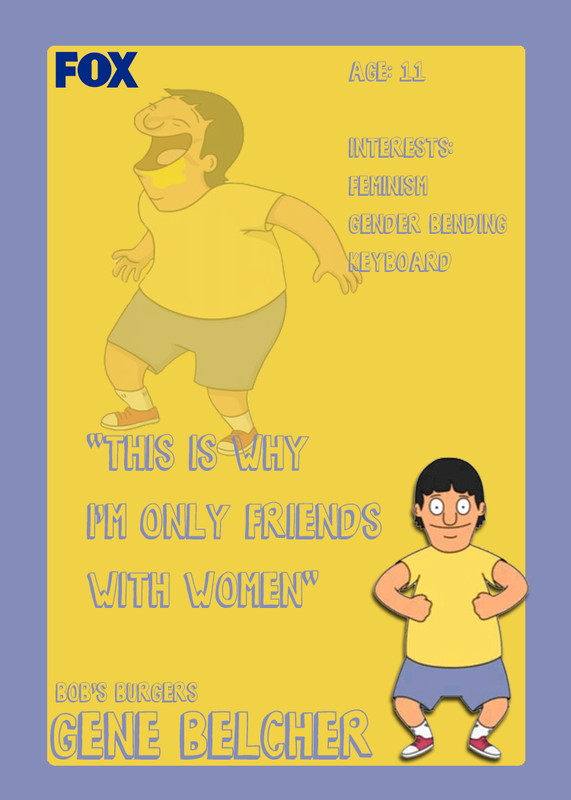
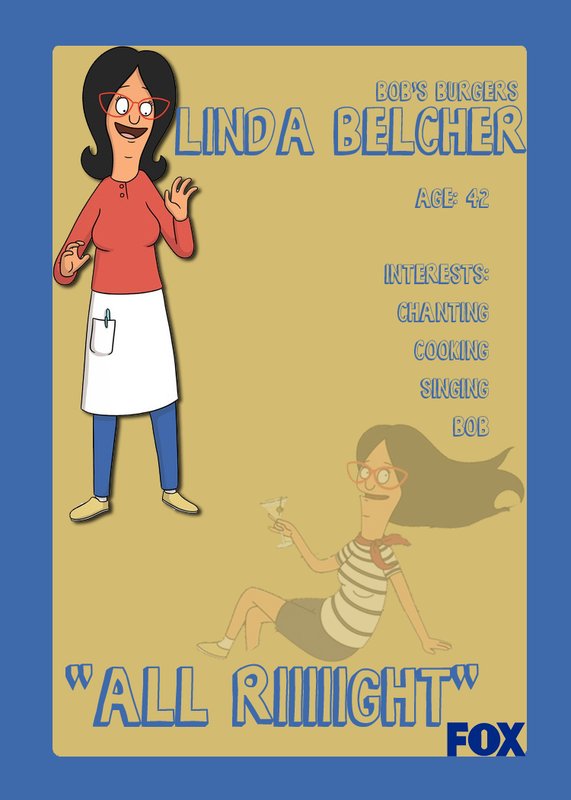
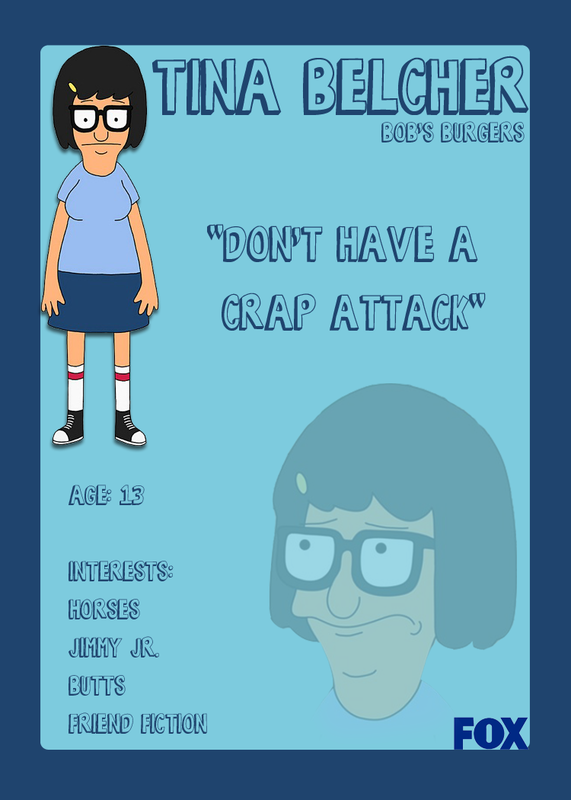
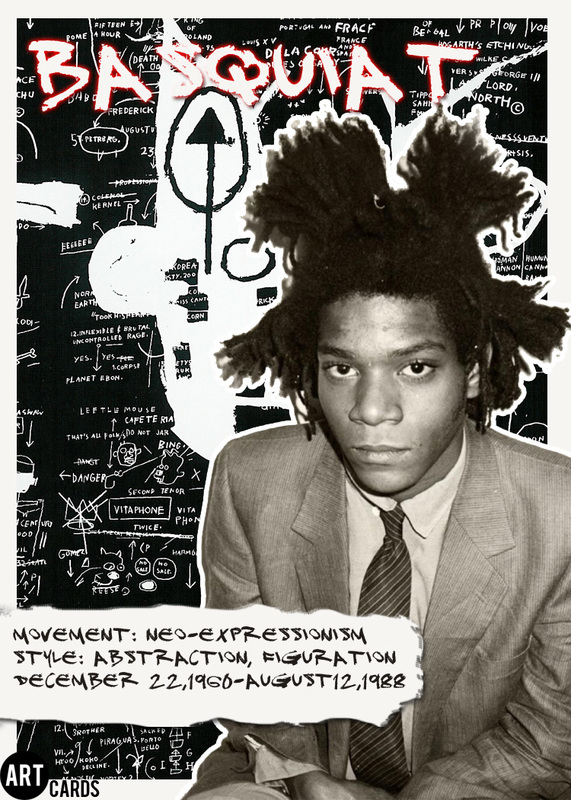
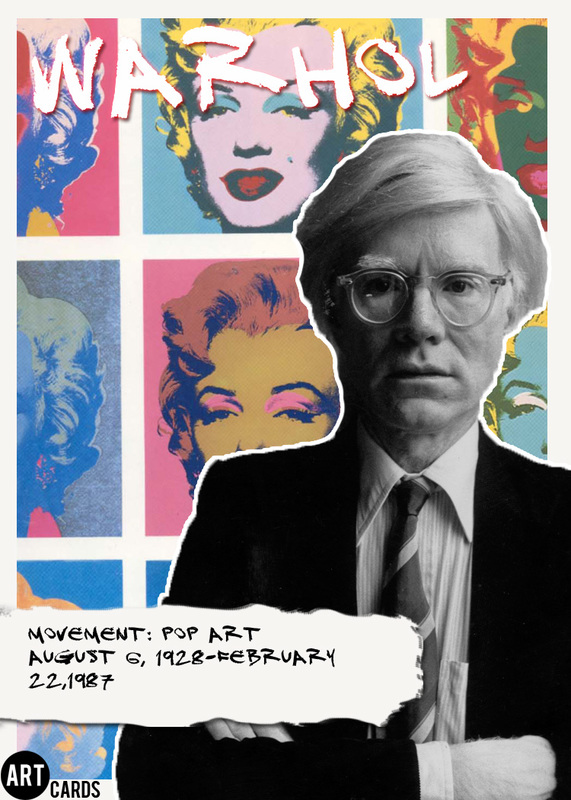
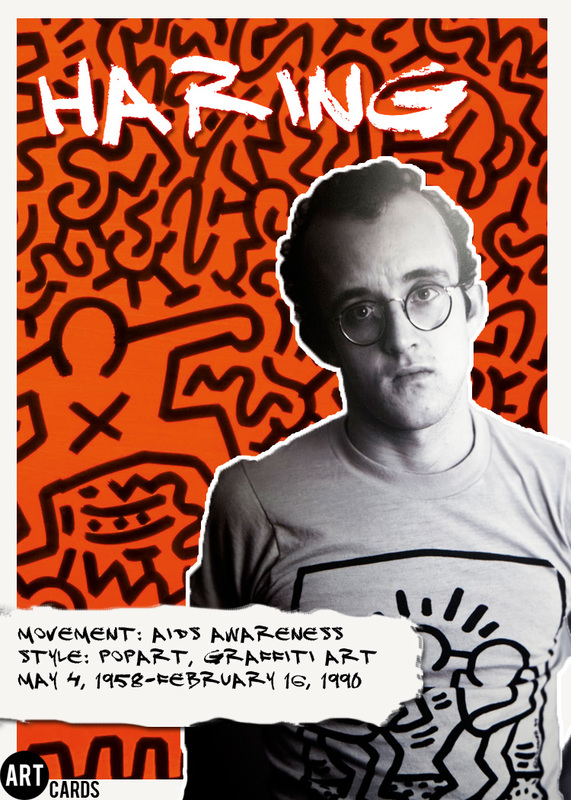
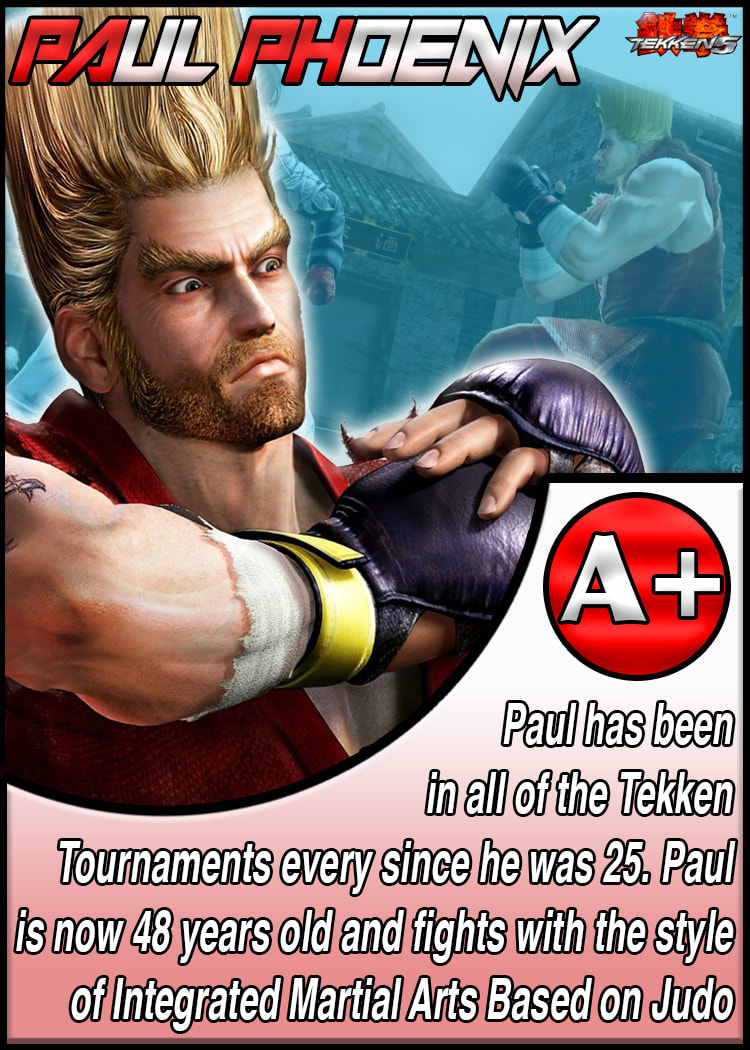
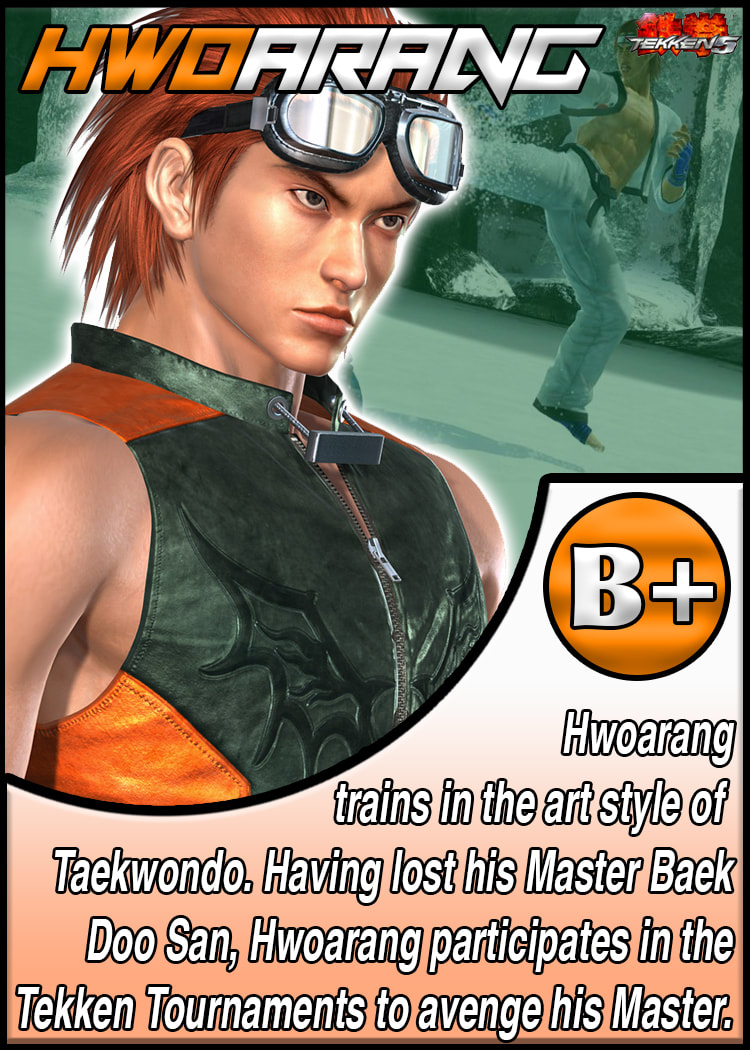
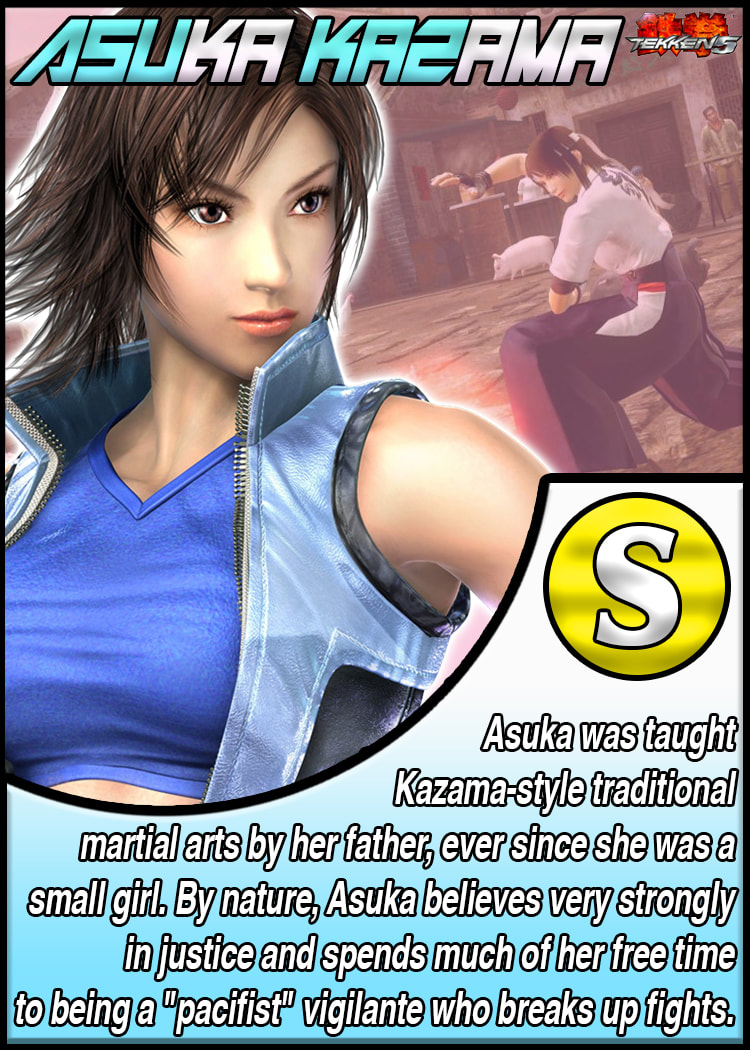
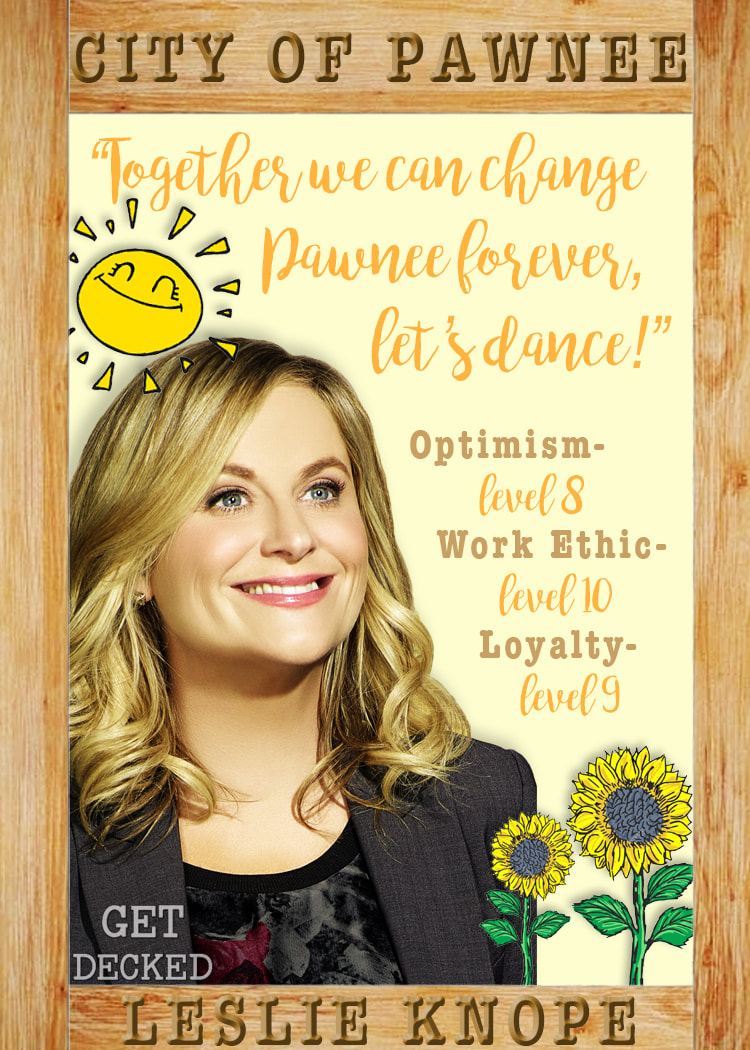
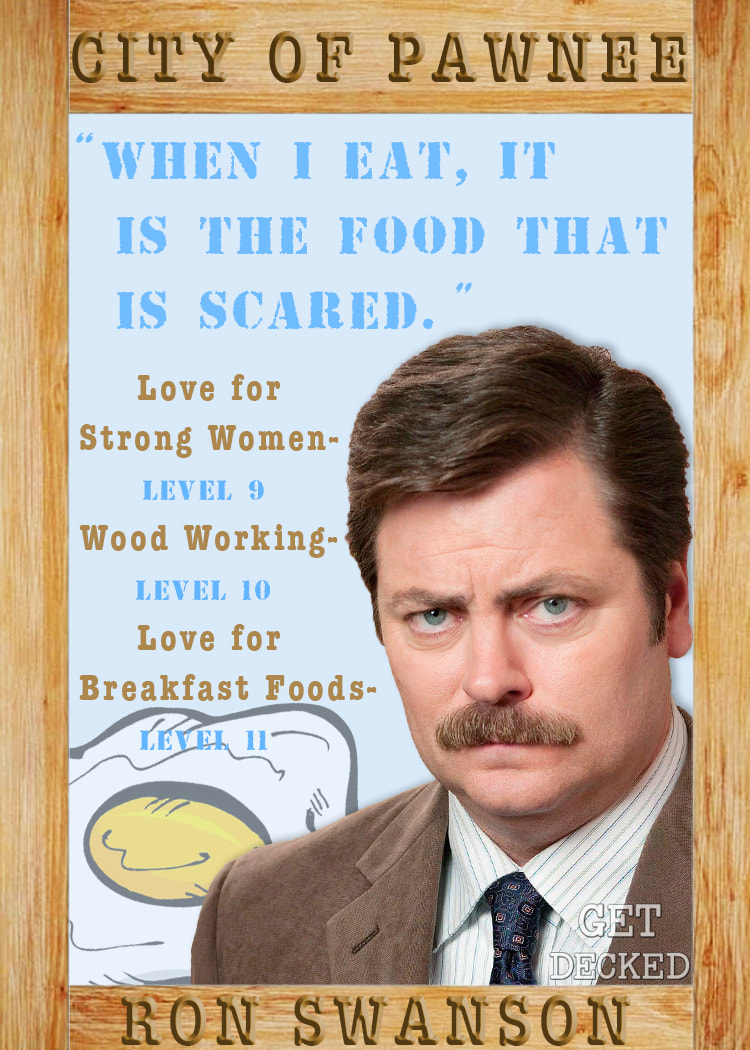
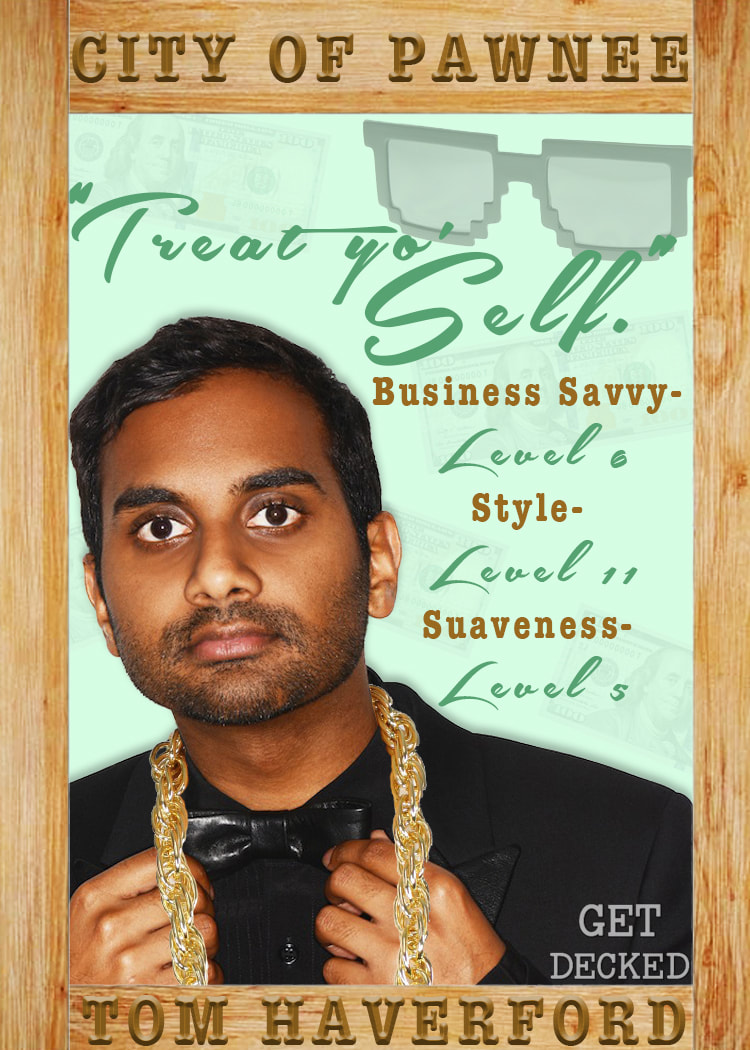
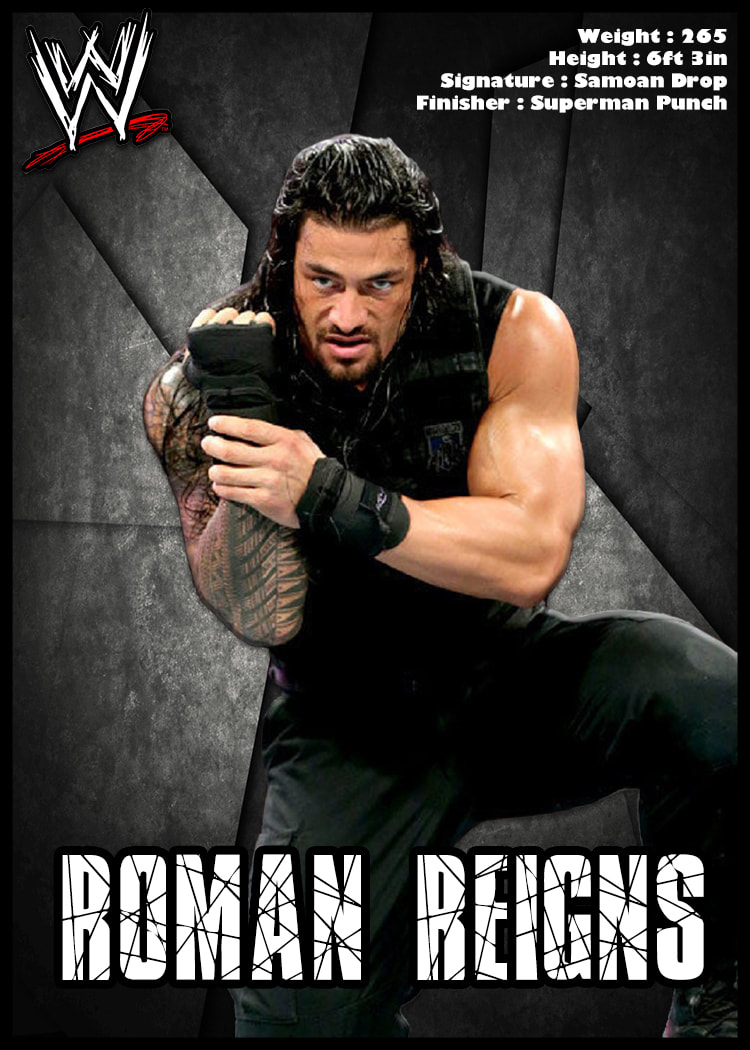
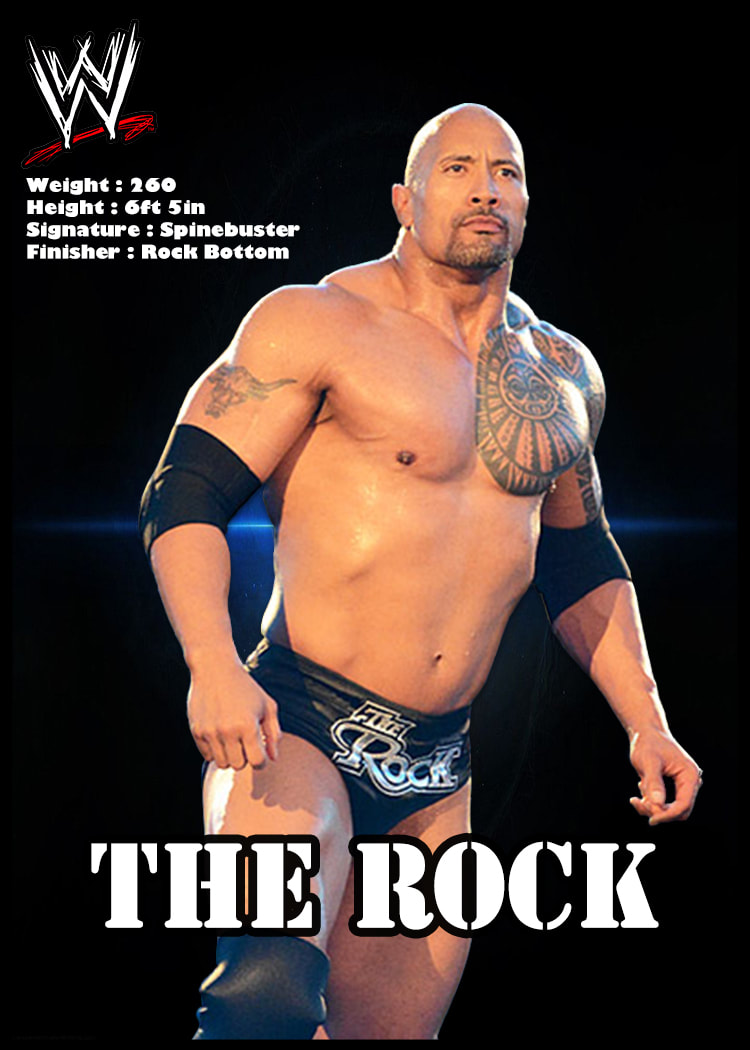
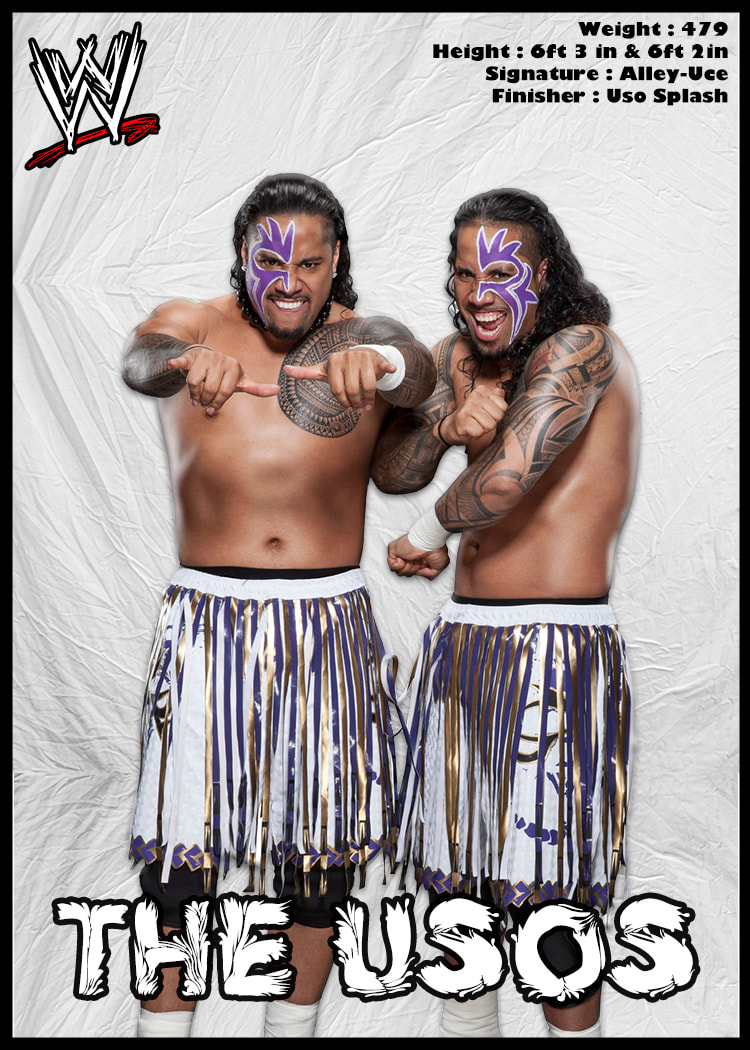
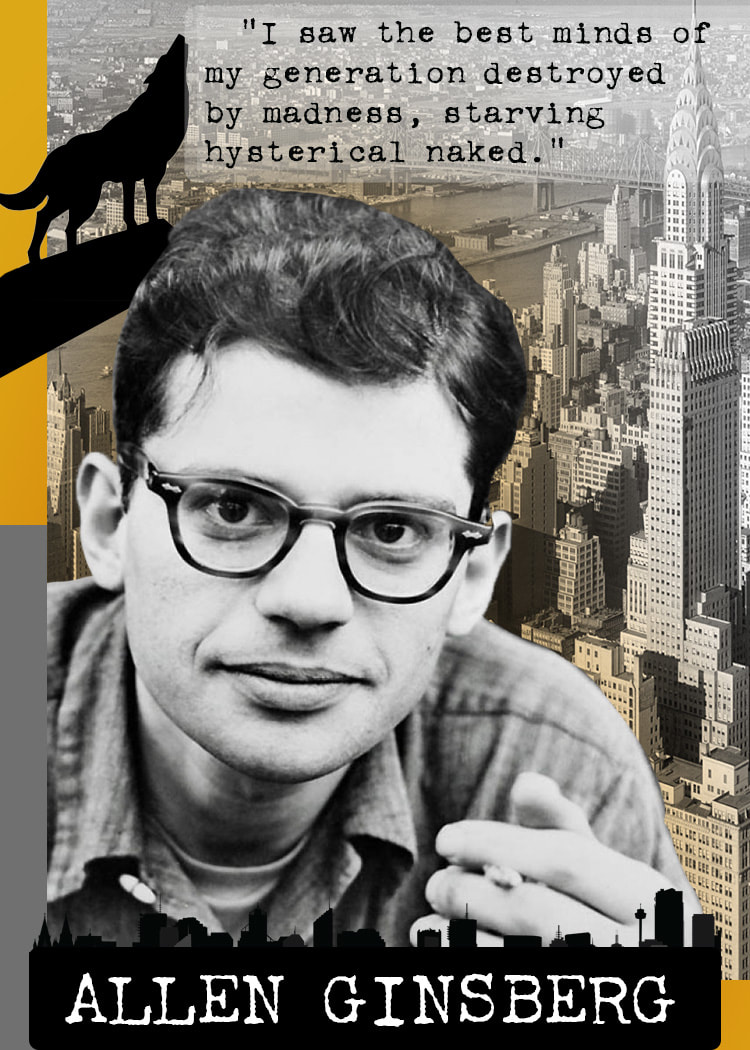
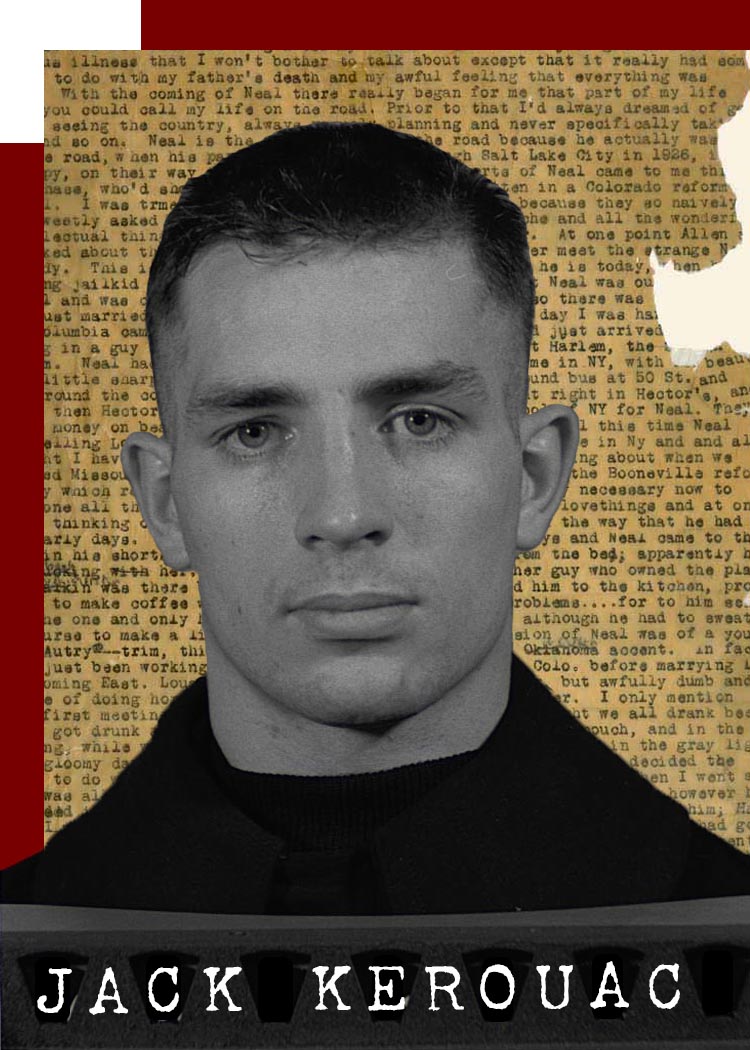
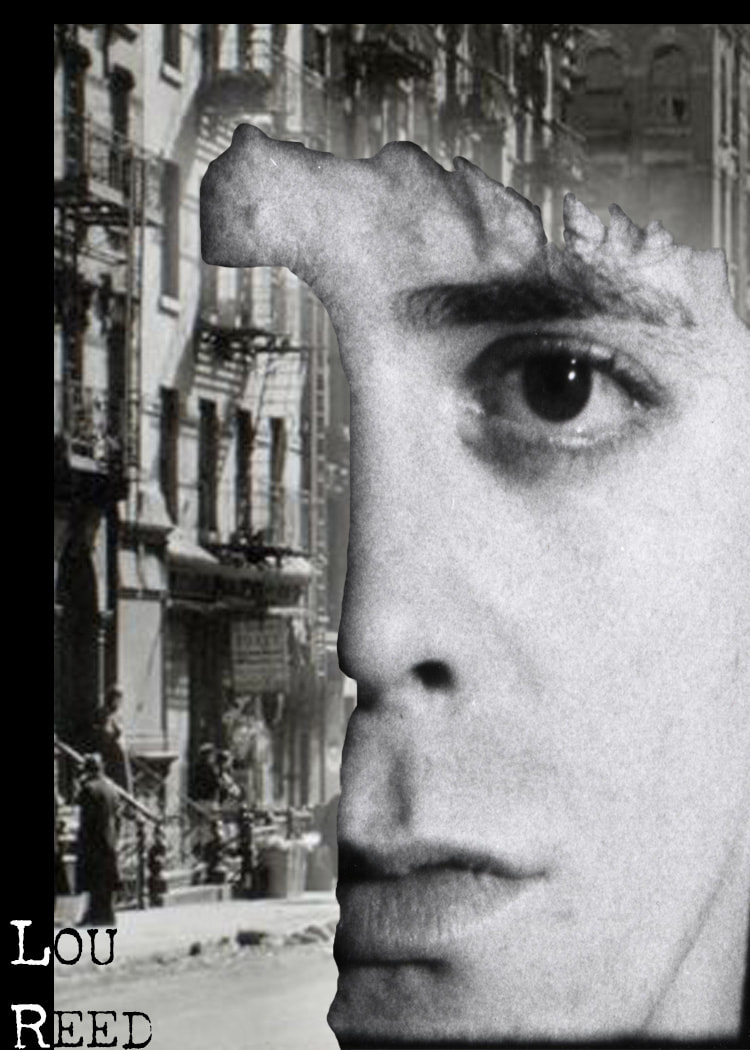
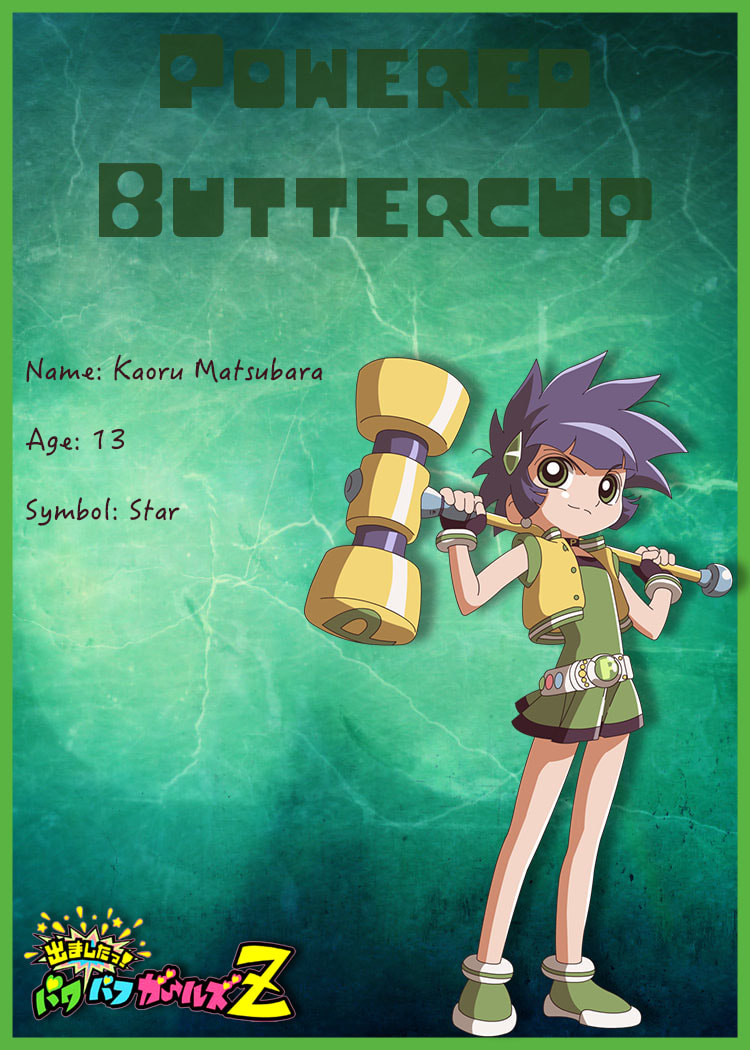
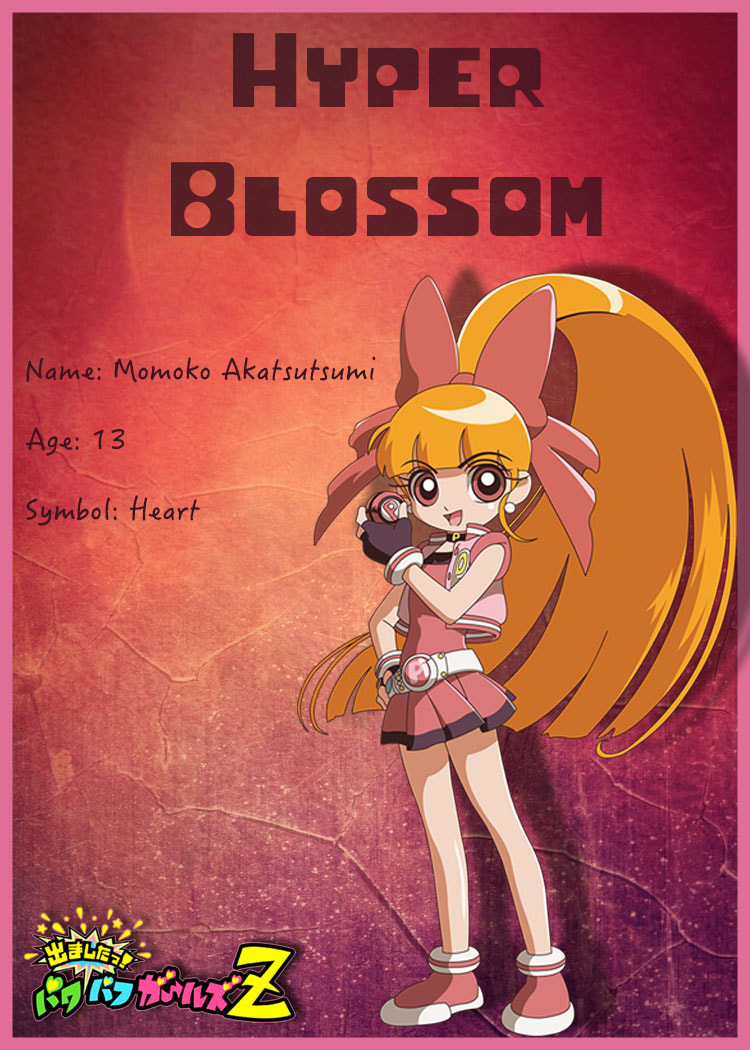
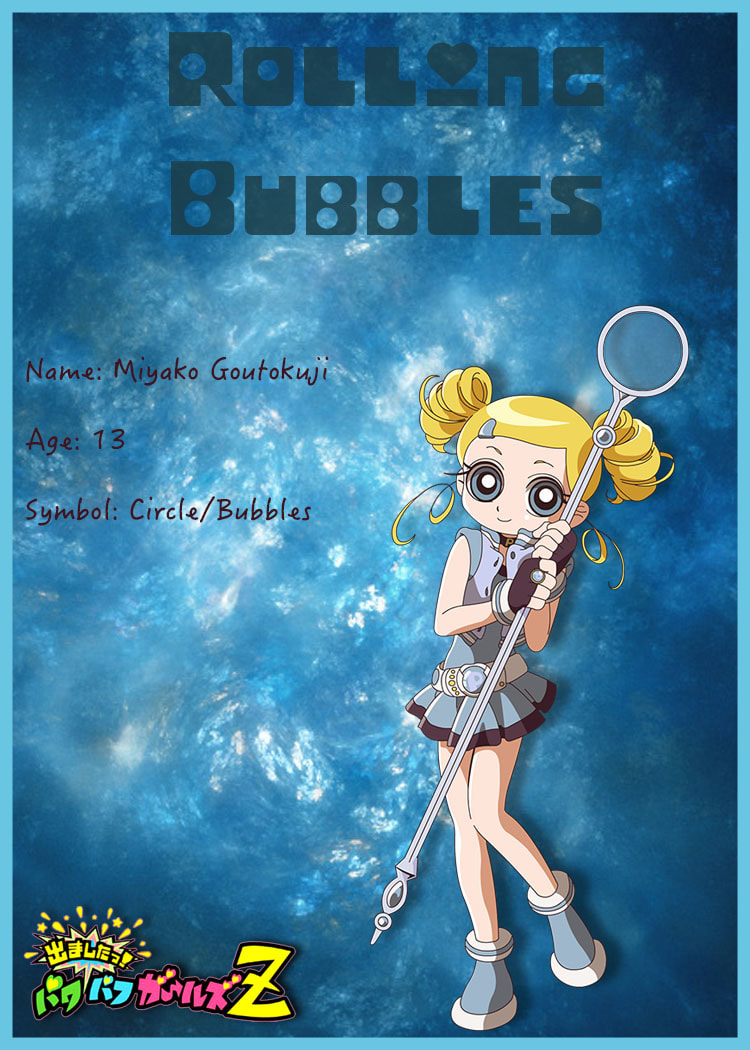
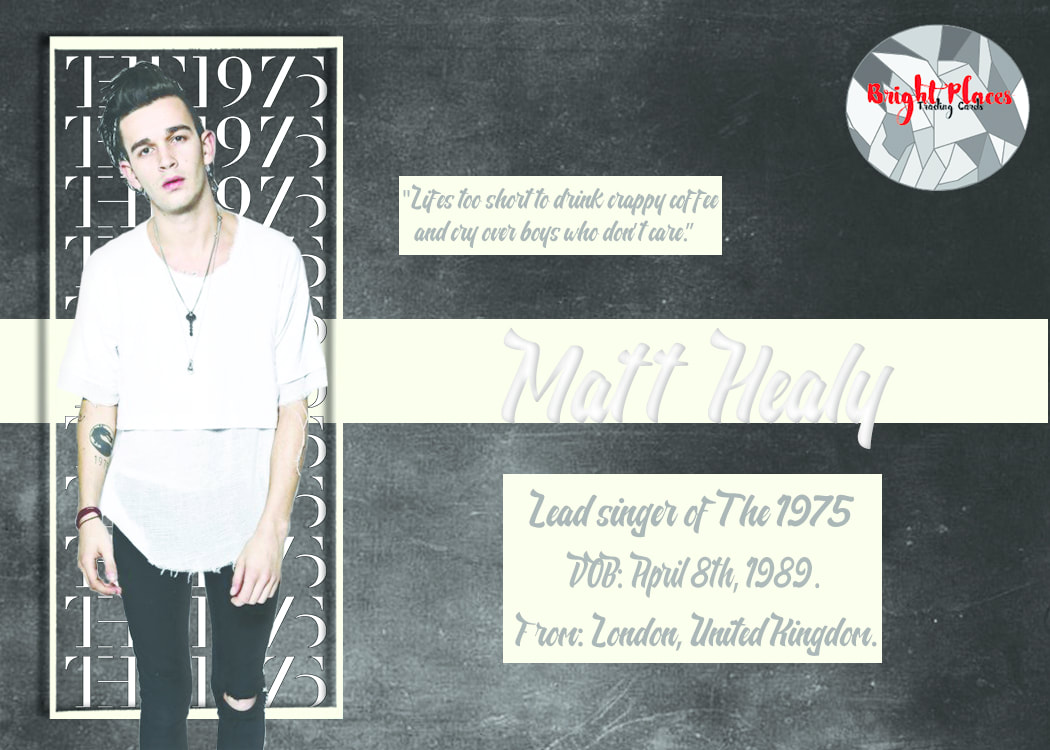
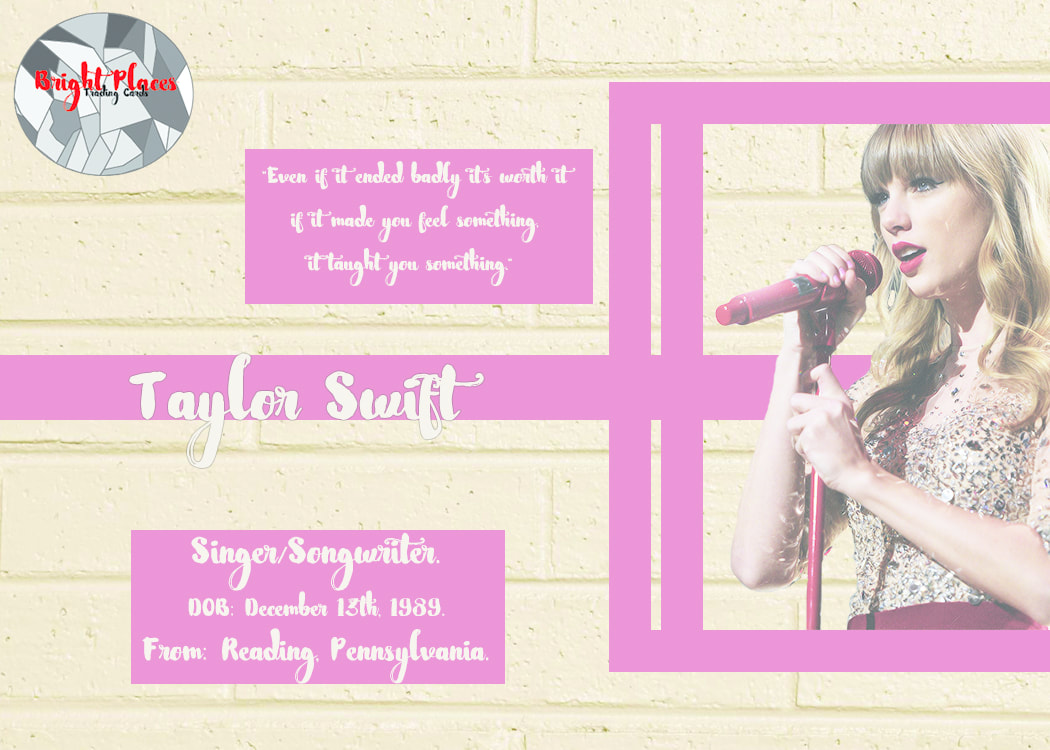
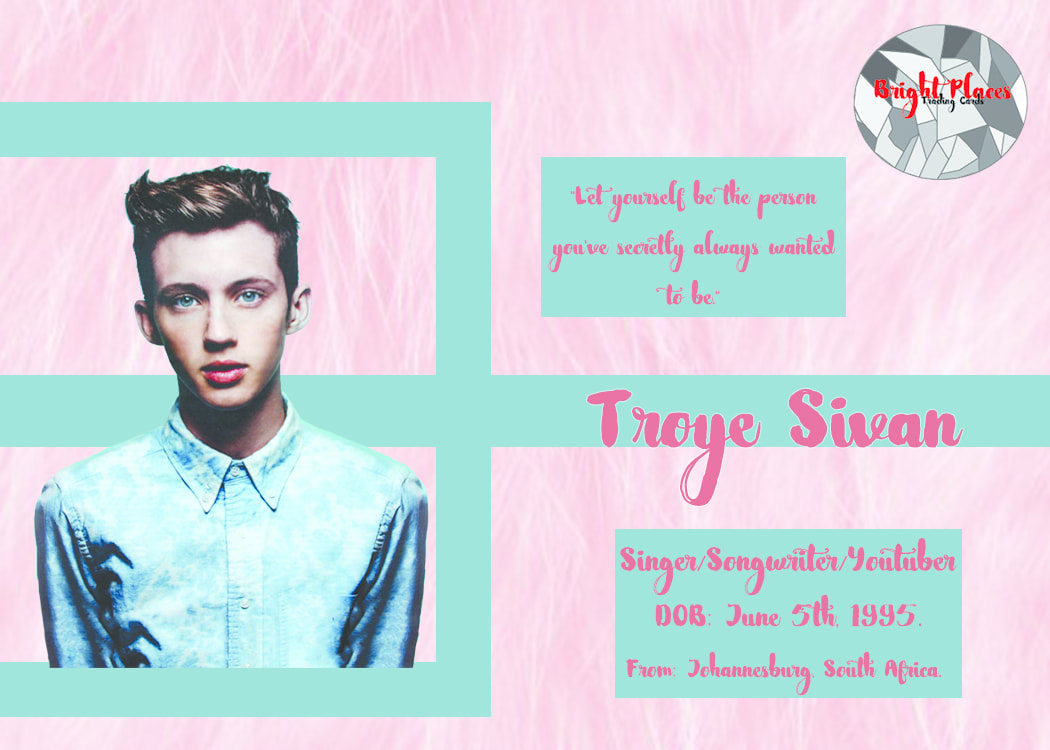
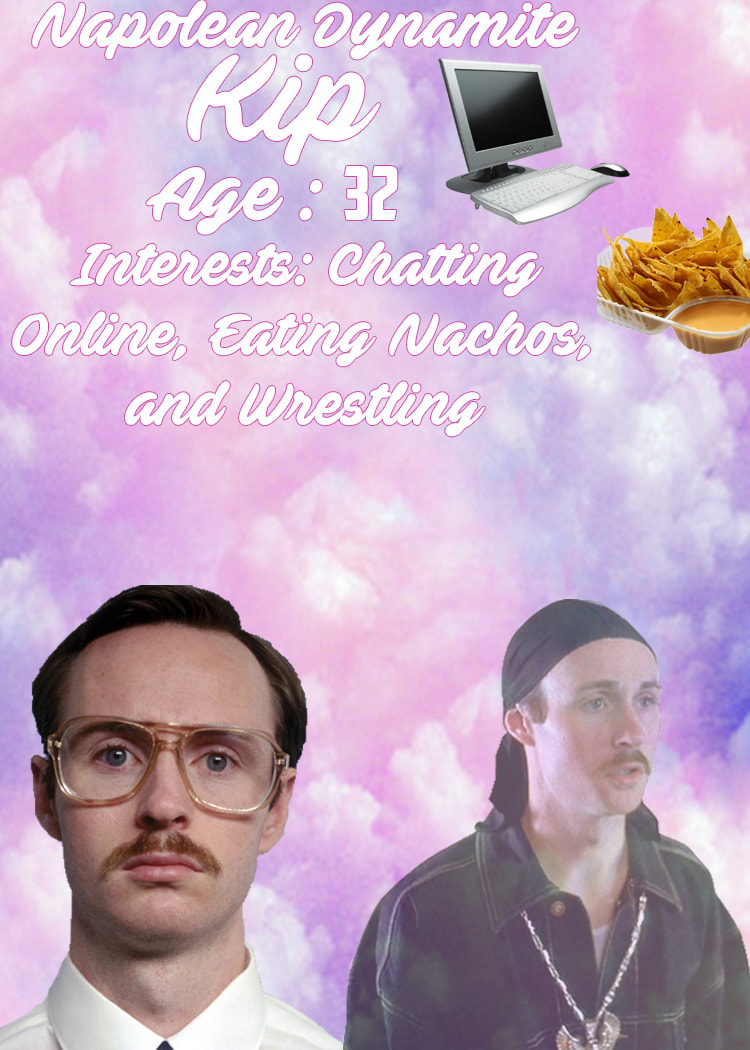
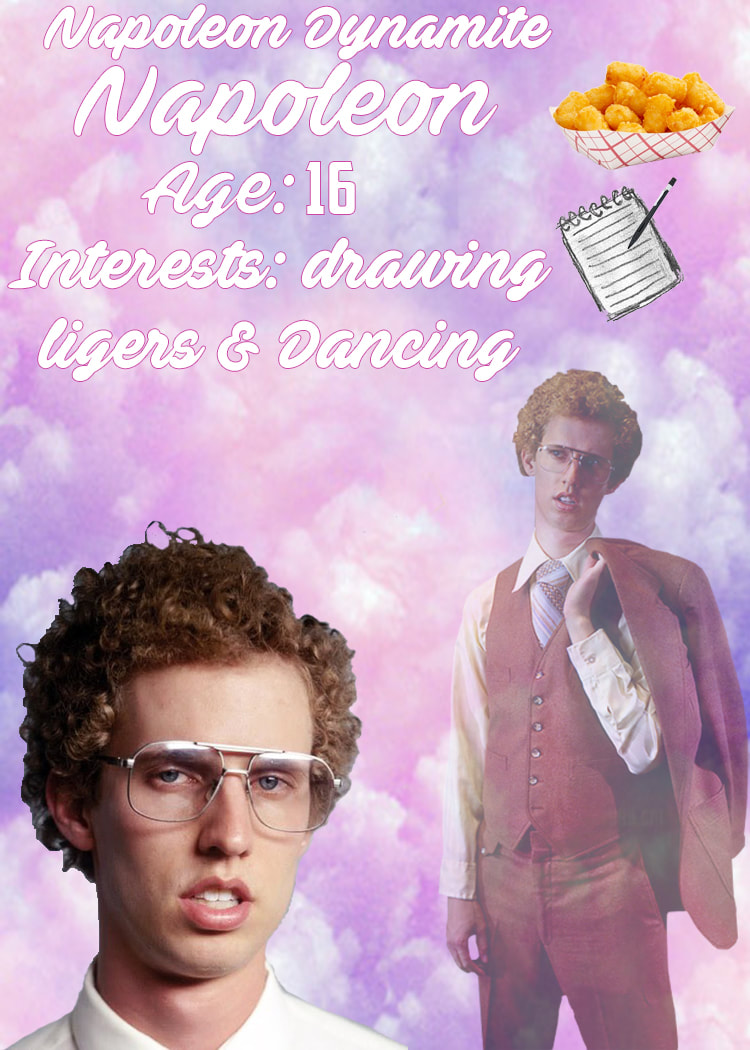
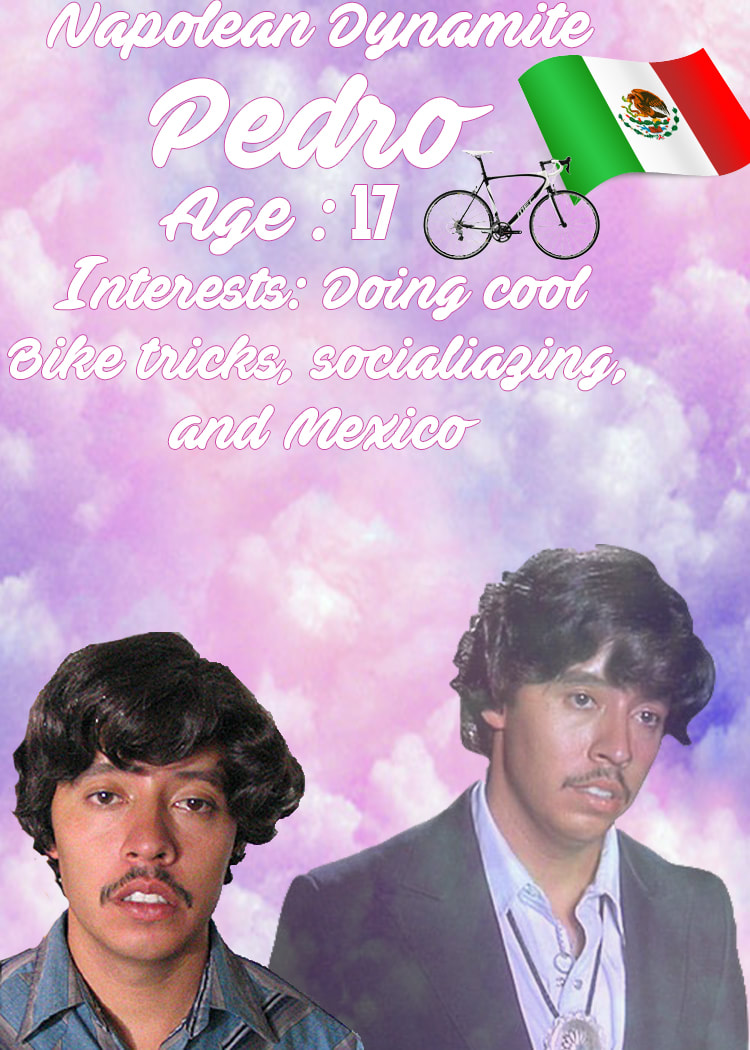
Trading Card Set Project:
|
sGraphics - Photoshop
Essential Standard - 203.01 & 203.02 Essential Question: How is depth used in graphic design? How do you produce a professional trading card? Objective: Discuss elements of depth and design in graphic production. You have been hired as a graphic designer by From the Sidelines Productions. They want you to design trading cards for their clients. You are to follow the directions given by the project manager for the target audience to complete the project. Once complete then you should review the checklist for grading criteria before turning in your work. Quality graphic designers understand depth and product relationship. Depth provides that extra pop to your design. Somewhere you often find creative depth design is in trading cards. Create 3 trading cards for a sports team, athlete, car, band, television show, or movie that uses image depth or product relationship depth. Create a name for your card company (i.e. Upper Deck), and design a logo and look (i.e. borders or symbols) that will appear on each card the same way in the same place. Remember to make use of company or product colors. Each card must have the same look and feel. You must cut the objects out cleanly and use multiple layers. You cannot use a plain photograph with background as your image or any image found on the web that already has the background removed. Experiment with different font styles until you find the one that fits just right with your product. You can use dafont.com to download fonts if you like. Look at examples online to get ideas. Have fun with this project. Experiment with opacity and layer styles to give your design that extra pop. Look up tutorials online for creating different text effects in Photoshop for even more creative work. For this project we will work in inches, not pixels. Your image size should be the actual size of a trading card - Width 2.5 inches, Height 3.5 inches. Make sure to change from pixels to inches! You will also have to change your resolution to 300! You can flip the dimensions to make horizontal if you like. Save the images as first initial + last name +card1 and first initial + last name +card2, etc. Save as a PSD and JPEG. Submit only the JPEG versions. Add the final JPEGs to your Portfolio folder. Grading Criteria Checklist 1 - Used Internet to find high resolution images online for the project (NO blurry, pixelated, or copyright info) 2 - Cards are designed in INCHES 2.5 x 3.5 with 300 Resolution 3 - Cards designed in a manner that is visually pleasing, balanced, and creates an interest in the topic 4 - All images cut out cleanly using layer masks 5 - Original name for card company created and a logo designed for the company 6 - Font used that is appropriate for the target audience and easy to read 7 - Logo is in same place on every card 8 - 3 cards designed with same look and feel 9 - Graphic file is saved as a PSD file and exported as a JPEG format as instructed 10 - Final graphic file is submitted as a JPEG format with the instructed name for the project |
|


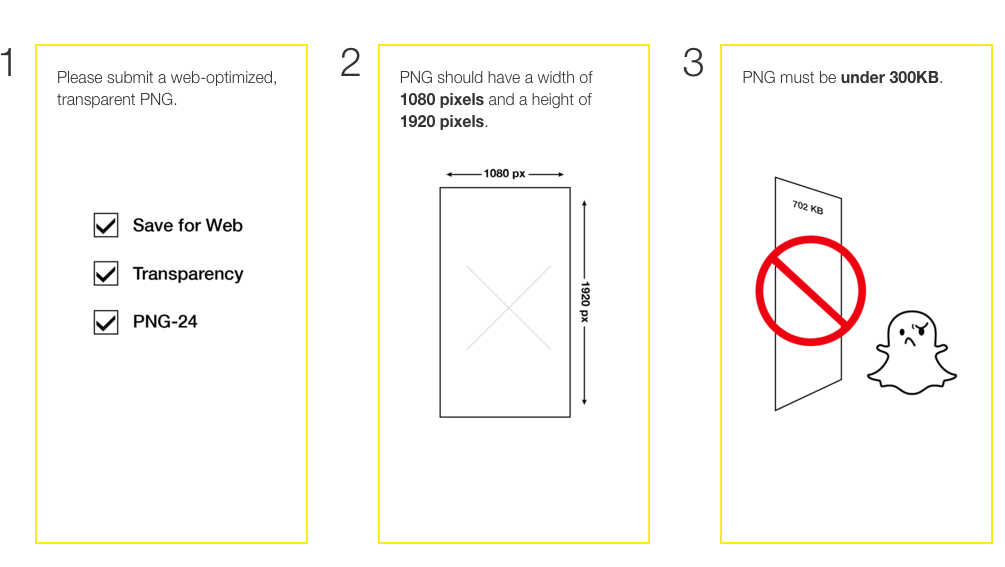
Snapchat GeoFilter Challenge:
|
You have been hired on as a Graphic Designer by a local business to design their geofilter for the SnapChat app. They would like for you to design a filter that embodies the iconic nature of their location/company/event. Use your creative skills to create a geofilter that combines multiple images together and has the name of the location/company/event included.
1) Design a Snapchat Geofilter for a Real World Location/Company/Event 2) No profane language, inappropriate imagery, or copyright infringement! *You can use pictures to trace from, but it shouldn't just be an exact copy of the original image. Use different parts from multiple images. 3) The geofilter must be drawn in color. 4) The geofilter must be submitted in the template size that has been provided for you. (No choosing your own size for the artboard!) 5) Quality tracing is a must, use the Pen Tool and when applicable use the Bezier Curves (Anchor Points & Handles) to make curves. Choppy/Jagged Edges are a no go for this project! 6) Save the file name as First Initial + Last Name + Snapchat 7) Save as BOTH an Illustrator file (.AI) and a .PNG file. Submit both files to QTL Moodle! ***You have from the start of class today to the end of class tomorrow to create your best work. You will be graded on the complexity and creativity of your filter. If you finish significantly early, then your grade will suffer. It is a 2 day assignment. | ||||
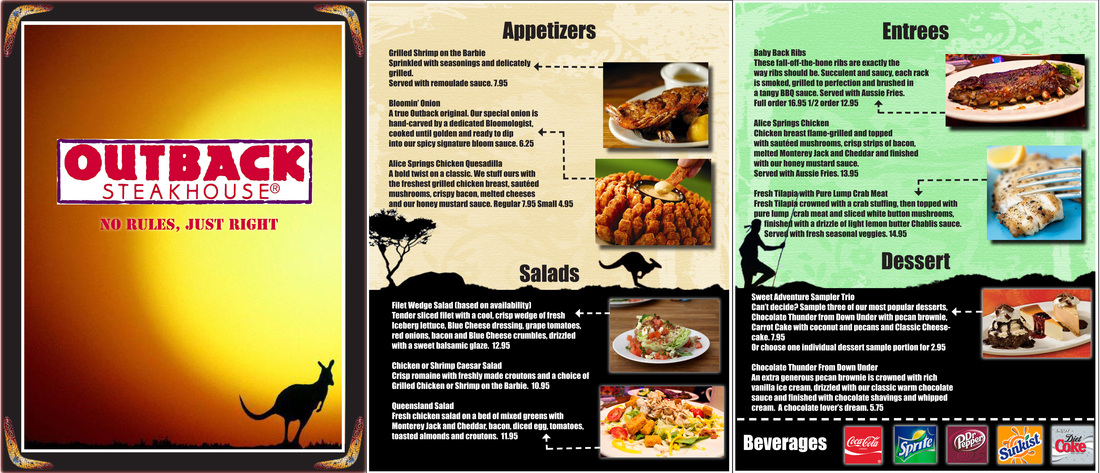
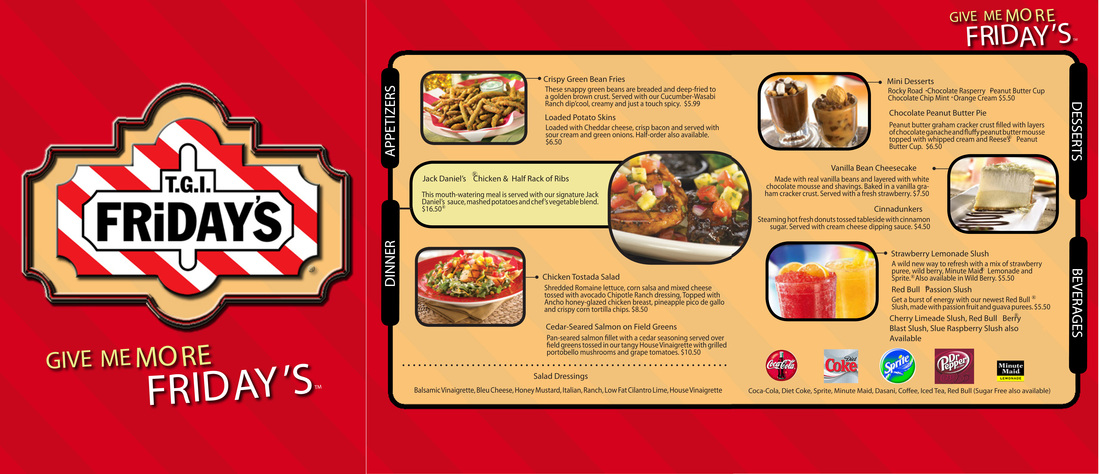
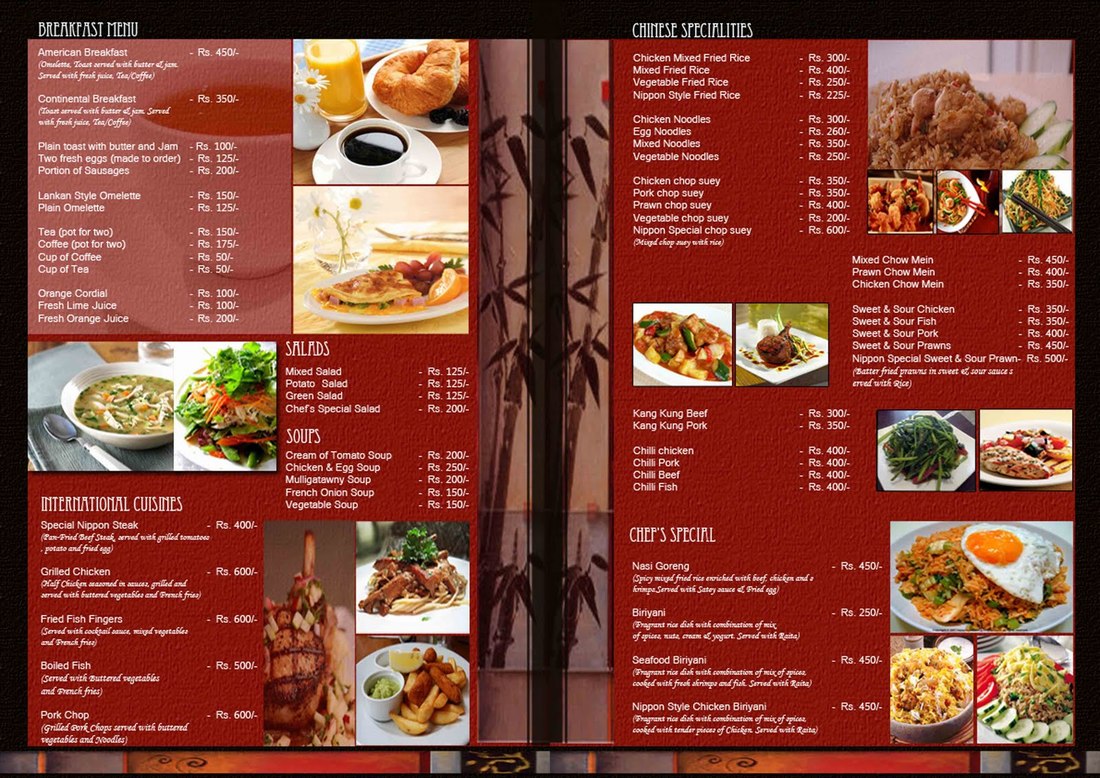
inDesign Menu Project:
|
Essential Question:
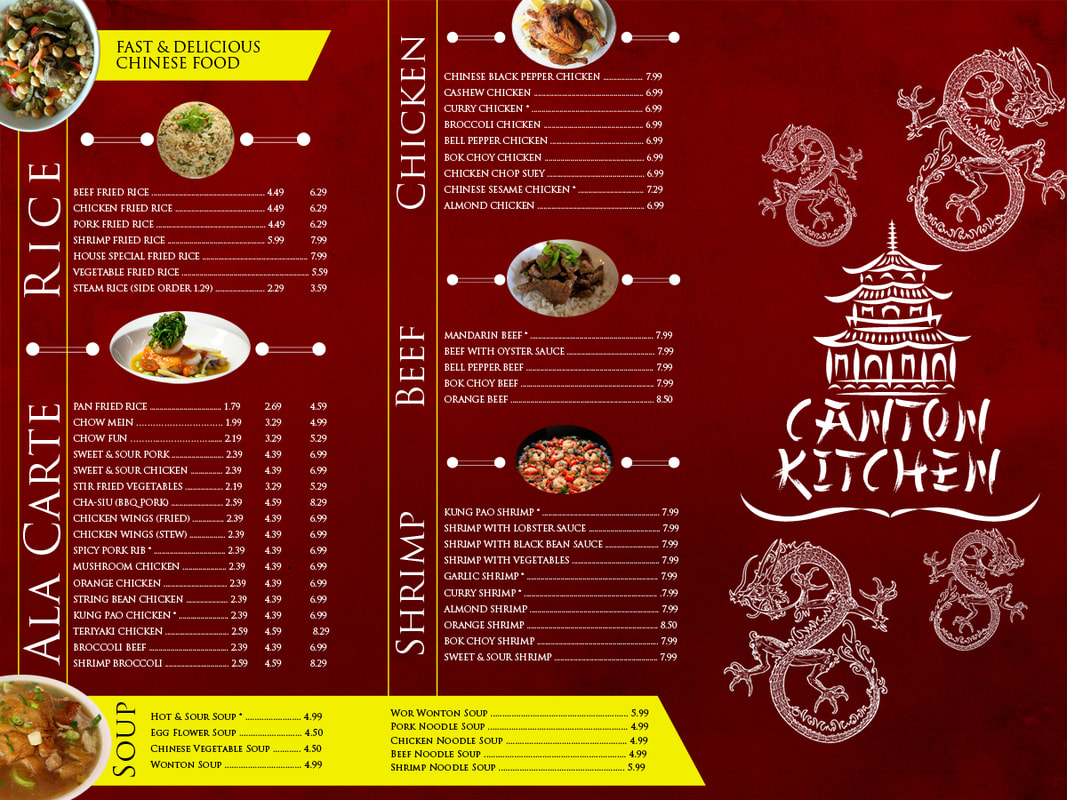
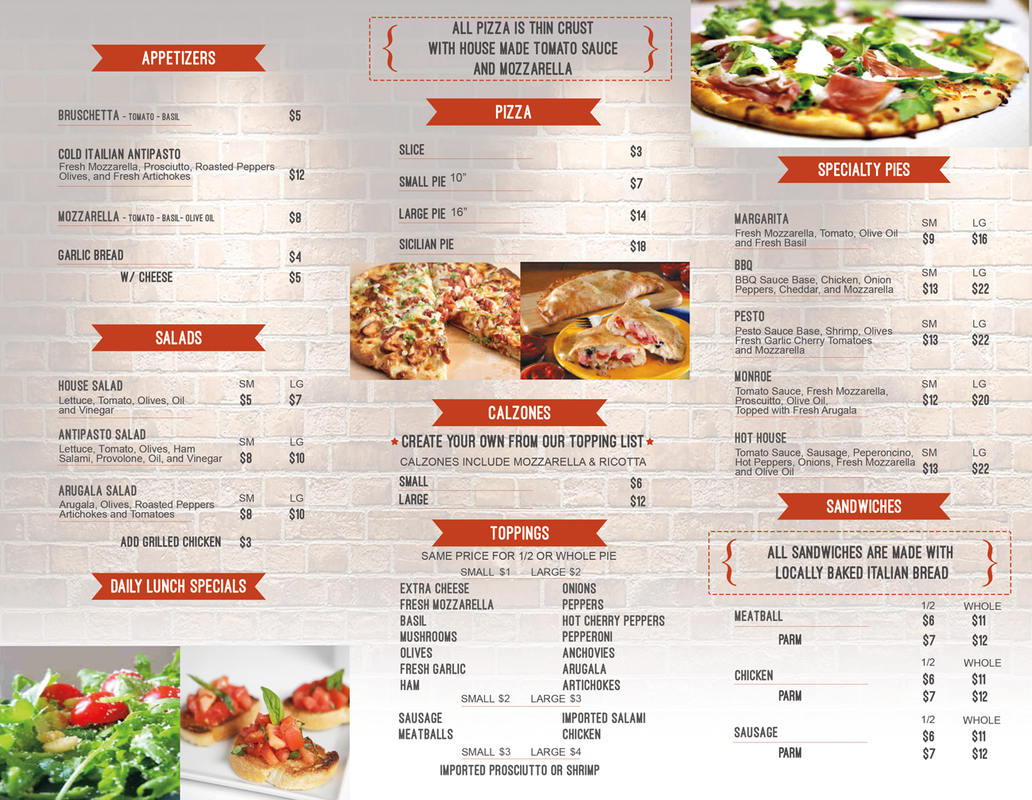
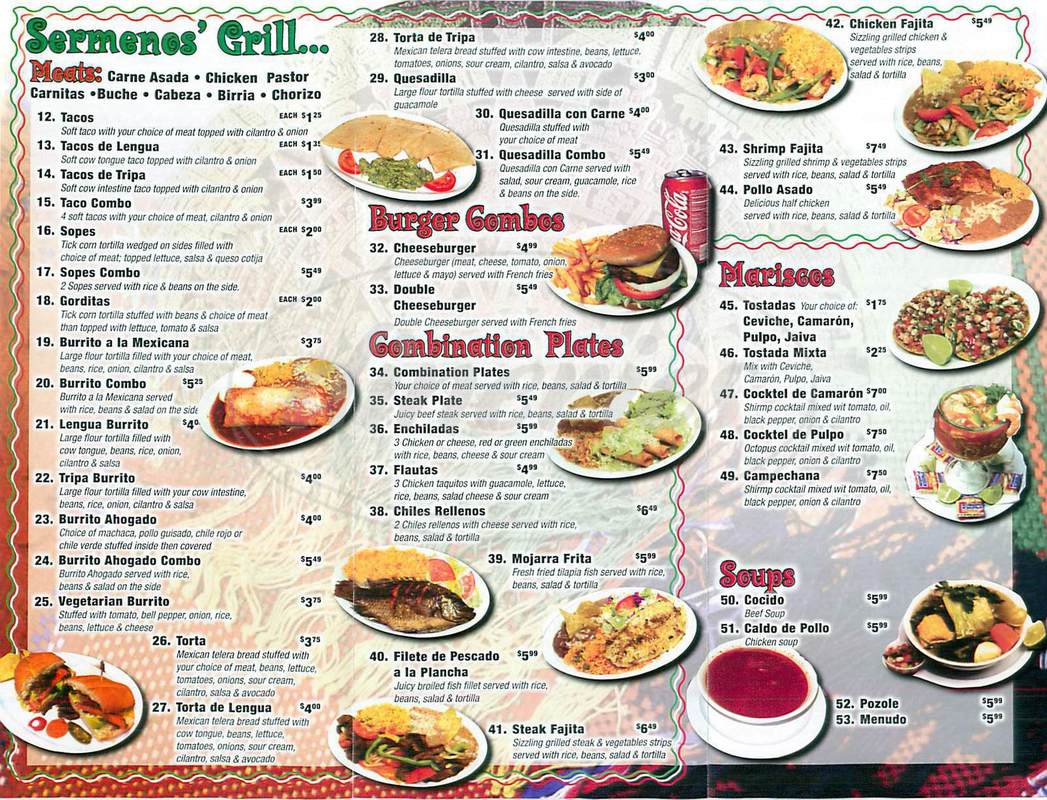
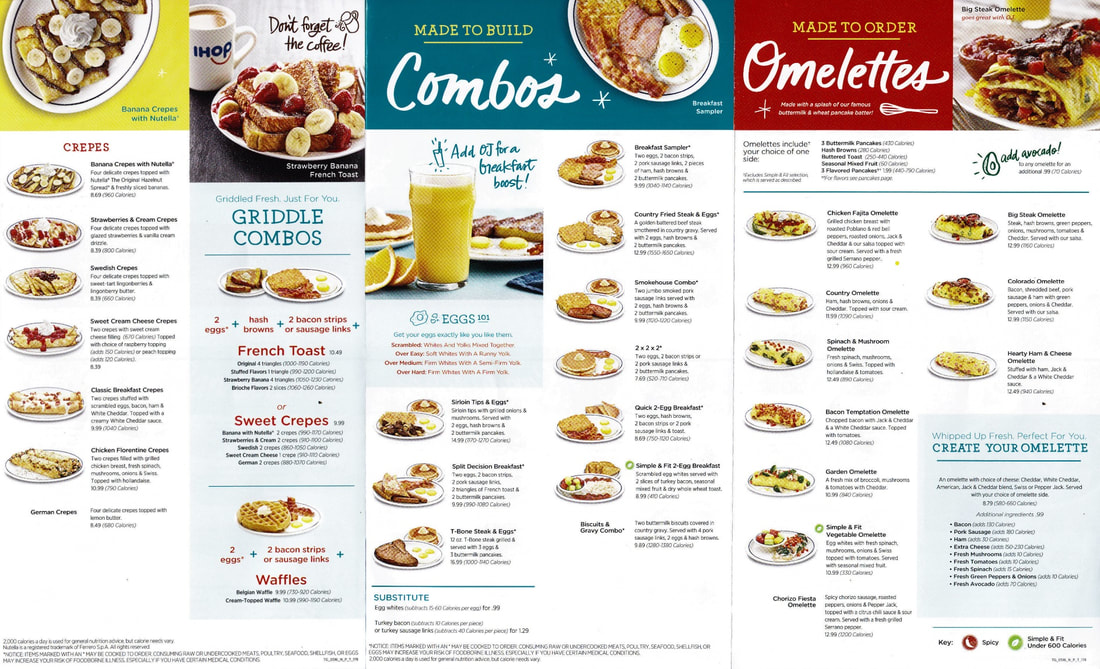
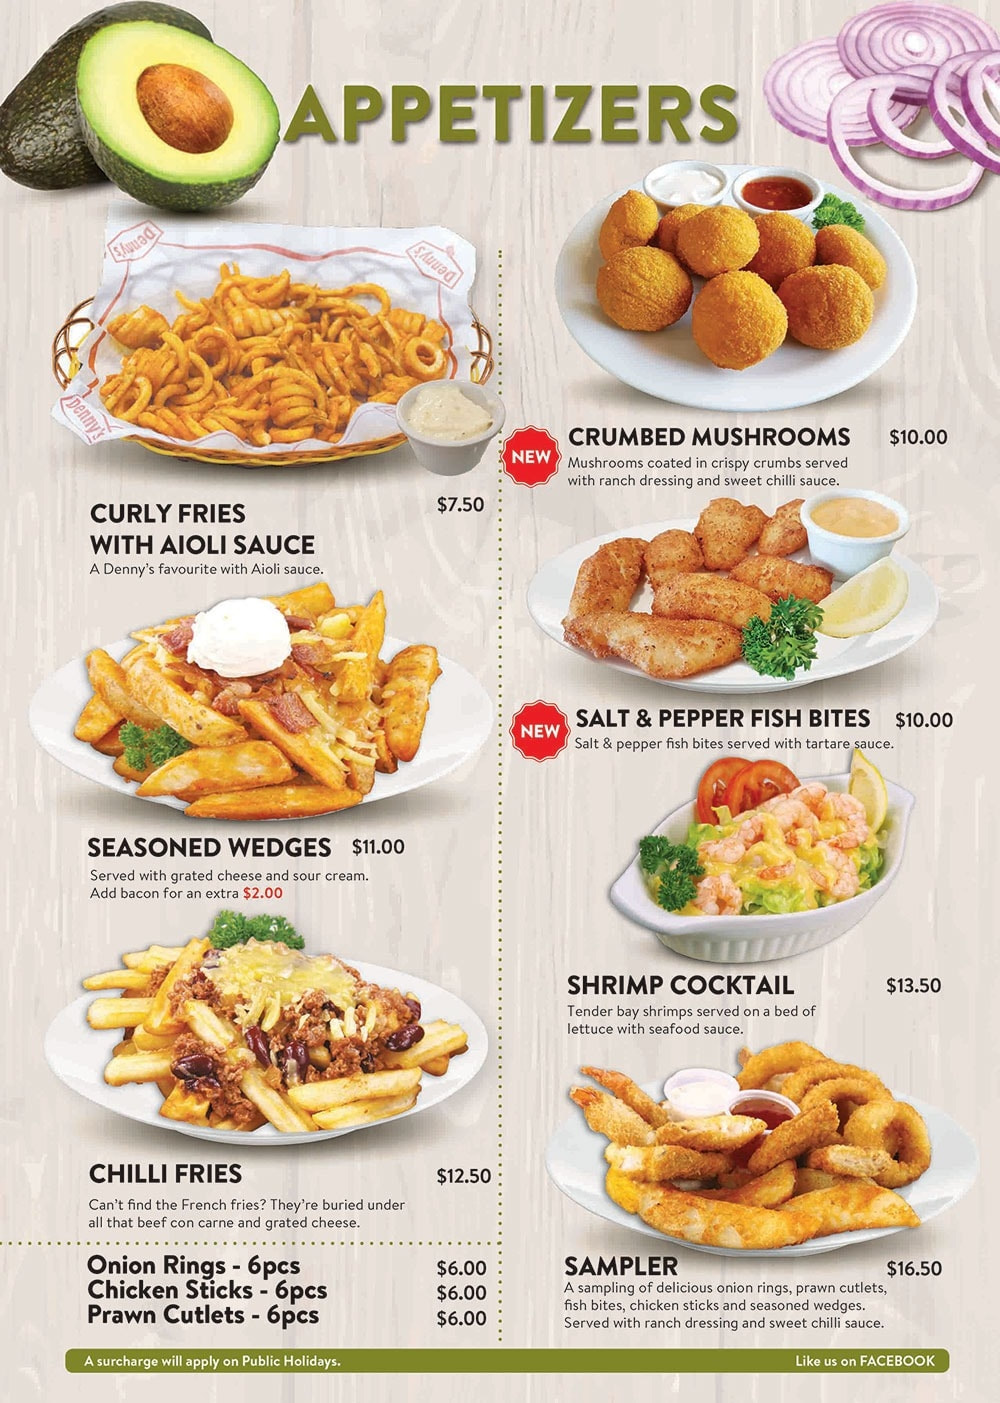
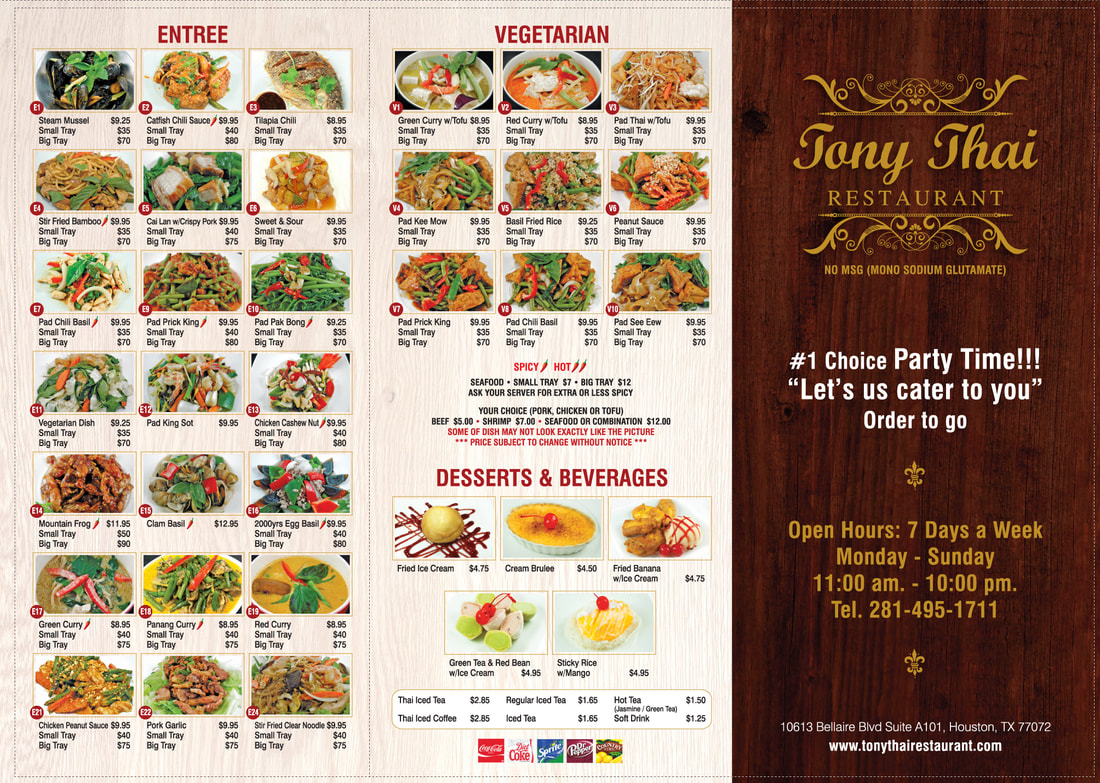
How do you design a graphic product that persuades an audience through it's appearance and information like a food menu? Objective: Create a graphically designed dinner menu in Adobe InDesign. Assignment: You have been hired as a graphic designer by The National Restaurant Association. They want you to redesign a restaurant menu for one of their businesses. You are to follow the directions given by the project manager for the target audience to complete the project. Once complete then you should review the checklist for grading criteria before turning in your work. Design a dinner menu for a restaurant using Adobe InDesign. There are 2 tutorials about setting up your project in Adobe InDesign and the basics of how to use Adobe InDesign. There are two student examples to the right. You must follow the directions in the tutorial on how to set up your project before you begin, or you will have to start over. You must make sure you are working in Inches not Picas. There will be 4 total pages Page 1 - menu cover Pages 2 and 3 - graphics and layout of food items, including brief descriptions. Page 4 - Back Page Menu must include appetizers, salads, dinner items, and desserts. You should model this after a current food chain utilizing their logos and themes, but you are not to copy a menu from any business. You must be creative in your design and choice of fonts. NO MENUS SHOULD APPEAR ON A WHITE BACKGROUND! Save as an INDD file and as a PDF file. Submit the PDF file as last name + first name + menu. Save the PDF file to your Portfolio folder as well. Grading Criteria Checklist 1 - Used Internet to find high resolution images online for the project (NO blurry, pixelated, or copyright info) 2 - Saved images into Graphics folder to use in graphic editing software 3 - Menu designed in a manner that is visually pleasing, balanced, and creates an interest in the topic 4 - All images cut out cleanly in Photoshop and placed into InDesign 5 - Menu includes: appetizers, salads, entrees, desserts, and beverages 6 - Font used that is appropriate for the target audience and easy to read 7 - Menu utilizes business logo and color schemes 8 - Menu is 4 pages - cover, two inside pages, back page 9 - Graphic file is saved as a INDD file and exported as a PDF format as instructed 10 - Final graphic file is submitted as a PDF format with the instructed name for the project |
Examples of Project:
| ||||
