Adobe Illustrator Tutorials & Projects:
Intro to Adobe Illustrator
|
To learn Graphic design, the best place to start is in Adobe Illustrator. We will start with some simple activities to master the basics of the program before moving on to creative design using the tools we will learn. Start by making a Folder inside of your Portfolio called Intro to Illustrator. You will save all your files into this folder and have Mr. Goble check you off once your are completed for a Major Project Grade!
|
Trace That Logo Assignment:
The following 3 tutorials will get you up and started in Adobe Illustrator. On the left side you'll see each of the tutorials that you'll need to download and on the right you'll see all the provided images that go alongside the tutorials that you will need to download.
1) |
|
|
<-------------You need to RIGHT CLICK and Download/Save Image As the image to the left then go to Illustrator and click File>Open
| ||||
2) |
|
|
<-------------You need to RIGHT CLICK and Download/Save Image As the image to the left then go to Illustrator and click File>Open
| ||||
3) |
|
<-------------You need to RIGHT CLICK and Download/Save Image As the image to the left then go to Illustrator and click File>Open
| |||
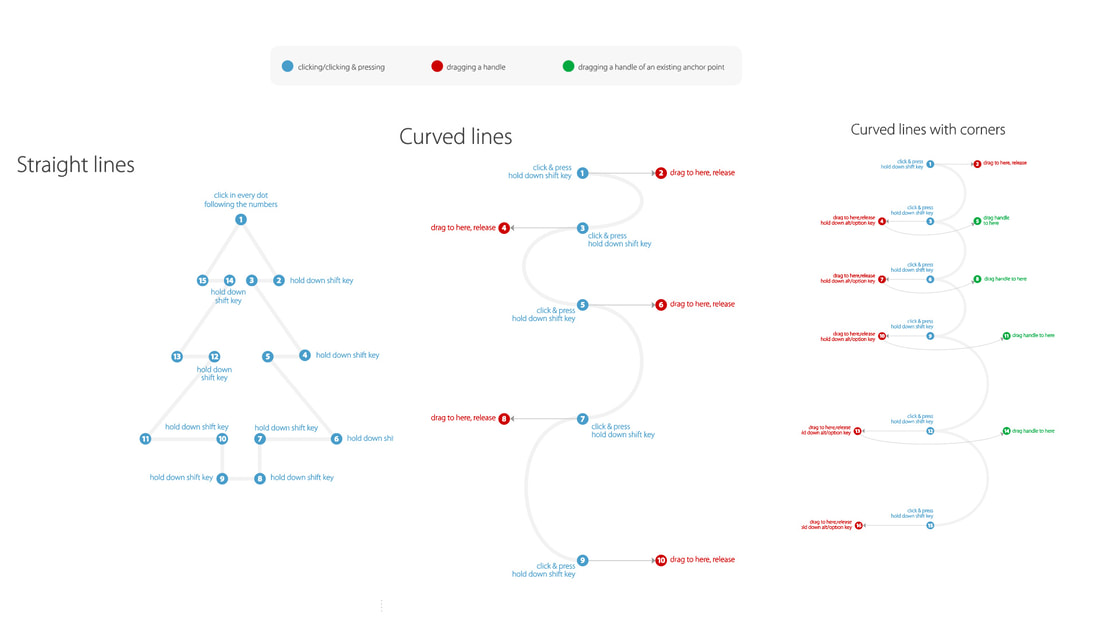
PEN TOOL FlowChart :
Polygonal Animal Project:
|
Objective:
Use Illustrator's tools, menus, and palettes to create a complex vector image with polygonal shapes. Assignment: You have been hired as a graphic designer by The North Carolina Zoo. They want you to create a colorful graphic animal theme. You are to follow the directions given by the project manager for the target audience to complete the project. Once complete then you should review the checklist for grading criteria before turning in your work. Create a Colorful Polygonal Animal by selecting an image of animal online and then using polygonal shapes and triangles to design a colorful animal shape recreation Challenge yourself to include gradients, feathering, or transparency. You will be graded on a difficulty rating based on your illustrator technique and attention to detail as well as your creativity. See the examples for ideas. Your image size is 800 width and 600 height. Save your completed graphic as a AI (Illustrator file). Label it as last name + first initial + poly (ex. goblenickpoly.jpg) and save in your graphics folder. Submit only the AI (Illustrator file) to the dropbox. Place your .ai file in your projects folder on your desktop. Grading Criteria Checklist 1 - Polygonal animal designed with a creative theme 2 - Design incorporates various shapes 3 - Design incorporates gradients or transparency 4 - Design incorporates bright decorative color scheme 5 - Animal created is easy to depict 6 - Graphic designed in a manner that is visually pleasing, balanced, and creates an interest in the topic 7 - Colorful scheme utilized fits with the target audience 8 - Images size is 800 x 600 pixels 9 - Graphic file is saved as a AI file as instructed 10 - Final graphic file is submitted as an Adobe Illustrator (AI) format with the instructed name for the project |
|
Smiley Face/Emoji Project:
|
Create a “Have a Nice Day” Smiley that has some sort of theme. Challenge yourself to include gradients, feathering, or transparency. Your smiley should have lots of shapes. You must also add a slogan to your smiley with an appropriate font. The slogan should be a variation on the “Have a Nice Day” slogan, based on your theme. The font should match your theme and still be readable. You must include the following:
Save your completed graphic as a AI (Illustrator file) and then export as a PNG file. Label it as last name + first name + period + smiley and save in your graphics folder. Submit only the PNG file to Scales. final PNG to your projects folder on your desktop. |
| ||||
ADOBE Photoshop Tutorials & Projects:

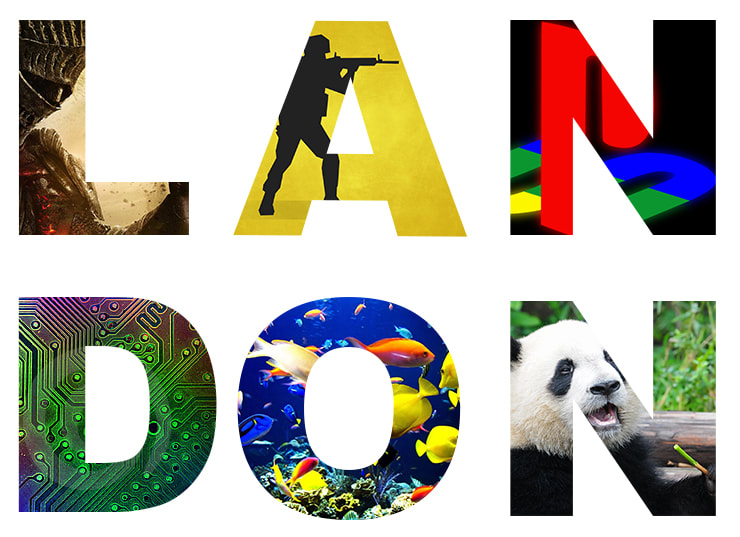
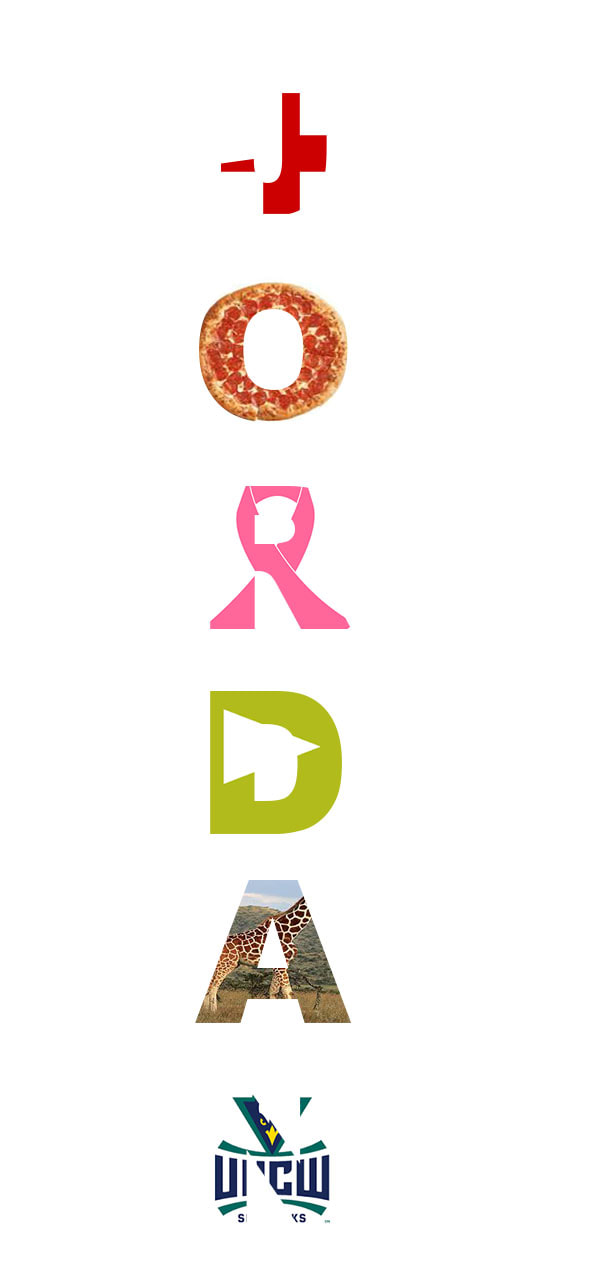
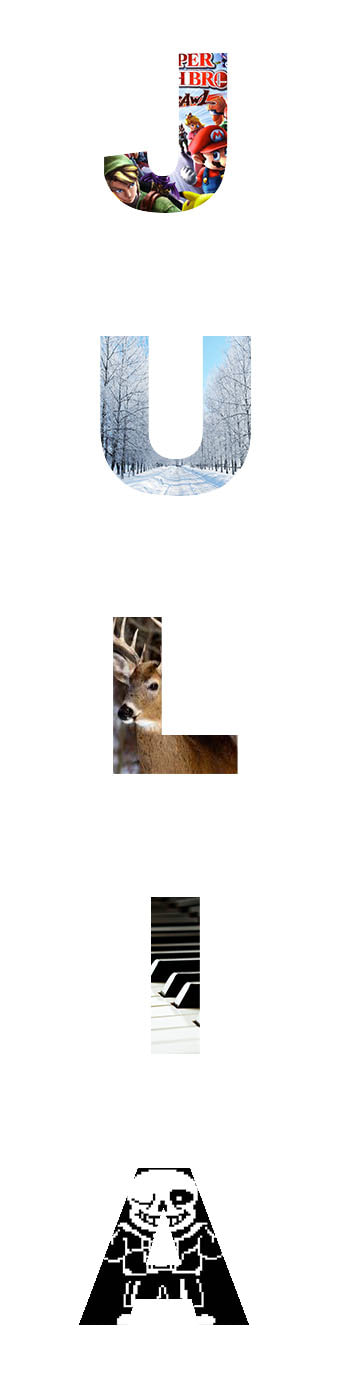
Welcome to Digital Media! We are going to start small today with a simple activity to help you get to know Photoshop and help me get to know you. You will use the tutorial found to the right along with a group of images that you will find online (large, high quality only please) to create your own Lettering Image.
You need to first open up Photoshop CC2017. *To save an image from Google, click on an image, click on "View Image" to make sure that the image is full size and not a small thumbnail and then click and drag the image onto your Desktop. **Read all of the steps carefully and don't try to just rush through this. Remember that this is also an assignment for Mr. Goble to see how much technical expertise you already possess coming into the class. ****At the beginning, pay really close attention to changing your dimensions to PIXELS and not Inches. Also make sure you change the Resolution to 72 and not 300! When you're done, turn in the PSD to QTL Moodle under the "Submit Projects Here" tab. |
Photoshop Lettering Tutorial:
|

| ||


Introduction to Adobe Photoshop Tutorials
There are 3 separate sets of video tutorials listed below, 1) Selection Tools 2) Masking and 3) Layers. To the right are the files you will need to use in order to complete the tutorial as you watch the video. Follow along, stop the video when you need to replicate the action in Photoshop and if you get tripped up, step back a little in the video and watch the action happen again. These videos will help you with understanding the basic tools and operations you need to know in order to accomplish future projects.
**Save as .PSD (Photoshop Document) and keep in your Portfolio Folder. When you're finished with all 3, have Mr. Goble come over and grade/check you off.
**Save as .PSD (Photoshop Document) and keep in your Portfolio Folder. When you're finished with all 3, have Mr. Goble come over and grade/check you off.
|
| ||||
|
| ||||
|
| ||||
Sandwich Tutorial |
|
| ||||||||||||||
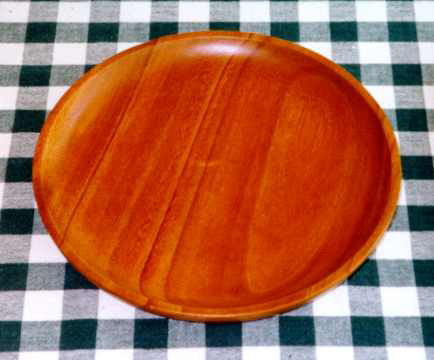
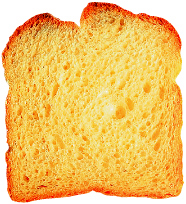
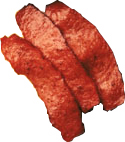
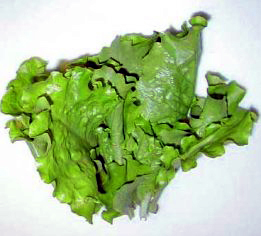
The objective of this project is to obtain a better understanding of Photoshop Layers by creating the layers of a sandwich on a plate. Utilizing layers effectively is a key skill to have in order to create efficient and fully editable graphics. If layers are not used effectively, it can be detrimental to the success of your project.
You have been hired to create a graphic design for Tom's Diner. The owner wants a BLT sandwich with sides as a graphic for the diner. He has supplied you with an image of a plate from the diner, as well as images of the ingredients for the sandwich. You are to follow the directions given by the project manager to complete the project for the target audience. There is a PDF tutorial located to the right to help you complete this project. However, since this is the first project we will be completing in Photoshop, we will walk through this procedure together as a class. Remember as you look for other items on-line to add to your sandwich to make sure to find high resolution images with a solid color background.
When you are finished, save the file (in .psd format) to your computer in the Photoshop Folder. Make sure to name the file lastname + first initial + sandwich.psd (ex: goblensandwich.psd). This is one of the few times you will not save a JPEG of your work since only the .PSD file will preserve the layers for each component in your sandwich. Don't forget to review the rubric to make sure you are meeting all of the project requirements!
Black and white to color photo project
|
| ||||
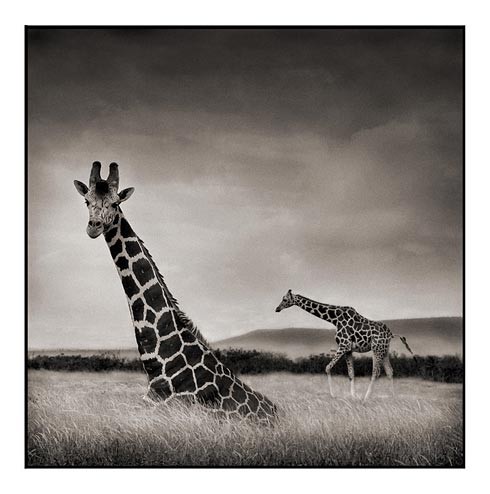
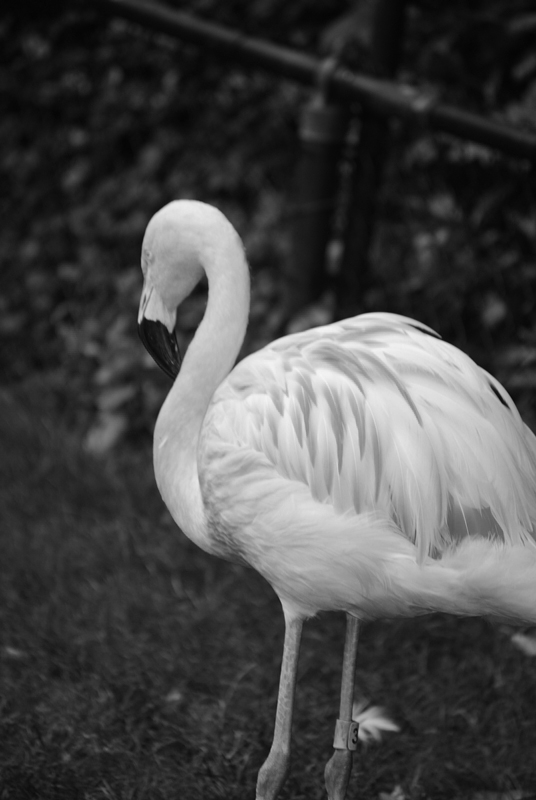
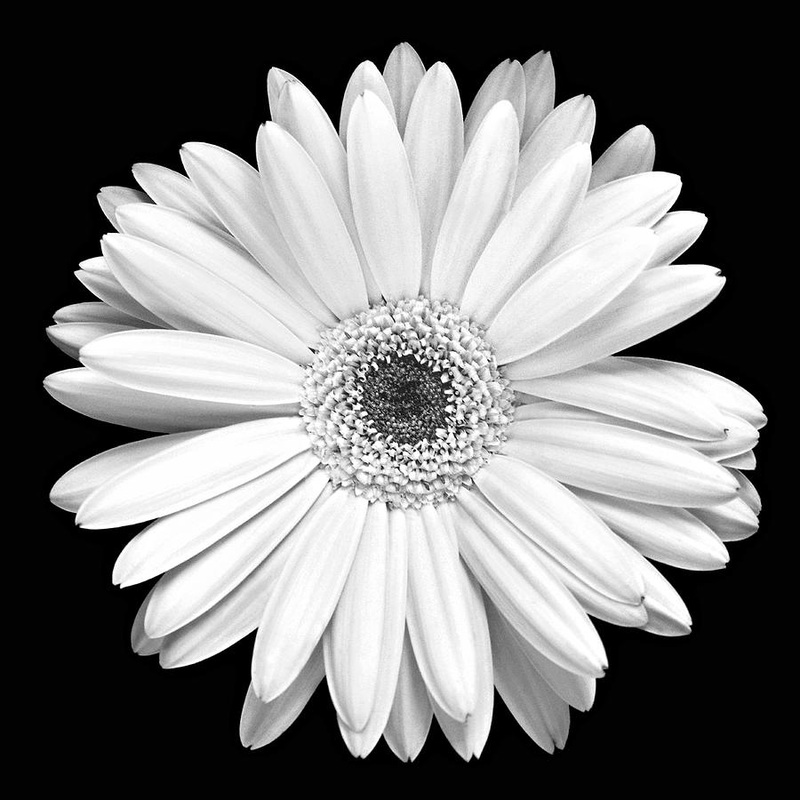
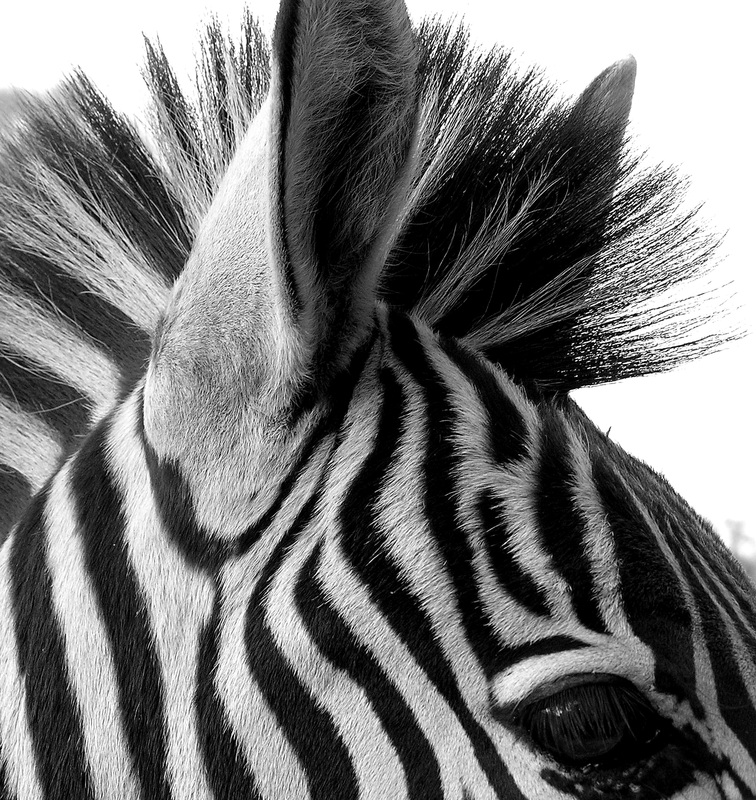
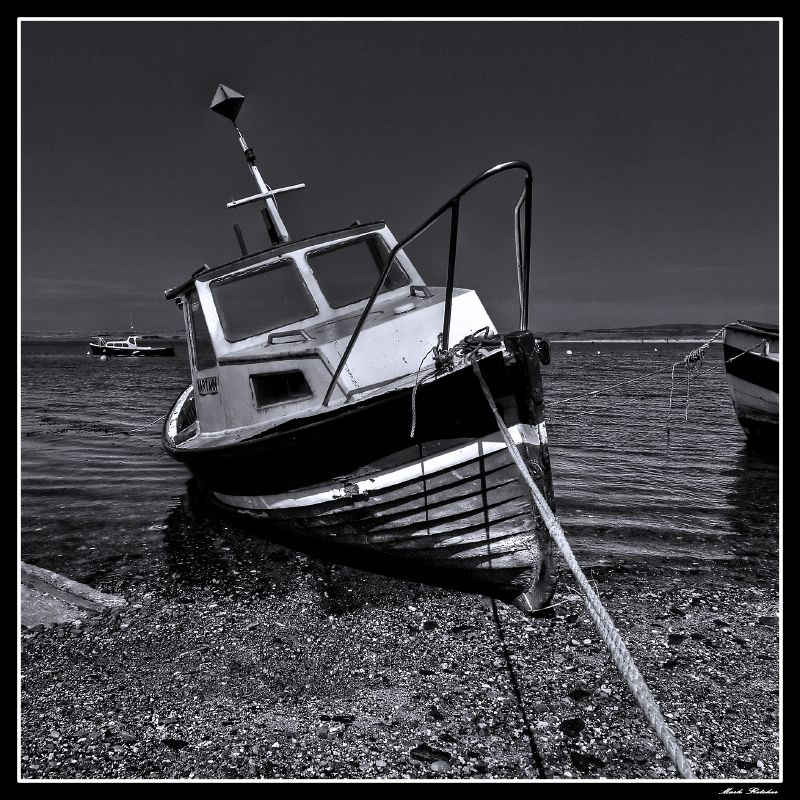
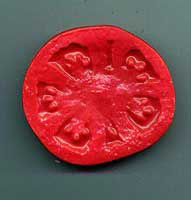
Adobe Photoshop is a very powerful image editor that can bring life to otherwise dull and unexciting photos. Using the tools and features of the software, a photographer can take his or her pictures to the next level and produce professional-looking images.
In this project, you will learn how to use the selection and coloring tools of Photoshop to add a splash of color to a black and white photo. The overall goal is to bring a dull photo back to life by accurately coloring the components to make them seem life-like.
Choose one of the black and white images on the right and use the refined selection tools of Photoshop to carefully select particular areas and add color. Be sure to add each color on its own layer just in case you need to make adjustments later on. Leaving several colors on the same layer (especially the background layer) can result in you having to start your project all over again!
As you work, save your project as a .psd and name it lastname + first initial + bw.psd. When you are finished, save it again as a JPEG with the same name (ex: pettywbw.jpg)
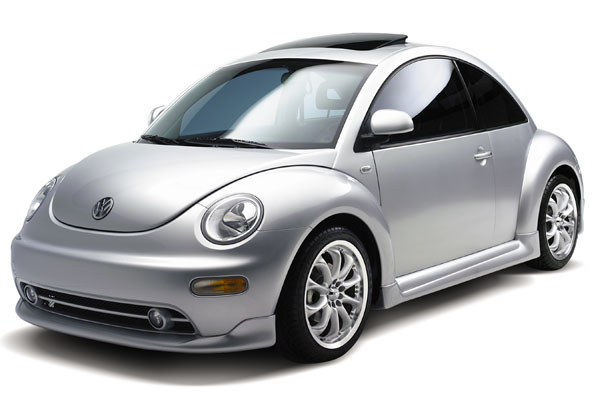
Beetle/Car Ad Project:
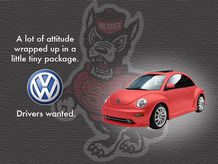
You've been hired as a graphic designer for a marketing firm. The first assignment the company's given you is to design an advertisement for an automobile . Your job is to personalize the picture of the car with your own colors, logos, and background. Your final product must be a well-developed, attractive advertisement complete with the car's manufacturer logo and unique catchy slogan.
Use the VW Beetle car image files to the right. Paint it with any color and design with what your mind creates, and add the logo and background to incorporate your personalized style. BE CREATIVE! Take out the white background and place them in a setting of your choosing. Finally, add some text that conveys your unique slogan to finish off your advertisement. Be sure to arrange your components in a way that utilizes the Elements and Principles of Design and accomplishes your intended purpose. Also, save your file often to avoid losing any of your work. As you may notice, I have provided a final example of what one advertisement may look like - but don't try to copy it! Generate something that shows your skills in Photoshop, as well as your creativeness. As you work, save your project as a .psd and name it lastname + firstname + beetle.psd. When you are finished, save it as a JPEG with the same name (ex: scalesemilybeetle.jpg) and turn it into QTL Moodle for your class. Remember to add a jpeg copy to your portfolio folder! Review the rubric for this project to make sure you aren't going to lose any points! |
| ||||||||||
Combination Assignment #1 |
|

You've been tasked to cleanly cut out the backgrounds from the following items and to combine them in some manner that they all work in harmony/unity to create an artistic advertisement.
SET UP DOCUMENT AS 8.5 x 11 INCHES at 300 RESOLUTION
Use Any Combination of the 3 Primary Selection Tools to Select the Backgrounds of Your Images:
-Magic Wand
-Quick Selection
-Polygonal Lasso
Use Quick Mask Mode to Clean Up Any Selection Made:
-Use your Brush Tool to clean up the selection
-100% Opacity
-Black Hides/White Reveals
Use Layer Mask to Hide Backgrounds of Images:
-Once finished cleaning up a selection in Quick Mask Mode, Go Out of the Mode (You should see Dancing Ants, not Pink)
-Click the Layer Mask Button on your Layers Panel
**Make sure you don't rush and that you cleanly cut out all backgrounds from your images.
Minimum Included Items:
-Lemur -Desk
-Coffee -Broom
-Outer Space -Hoverboard
-Laptop -William Shatner
-Super Saiyan Hair
***You can include anything else you wish, so long as the above items are met
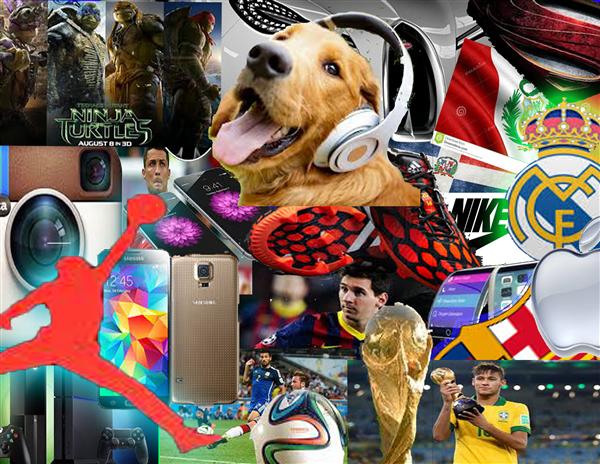
Personal Collage Assignment:
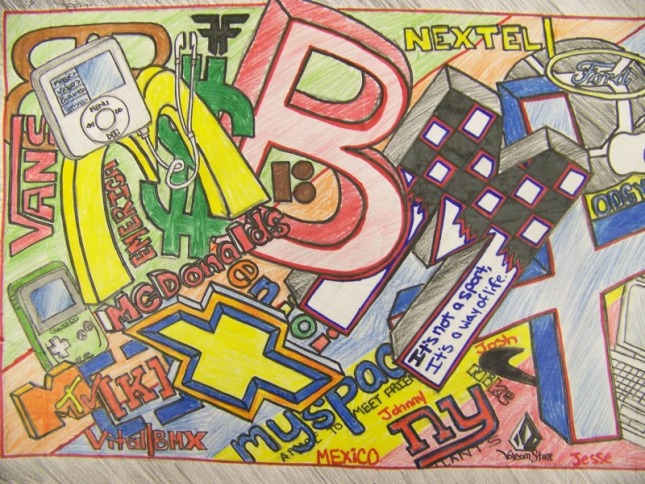
Create a Photoshop collage of things that describe you, things you love, and your interests. Create a new file in Photoshop of a size of
720 pixels x 480 PIXELS (720 is width and 480 is height) with 72 resolution. You MUST cut out all of the objects you choose using either Layer Mask or Polygonal Lasso/Eraser and Delete. Accuracy matters and precision carries the most weight in this project. You must include a minimum of 20 images. Make sure to place each image on a separate layer.
Save the file as last name + first initial + collage.psd . When you are finished, save it again as a JPEG with the same name (example: GobleNCollage.jpg). Submit the .PSD file using the dropbox link on the homepage.
|
|
|
|

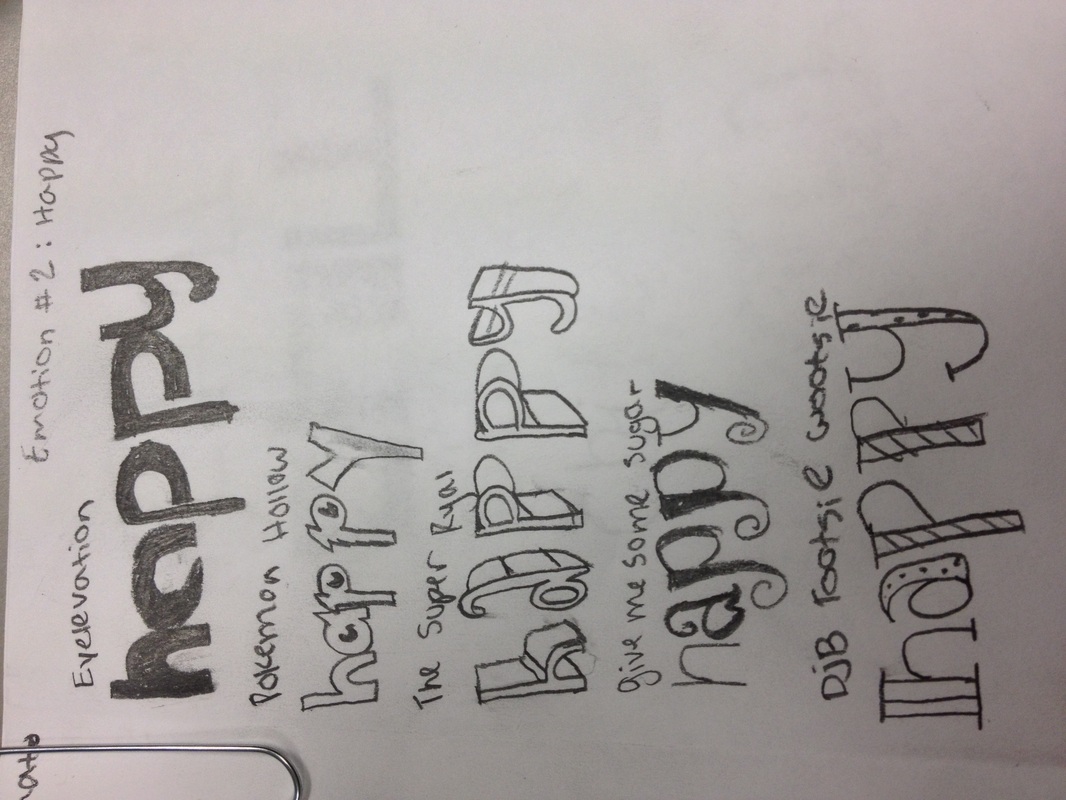
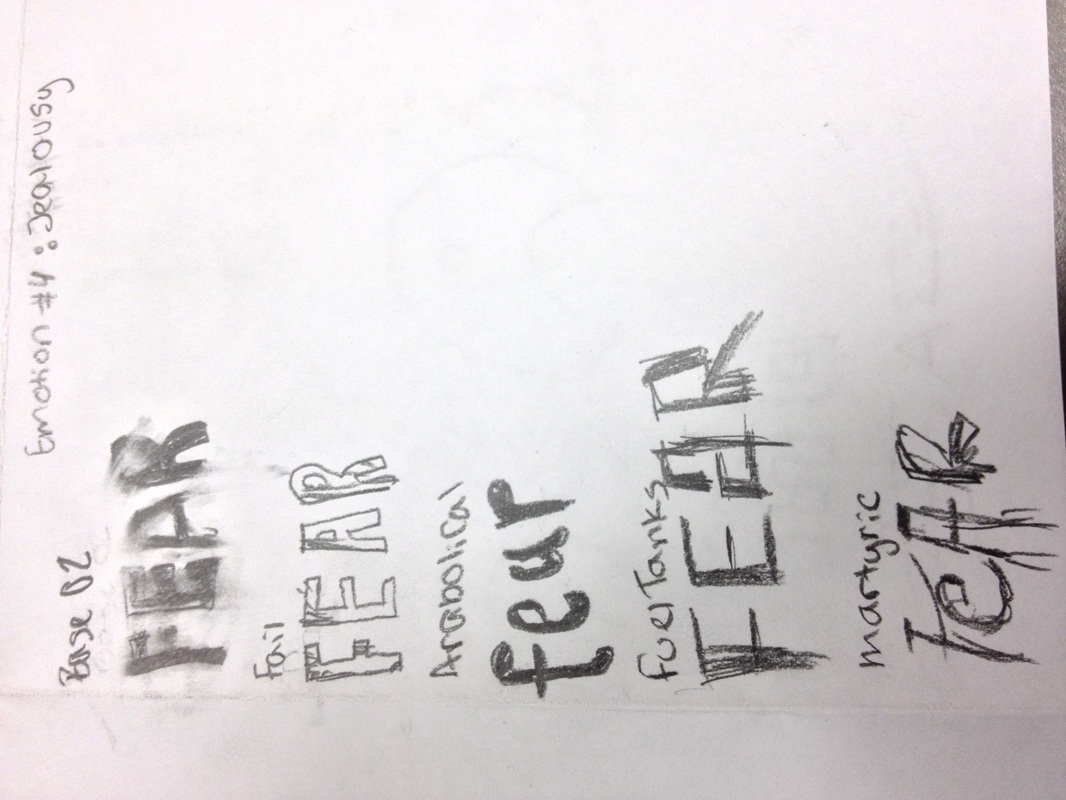
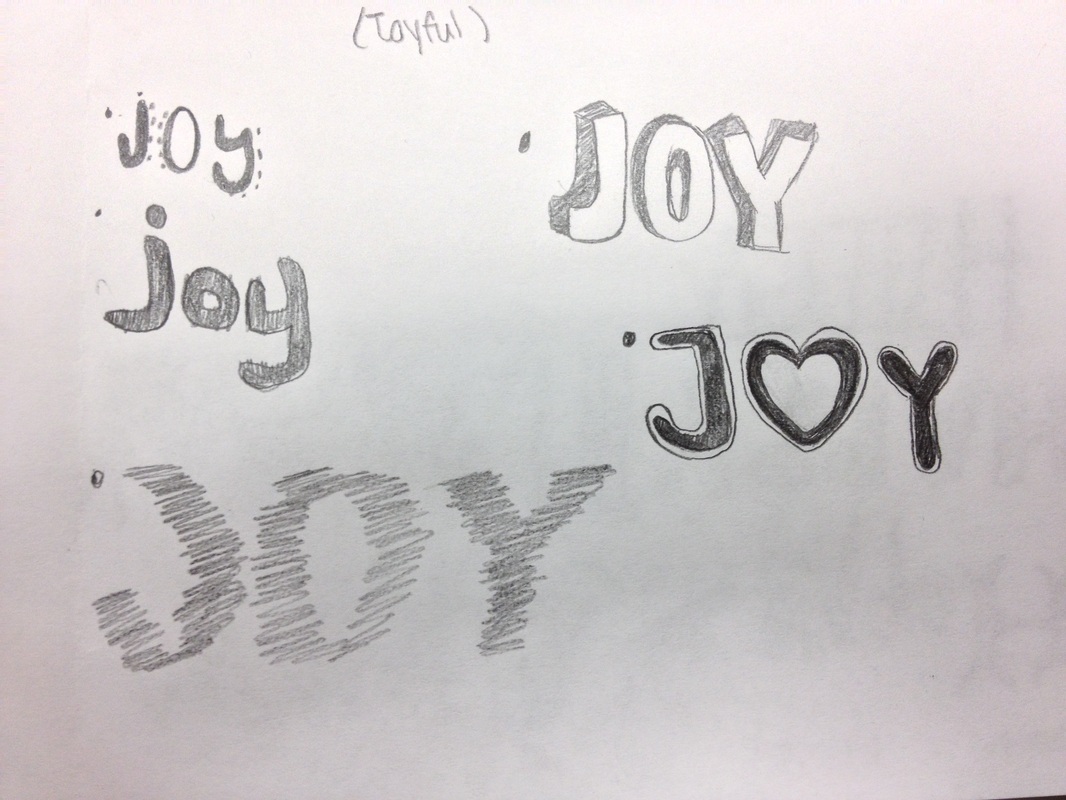
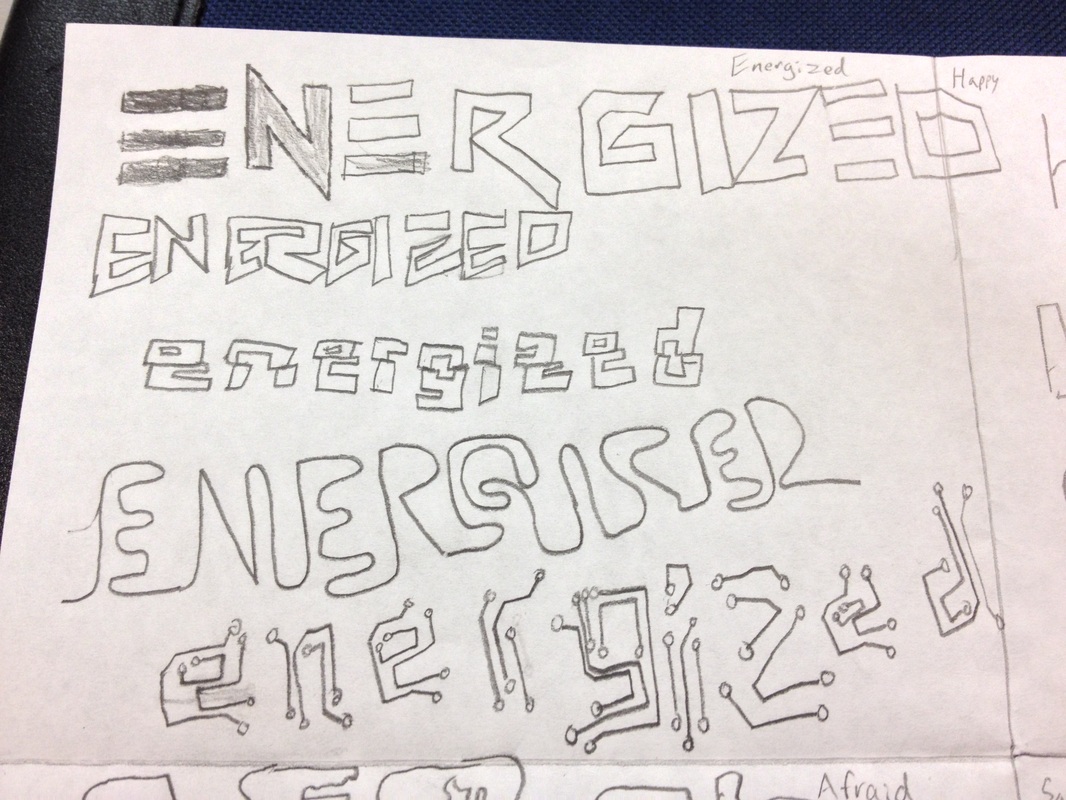
Dafont Sketching Assignment:
|
|
1) Choose 4 Emotions (Having trouble picking? Go here--->http://simple.wikipedia.org/wiki/List_of_emotions)
2) Fold your paper into 4 Quadrants (Fold in half, then fold in half once more) 3) Go to DaFont.com 4) Look under the different categories for fonts that look like they represent the emotion *Typing in the Emotion at the top right hand corner of the website will give you some examples of fonts that are named with that word, but will limit your choices. Look at as many pages as possible of the fonts they have. **Once you click on a font, you can type in the emotion in the preview box and it will show you that word in that specific font. 5) Sketch 5 different fonts per emotion. ***Total you will have 20 different fonts sketched out on your piece of paper. |
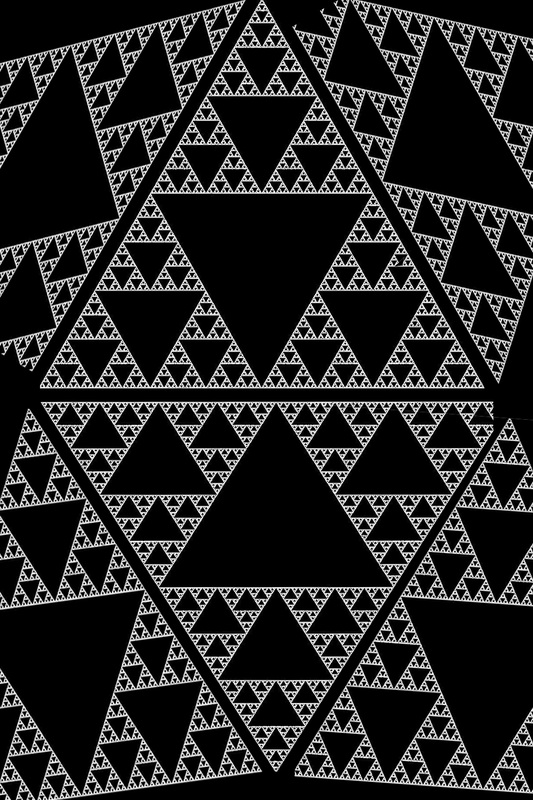
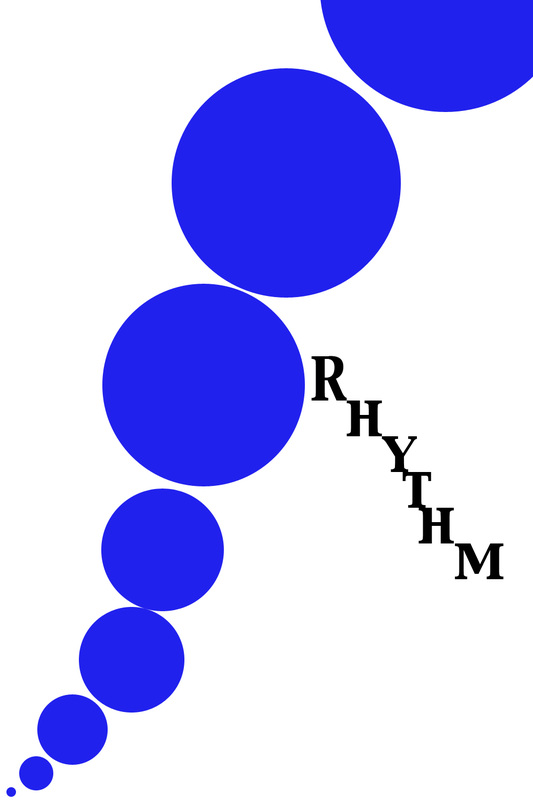
Principles of design project:
|
| ||

Graffiti Tutorial:
Your newest client has a love of all things graffiti. You will be creating a computer Wallpaper in Photoshop for them, but first you need to create one for yourself with your name on it to show them as a sample of what you can create! Use the tutorial found here to walk you through the process.
The tutorial will take you through all the aspects you need to create a design similar to the one above. To make it even more dynamic go to Fontspace.com to download a font that fits in with your design.
As you work, save your project as a .psd and name it lastname + firstname + graffiti.psd. When you are finished, save it as a PSD and a JPEG with the same name (ex: scalesemilygraffit.jpg) and turn in BOTH into the folder for your class. Remember to add a jpeg copy to your portfolio folder! Review the rubric for this project to make sure you aren't going to lose any points!
| graffiti_wallpaper_tutorial.pdf |
| dm1_graffiti_rubric.pdf |
Warhol Project:
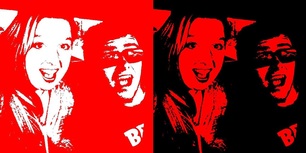
Now that you've learned how to precisely add color to a black and white image, let's apply that knowledge in a fun and personal setting. In this project, you are going to paint several renditions of a picture of yourself and arrange it in a grid. A famous artist that used this technique to develop pop art advertising is Andy Warhol. We are going to mimic this technique to create an original, personal piece of art.
First you will use the on-board camera of the Apple iMac to take your picture. Be creative with your pose so your project will be appealing and interesting! You will apply a filter inside Photoshop to make it look like a black and white sketch, then use your selection and coloring techniques to create the Warhol effect. You want to have a minimum of 3 different colors per box. Remember to use bright colors! As you work, save your project as a .psd and name it lastname + first initial + warhol.psd. When you are finished, save it again as a JPEG with the same name (ex: goblenwarhol.jpg) Submit the .JPG file using the form below. Don't forget to review the rubric to make sure you are meeting all of the project requirements! |
| ||||||
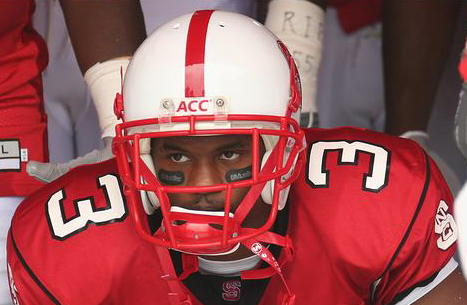
Trading Card Project:
| trading_card_rubric.pdf |
| studentexamplestcdm1.zip |
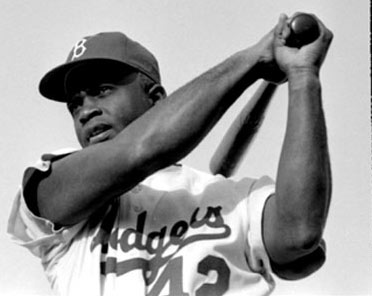
Now that you've had some practice with masking, filters, shapes, and layer styles, we can begin some more traditional design in Photoshop. Your job is to create a trading card using the provided images and logos. You will use the drawing and shape tools to create an original border and mask the subject of the given photo to further emphasize the player.
Create a new Photoshop document. In the new document window, change the width and height measurement from pixels to inches and set the width and height to 2.5 inches and 3.5 inches. It does not matter which is the width and which is the height, so be mindful of which orientation better fits the photograph. Before creating the new file also set the Resolution to 300 pixels/inch, this is the standard resolution for printed images.
When making your layout for the card, consider concepts such as proportion, color, and balance. The overall color scheme will be the same as the player's team. You will also need to incorporate both the team and league logo on the front of the card. The back of the card will include all provided stats, information, and the player's portrait. The layout for the back of the card will have unity with the front, logical font choices, and a flow directing the reader's eye between elements.
The front and back of the card will be saved separately. You will submit both in .jpeg format with the proper filename (LastnameFirstnameTradingCard). Be sure to review the rubric and use your notes on design principles. If you get stuck trying to think of ideas, feel free to use inspiration for examples you can find on the internet.
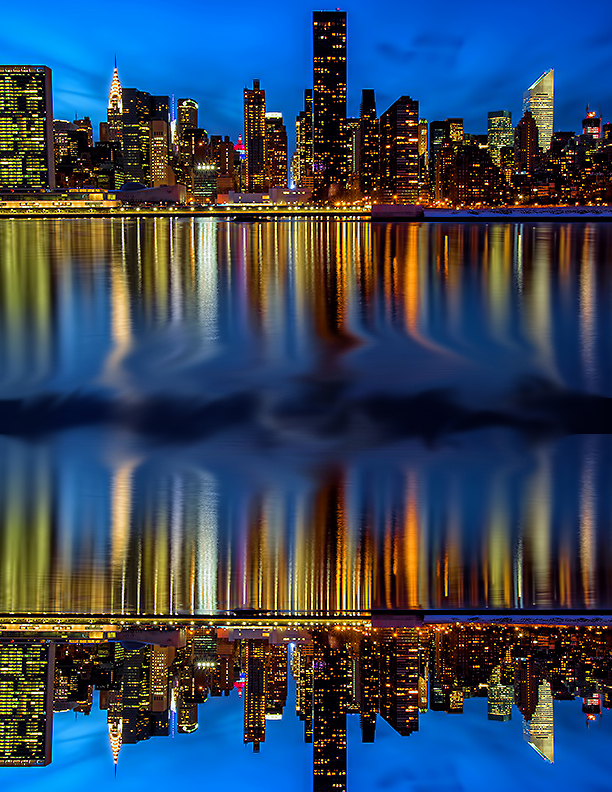
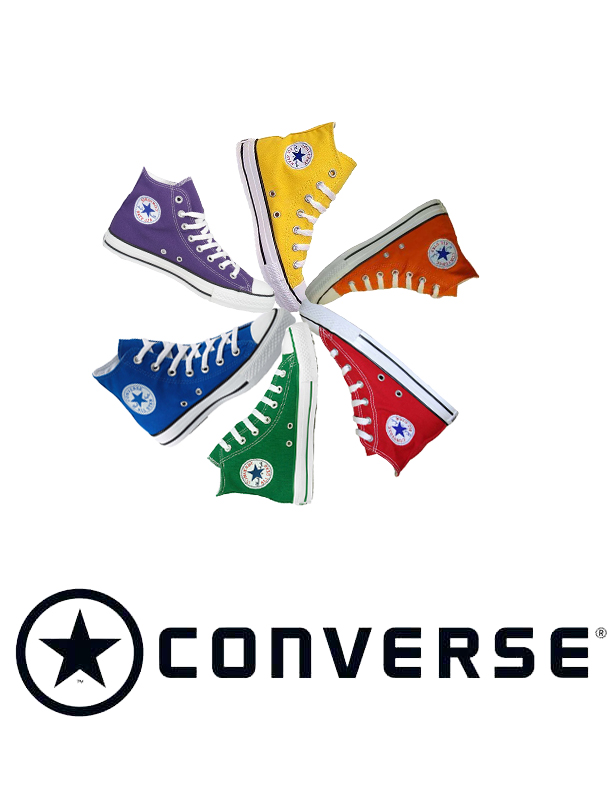
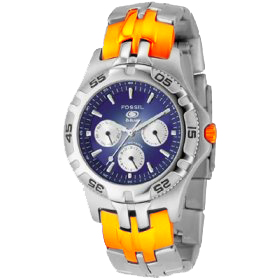
Reflection Tutorial:
|
You have been hired by a image editing company that wants you to design an product display for their biggest client. Your job is to take a group of products and showcase them on a stage that reflects their image to make them seem more appealing and attractive.
Create a new Photoshop document that is 720 x 480 pixels. Create a stage and a background for your products. You can create a color background with highlight and add a filter. Place at least three different objects on the stage, the manufacturer logo on the wall, and create a reflection on the stage for each item that touches the stage. All of the products must be made by the same manufacturer. Make sure you orient the objects in the most appealing way and make them look good! All objects that are on the stage must reflect. Do not use images that are tilted at an angle. They are more difficult to reflect. There is a PDF tutorial located to the right to help you complete this project. As you work, save your project as a .psd and name it lastname + first initial + reflect.psd. When you are finished, save it again as a JPEG with the same name (ex: goblenreflect.jpg) Submit the .JPG file using the form below. Don't forget to review the rubric to make sure you are meeting all of the project requirements! |
| ||||||
NC State Fair Flyer project:
|
|
| ||
Magazine Cover Project:
|
We have done many projects in Photoshop and learned a great deal of skills. Now it is time to apply all this new found knowledge and skills to an original design of your own. In this project, you will apply the Elements and Principles of Design to create an original, well designed magazine cover and a table of contents.
You will need to create a magazine of your very own! Open a new document in Photoshop, the dimensions will need to be 9 inches by 12 inches at 300 DPI/Resolution. You will be creating a logo/title for your magazine to go across the top. You will need to add a large cover image and a minimum of 2 smaller images on the cover. The large image should connect or interfere with your magazine heading in some way. These could be celebrities, products, places, etc...Make sure that all the images you use are masked cleanly and flow together. Then you will need to add your various articles and headlines to your magazine cover. You will need a minimum of 5 articles. Once you have created your cover, you will need to also create your table of contents that coordinates with the articles you put on your cover that has an image that goes with each. The table of contents and cover must look like they belong together. This will be the same size as the cover. Use various appropriated fonts that work together with your design. Pay extra attention to the principles and elements of design (color, line, shape, textures, contrast, balance, unity, emphasis, and proportion!!) Focus on the layout of all of your elements together to create a good looking, clean designs. Don't forget to add the month, year, and a bar-code Make your cover look as real as possible! If you get done early, you will also need to design 1 page that coordinates with one of the articles listed in your other designs. See example to the right. As you work, save your project as a .psd and name it lastname + firstname + magazine.psd. When you are finished, save it as a JPEG with the same name (ex: goblenickmagazine.jpg) and turn BOTH in on dropbox. Remember to add a jpeg copy to your portfolio folder! Make sure you look at the rubric posted to the right to ensure you have included everything you need to! |
| ||||
